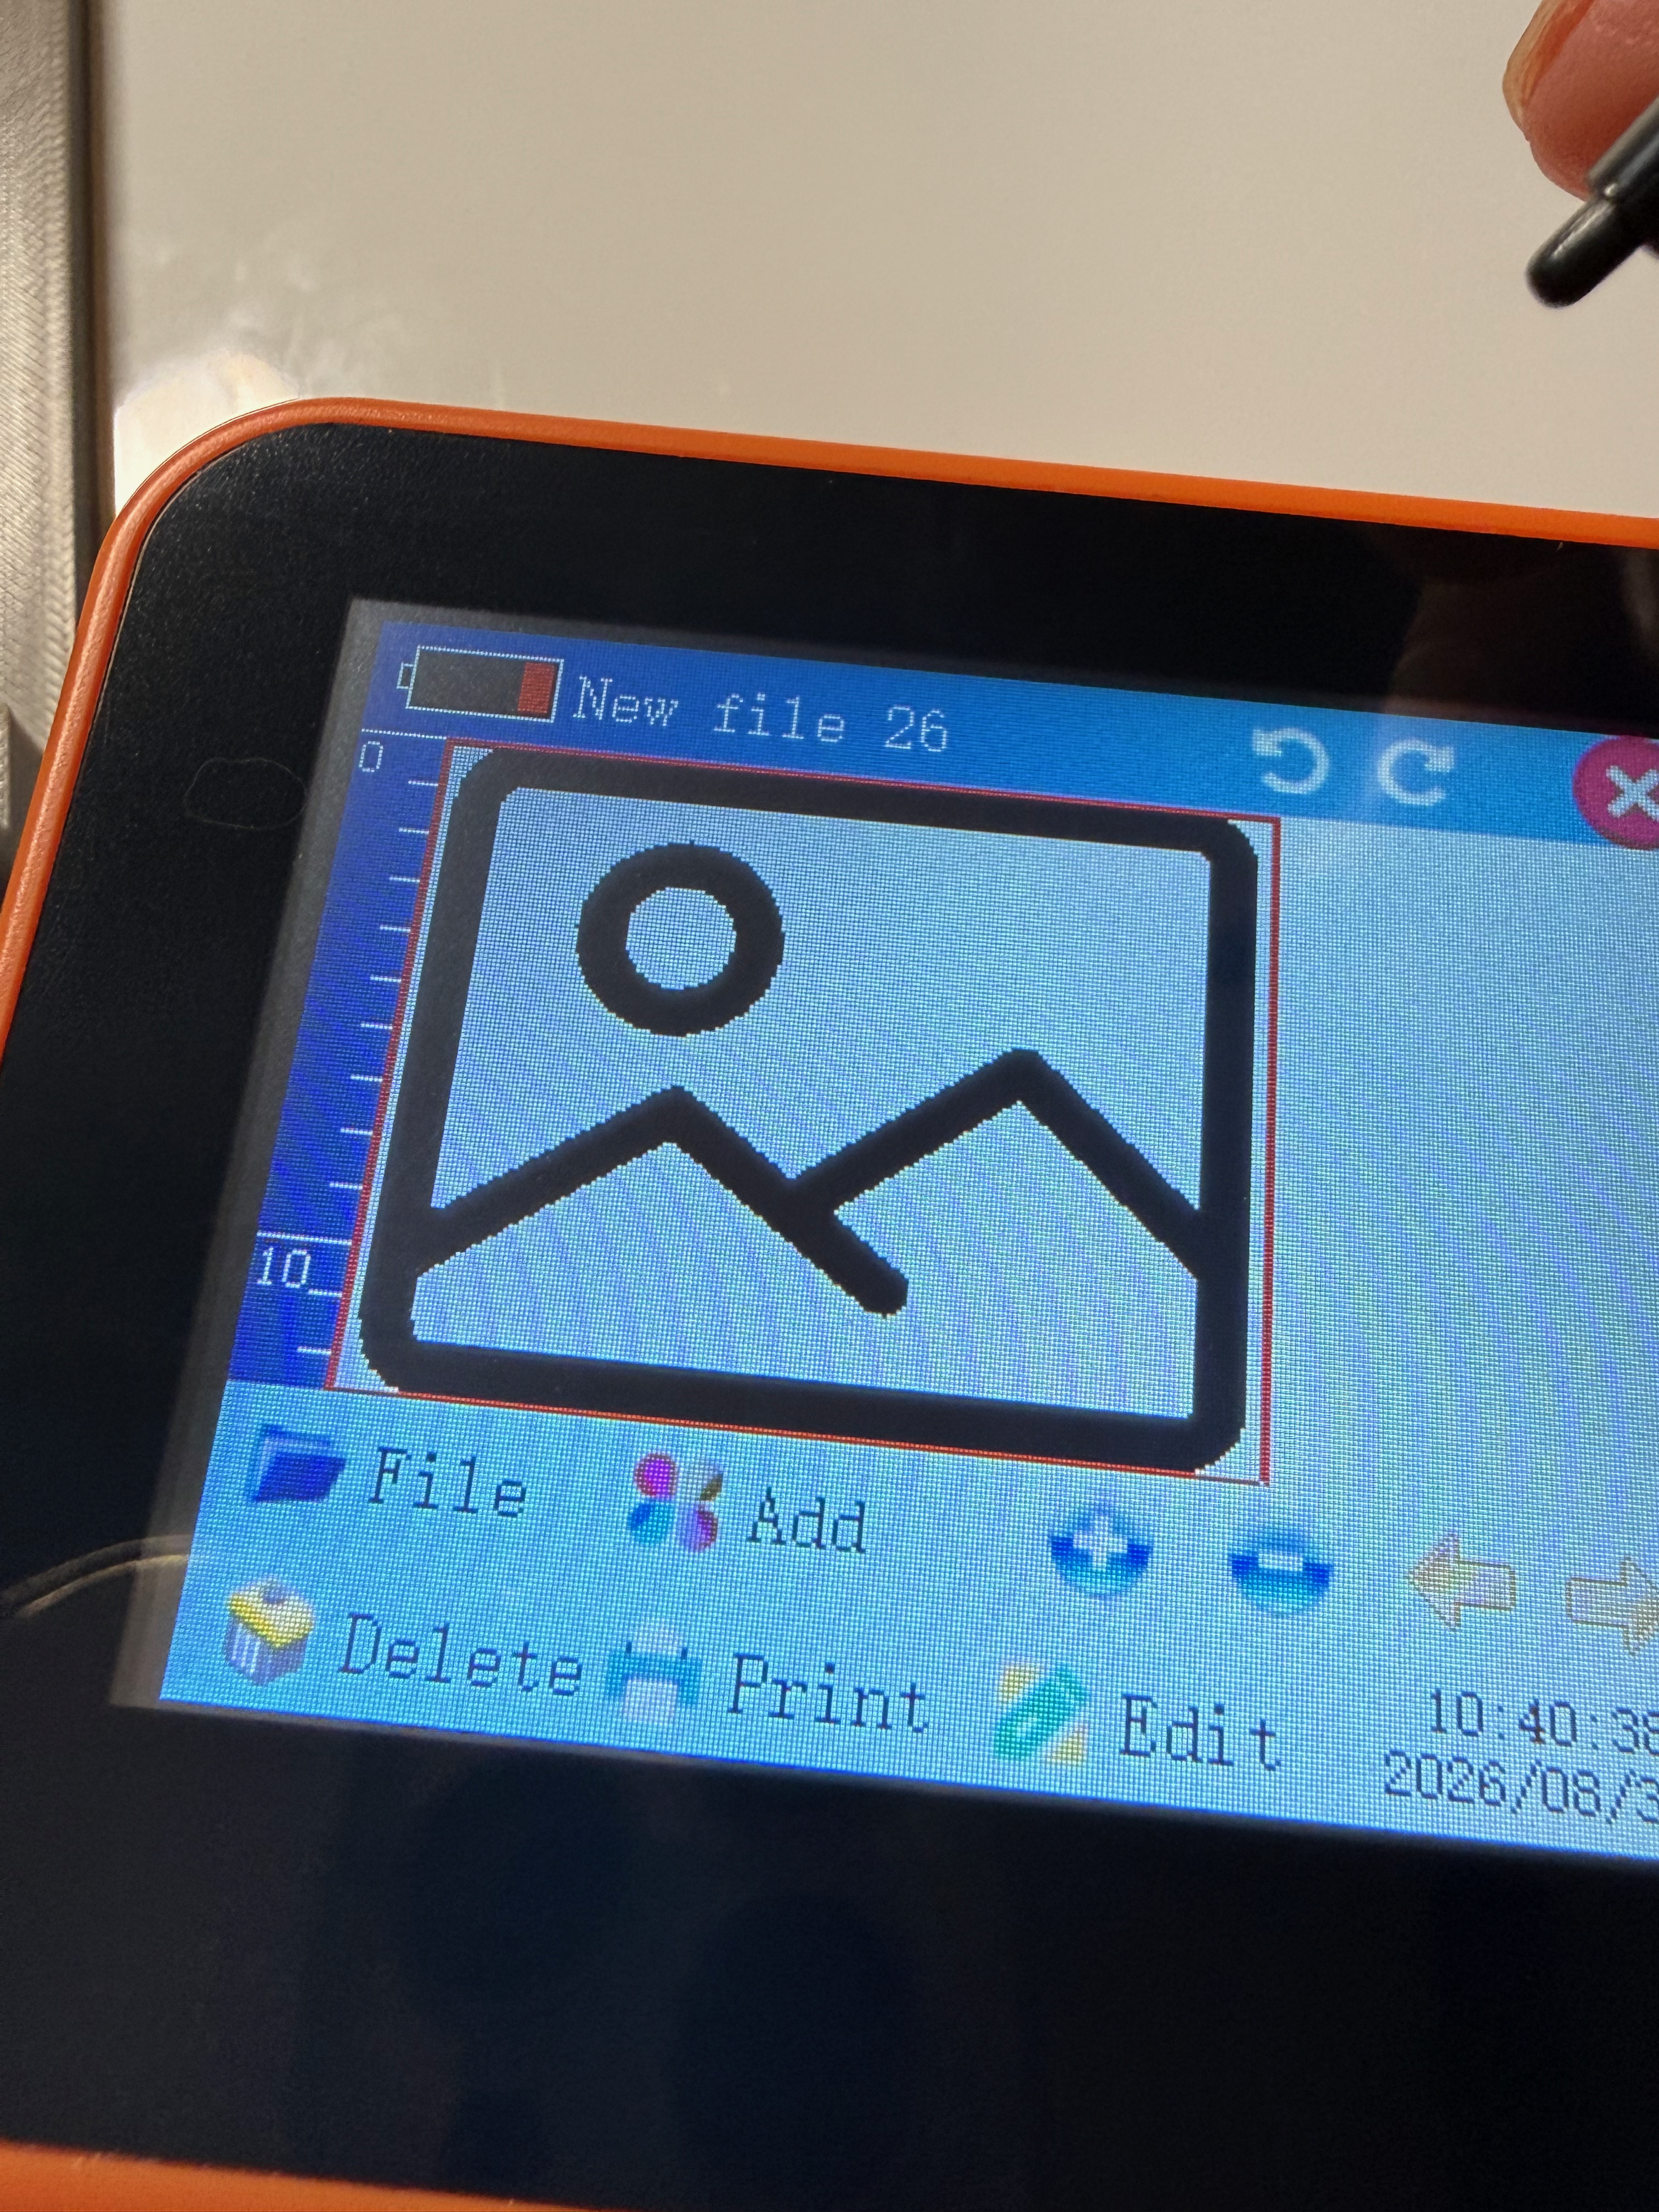
How-To Pictorial: Notes Studio™ Publishing Kit with the NOTES Studio™ LISTS app.

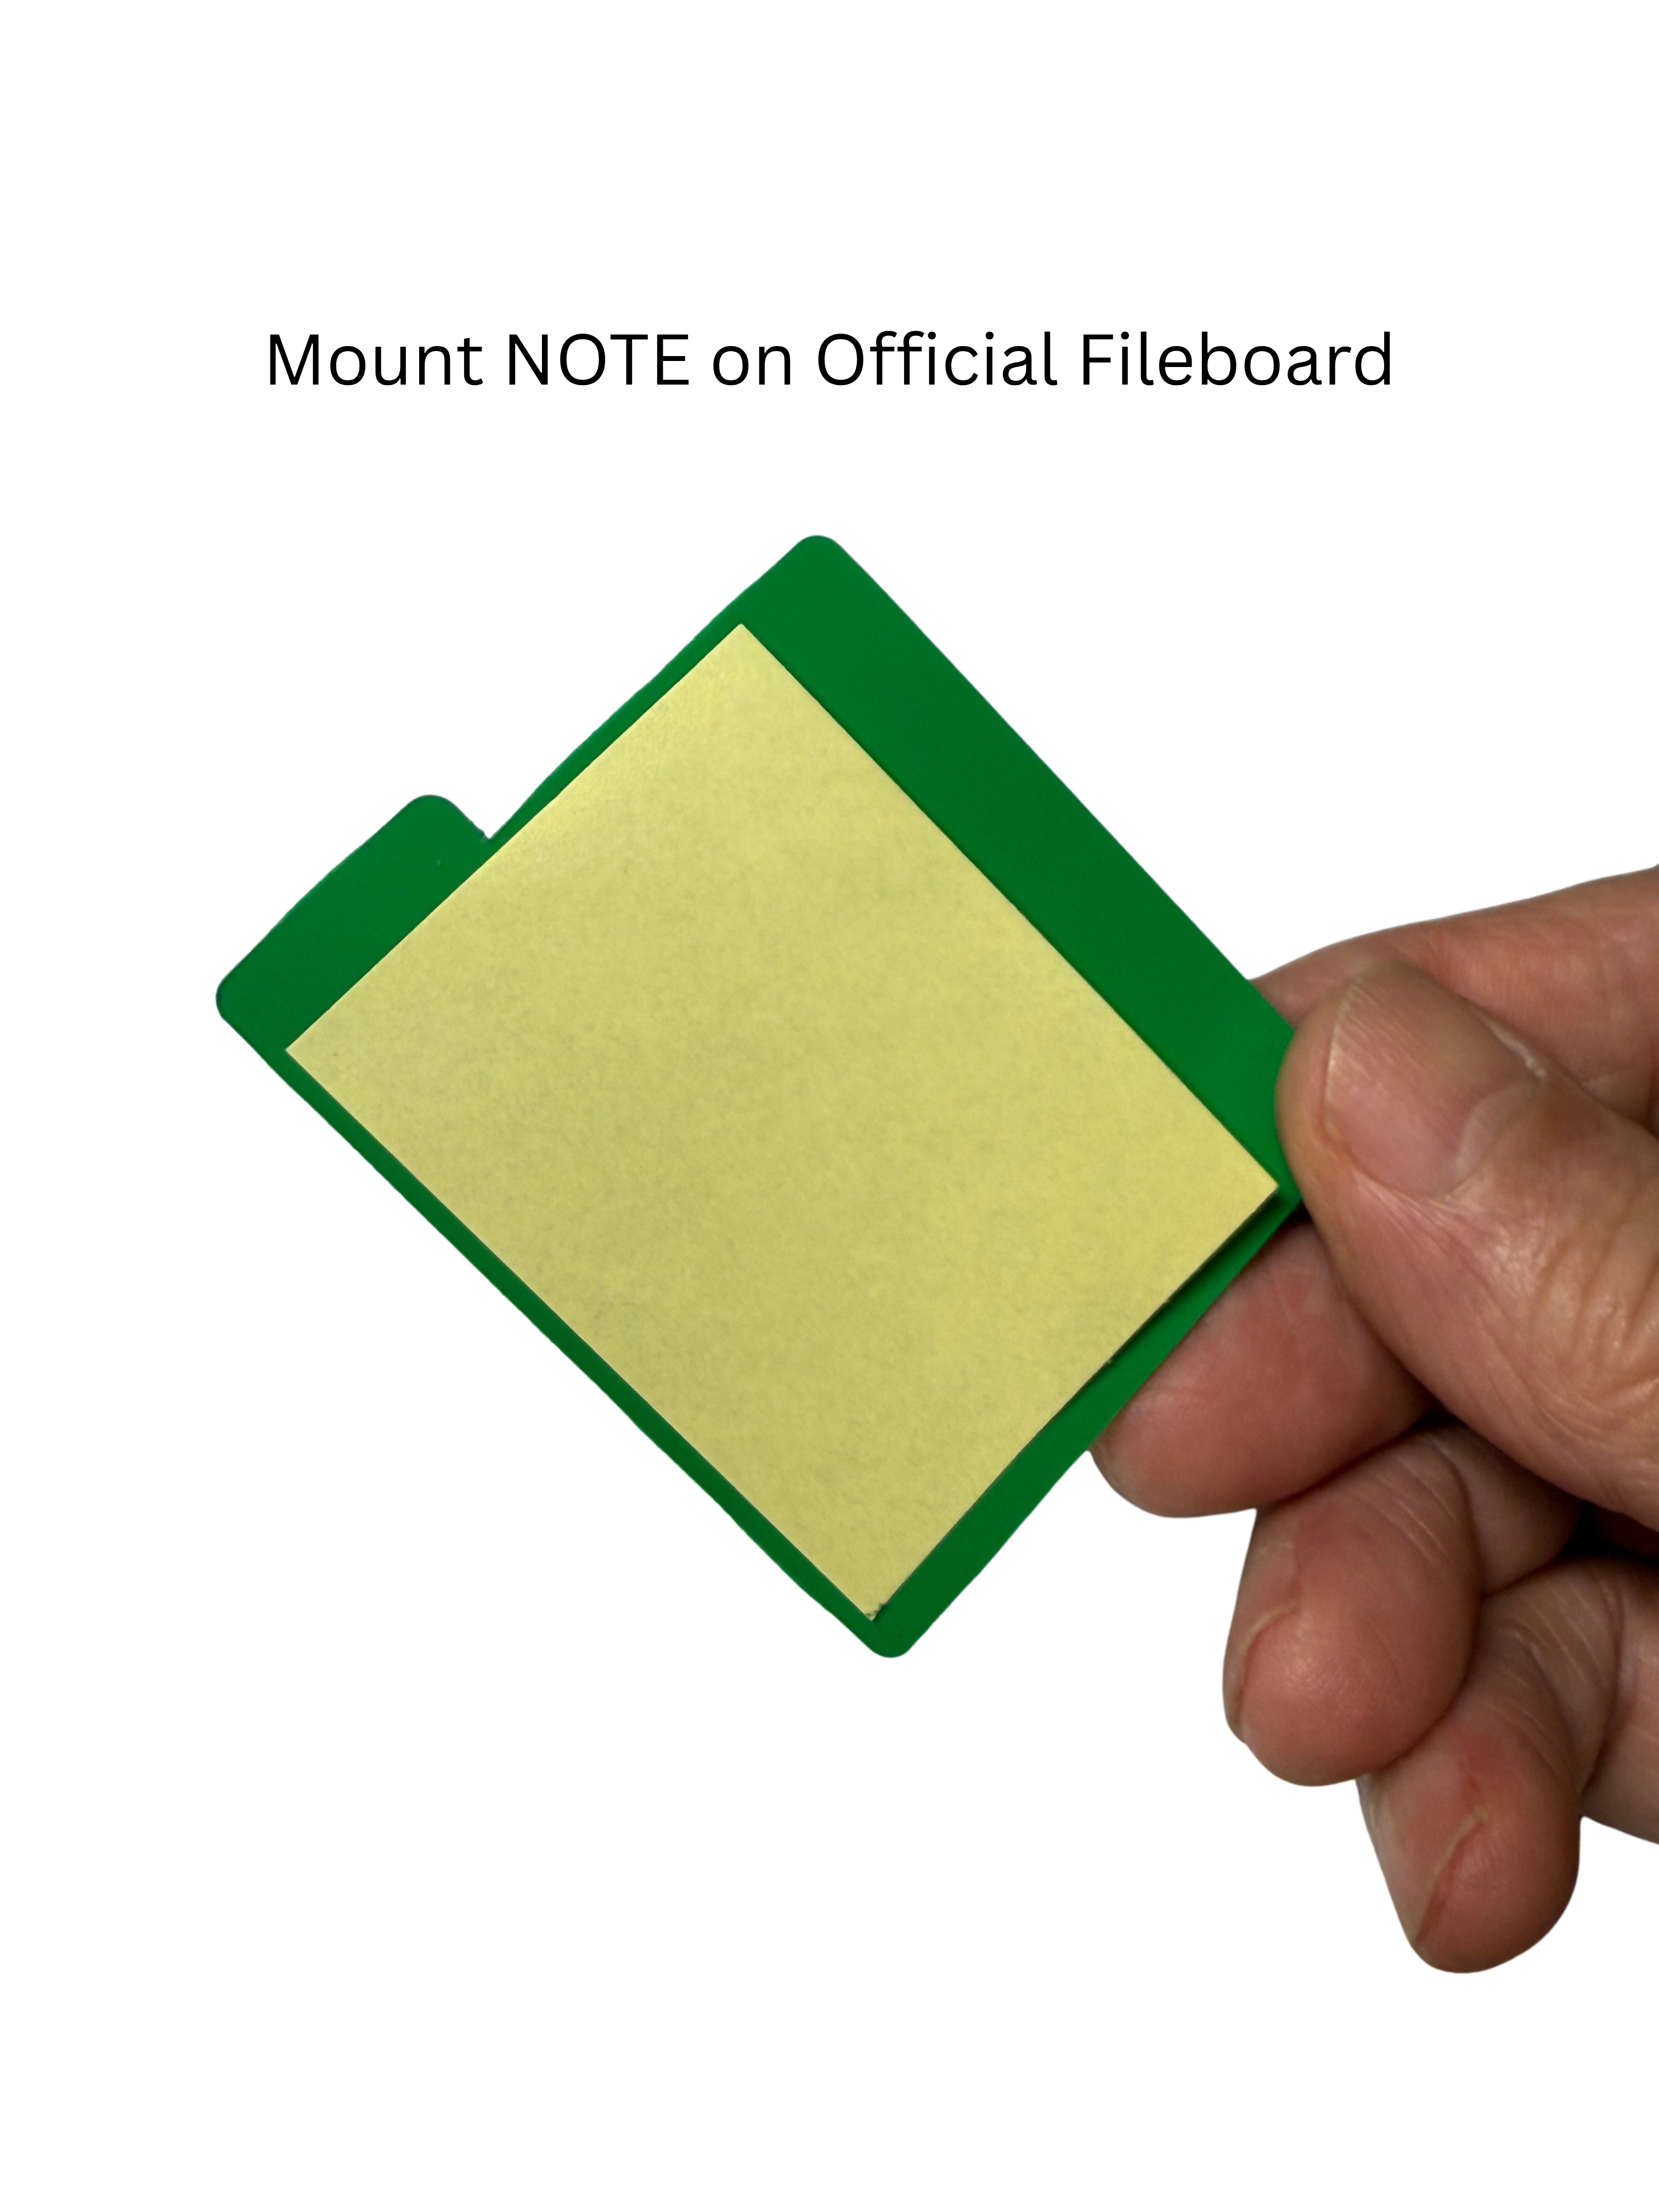
Mount NOTE on Official Fileboard
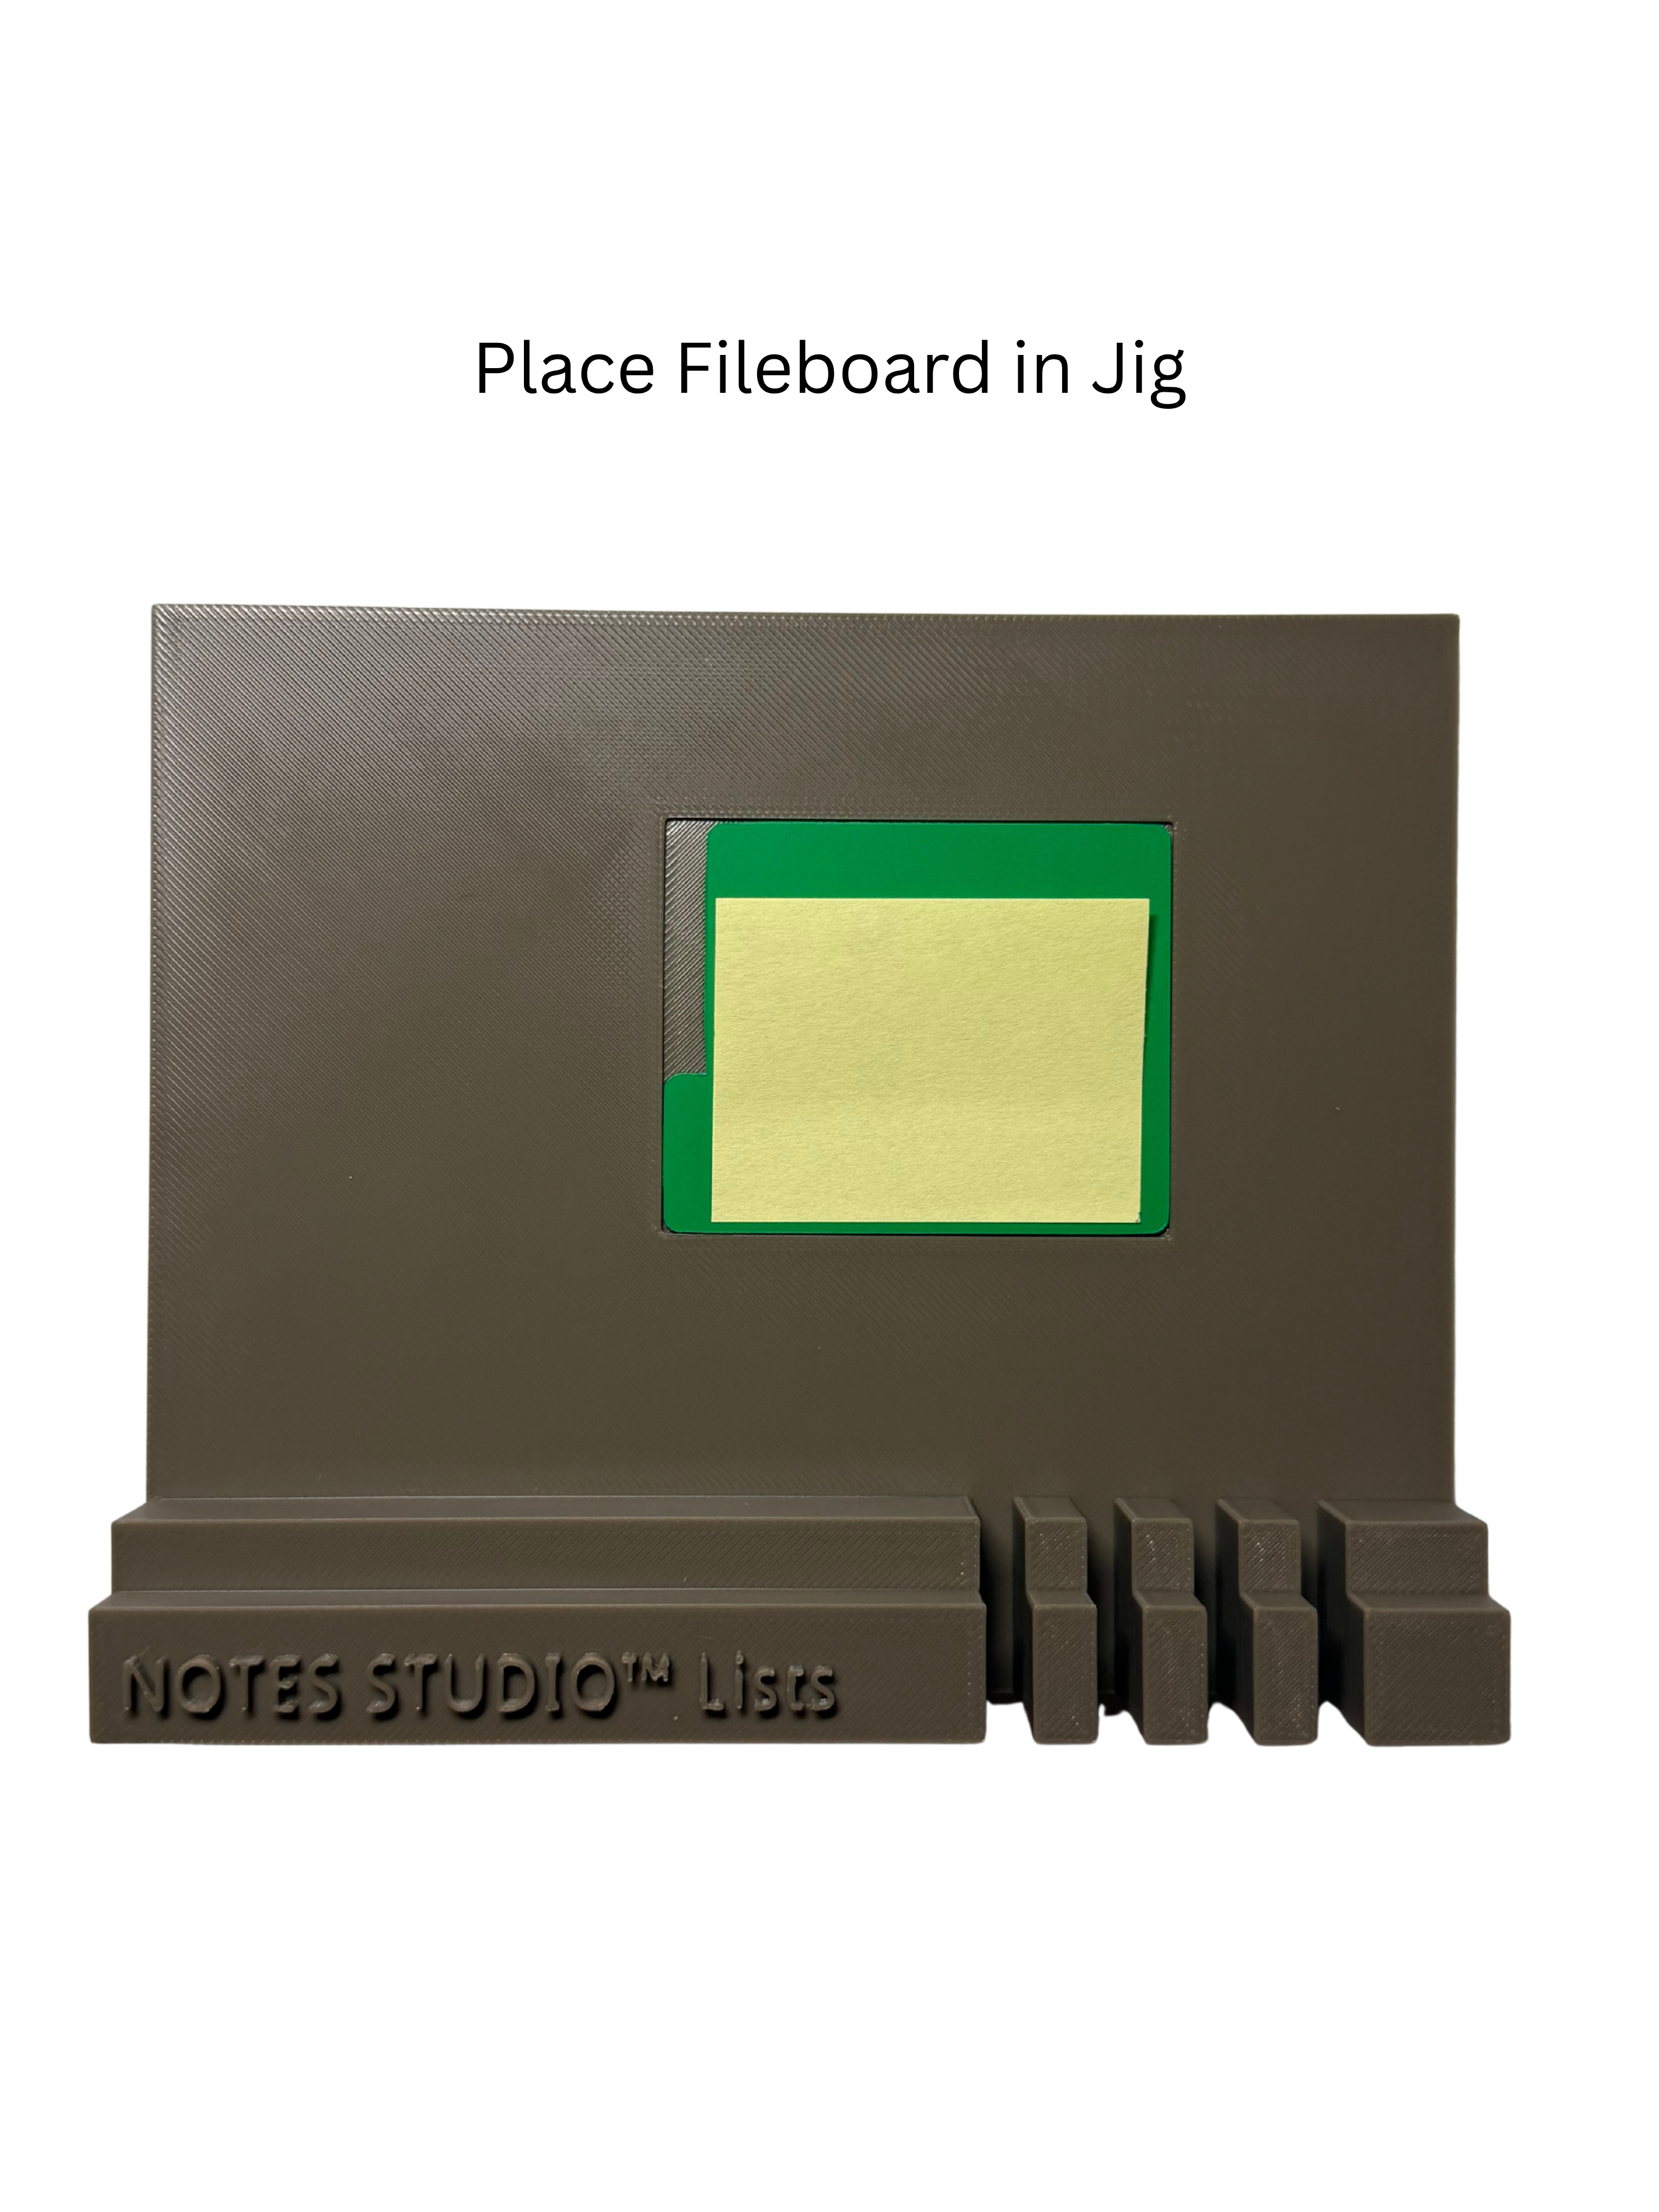
Place Fileboard in brown Jig
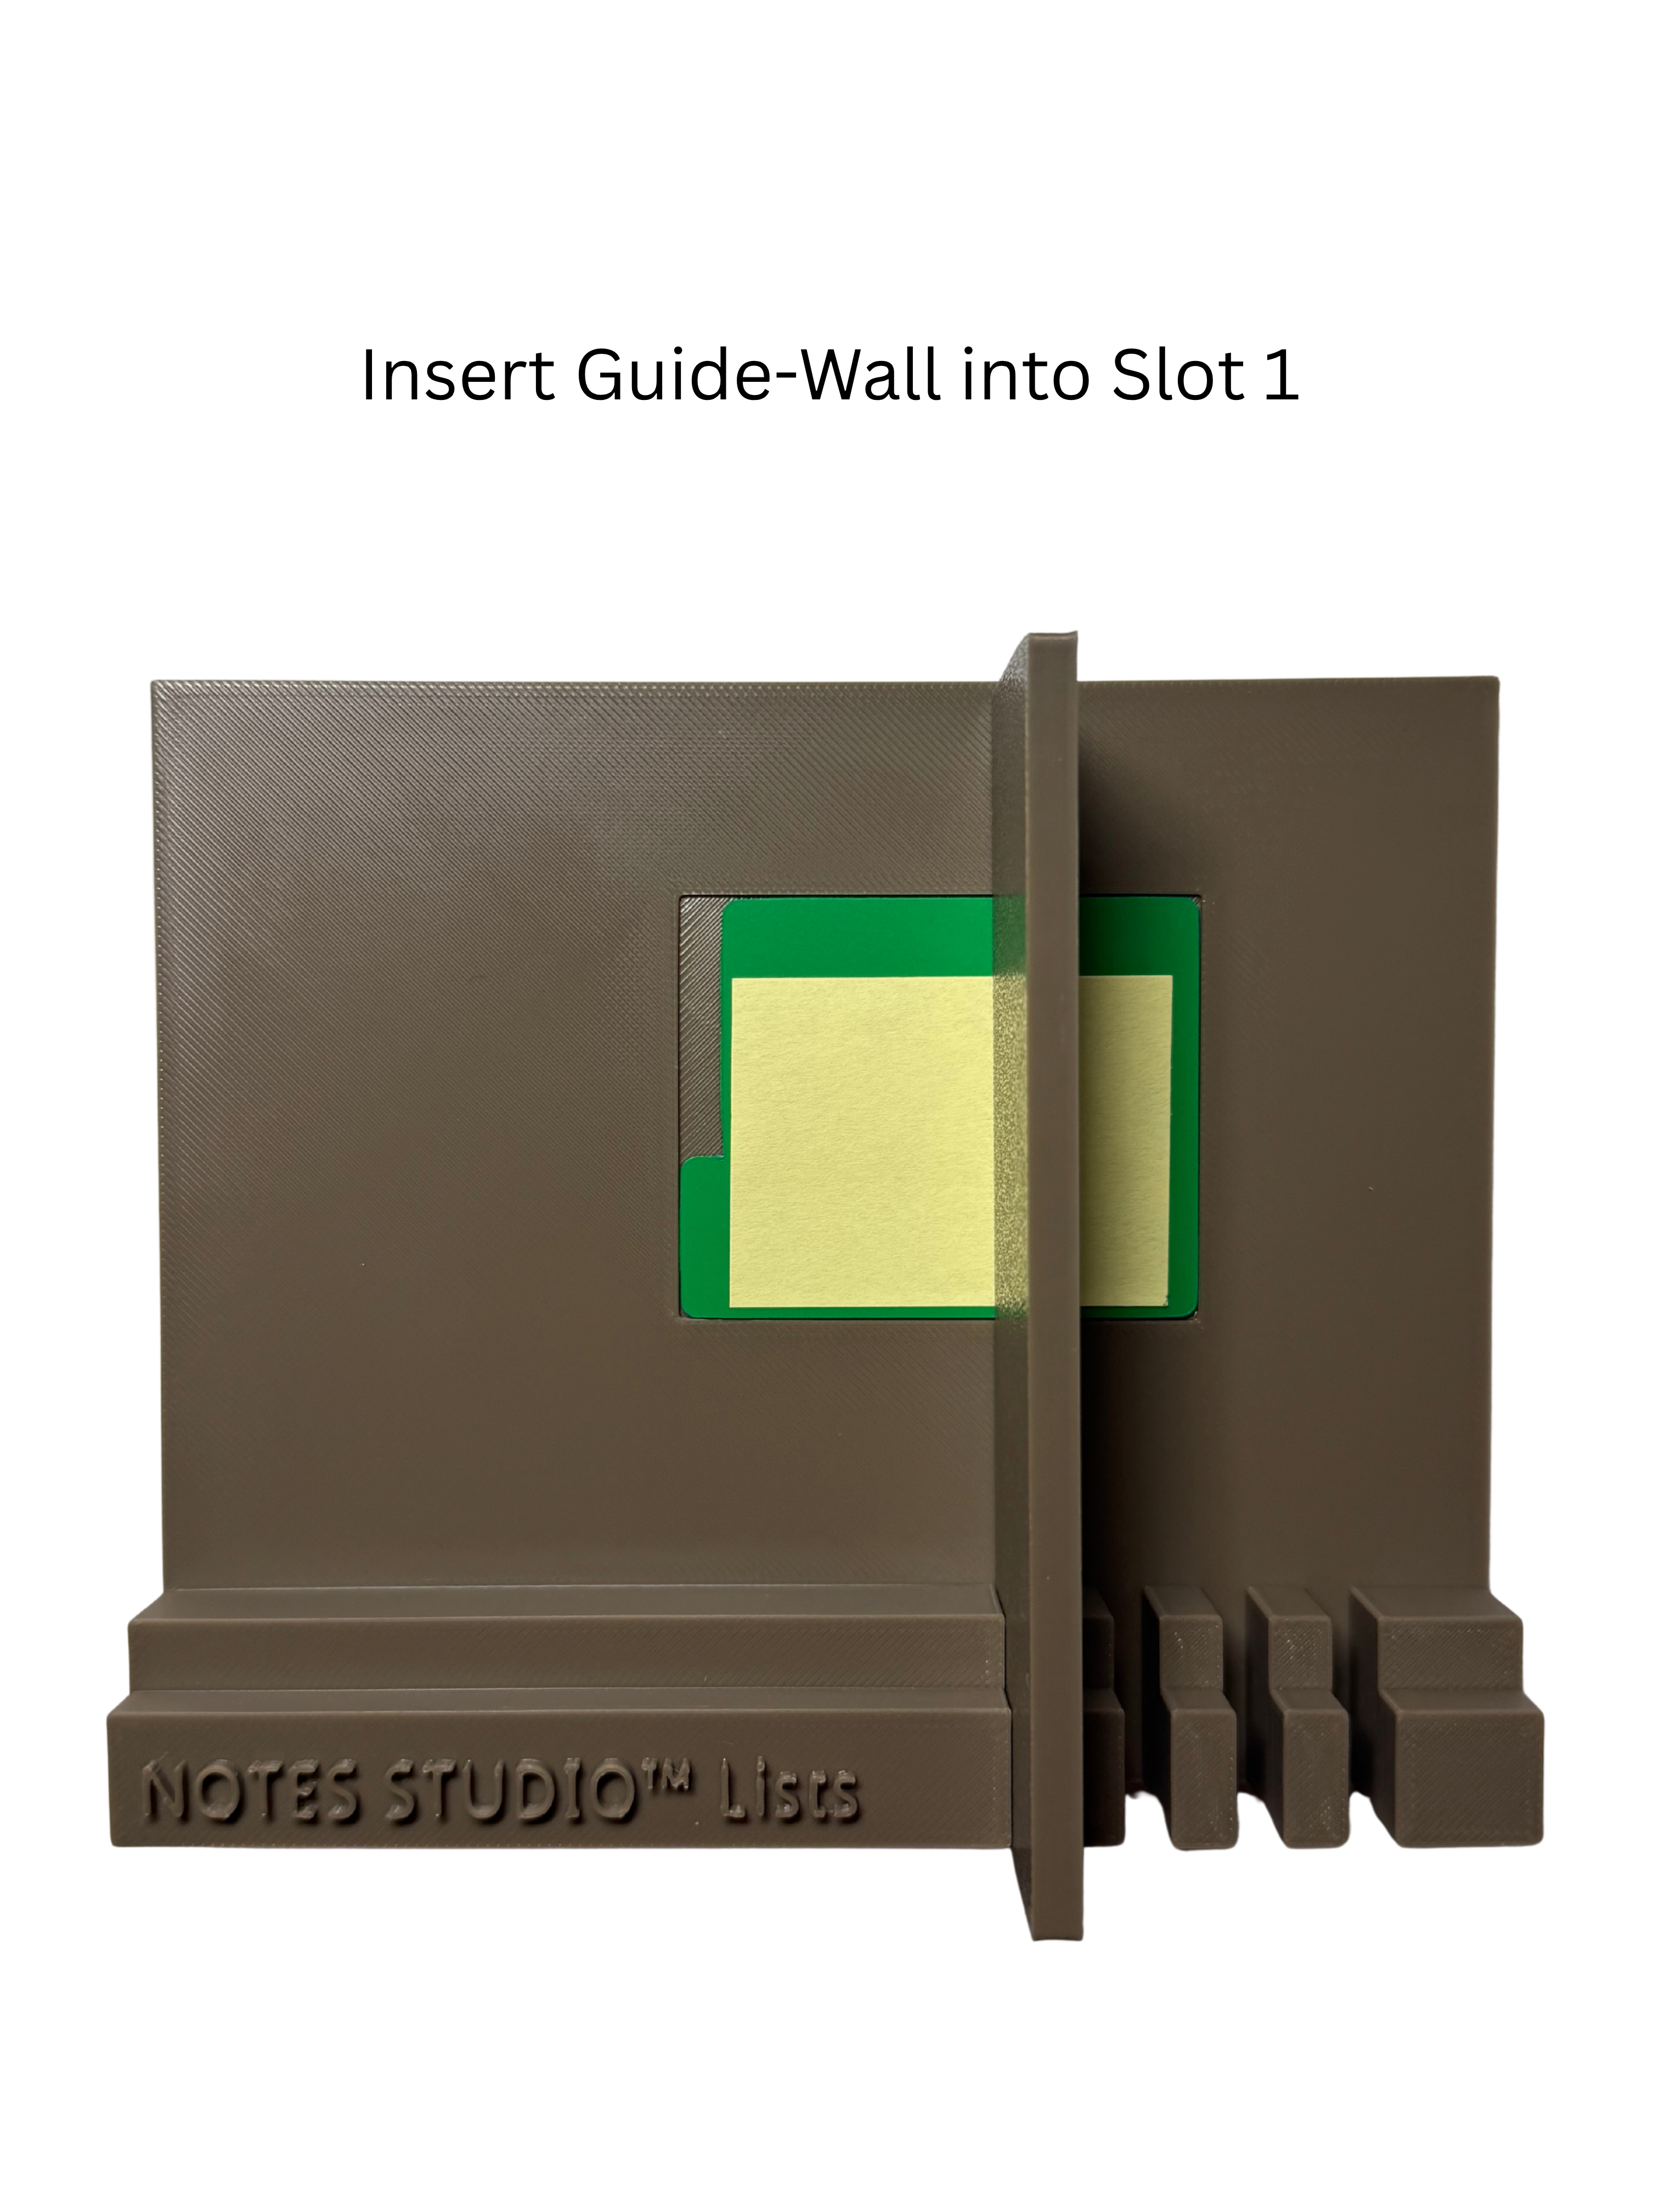
Insert Guide-Wall into Slot 1
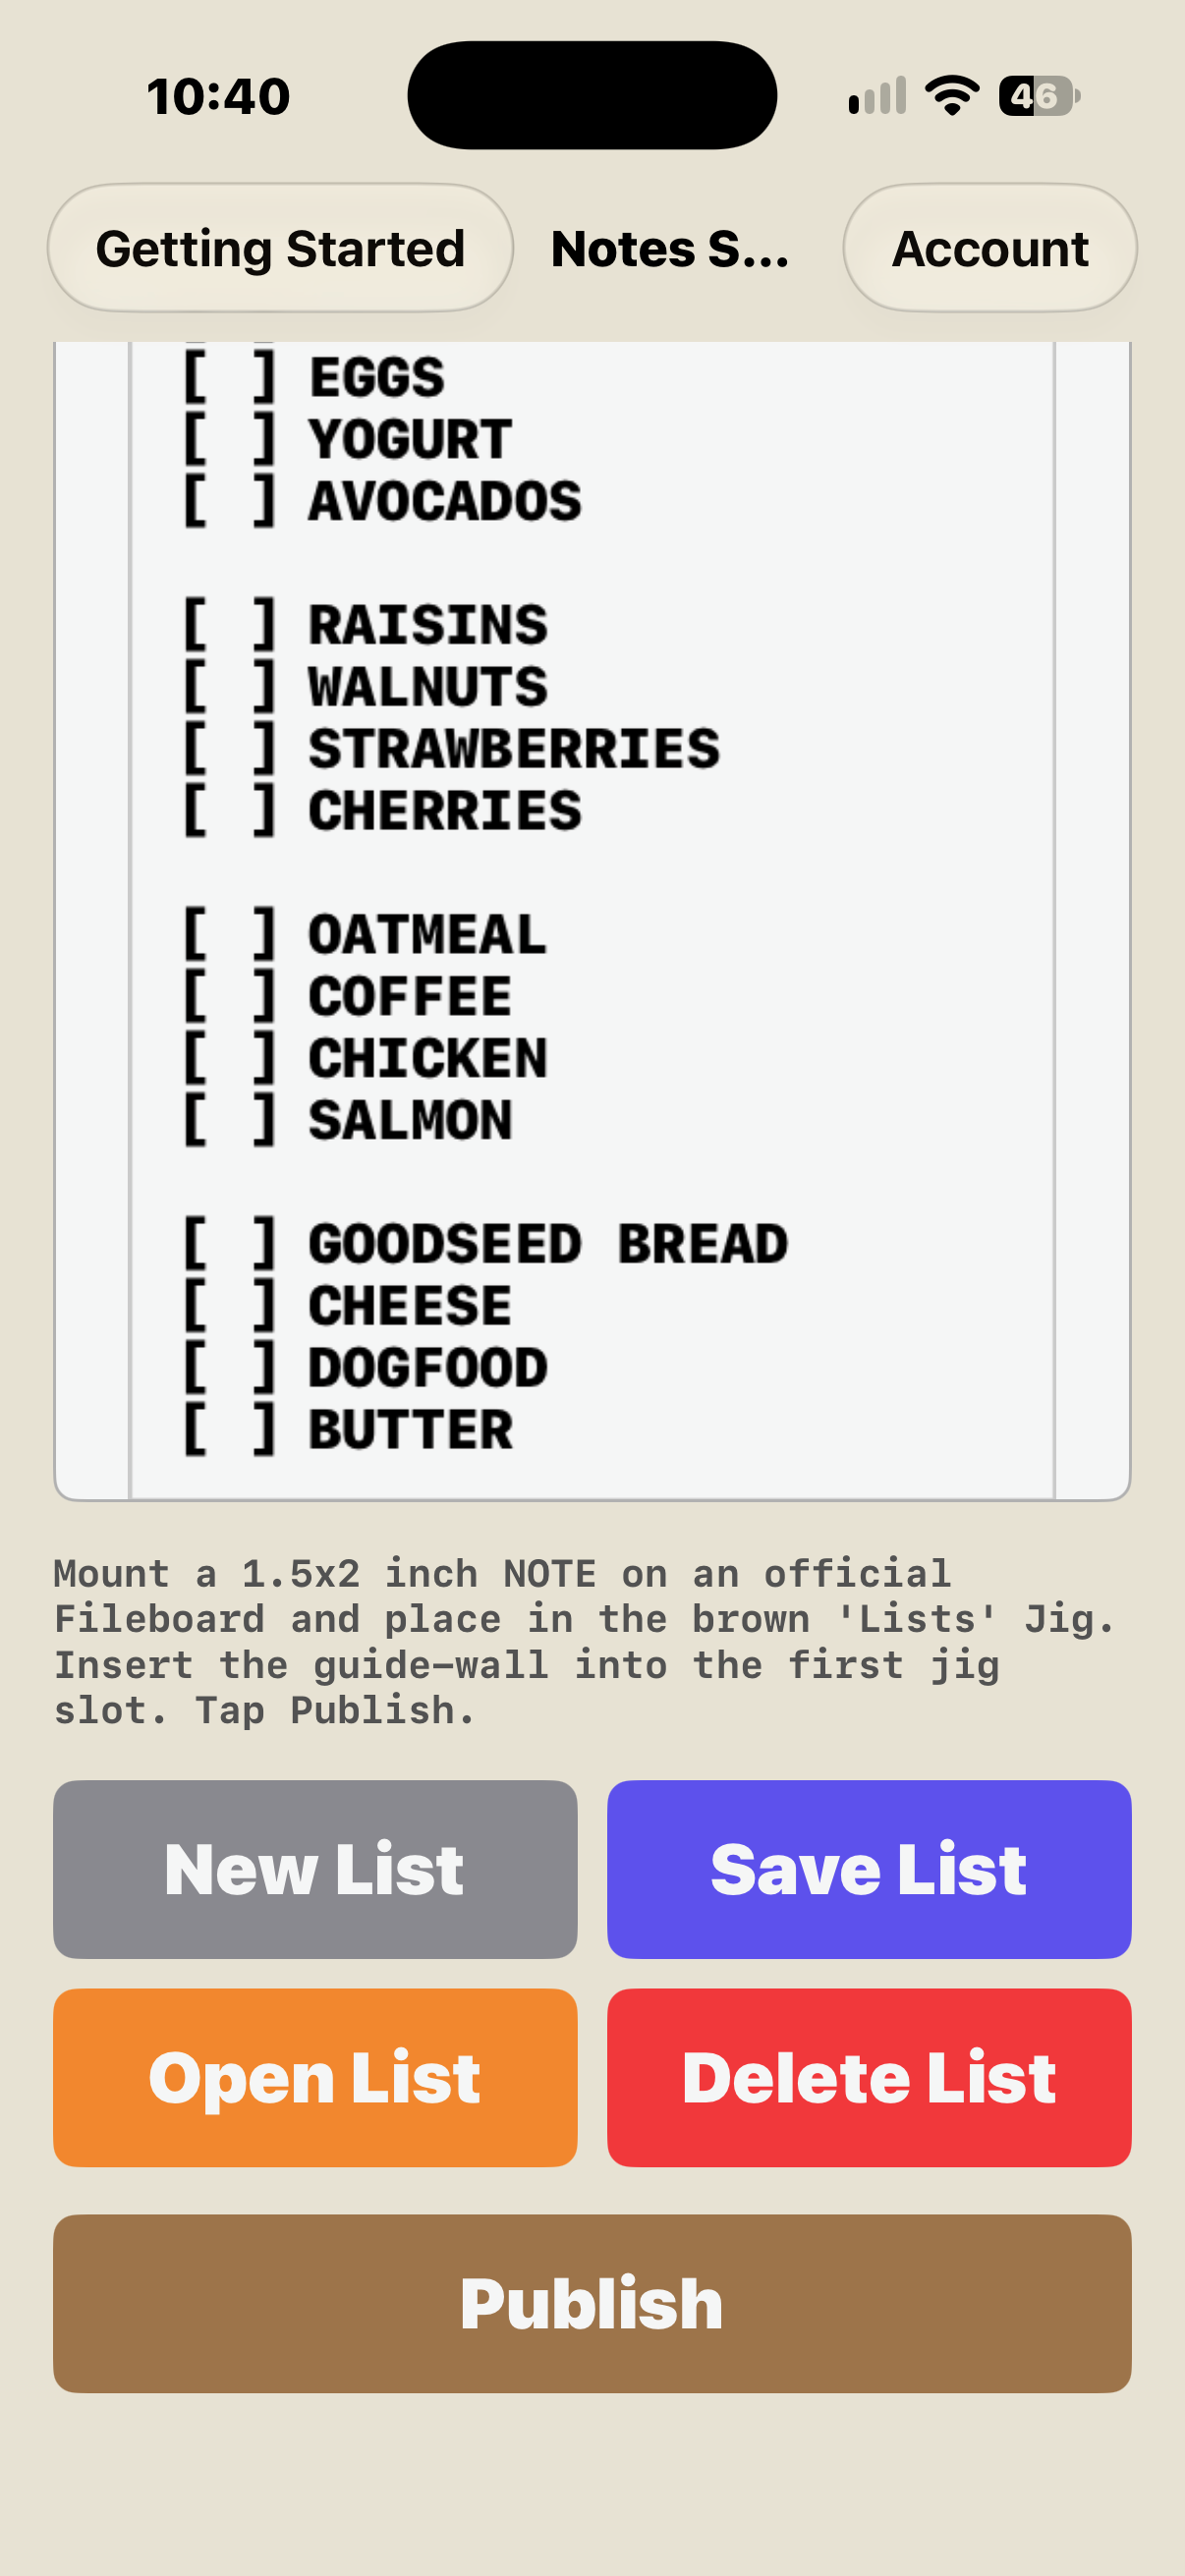
In LISTS app, tap 'Publish'
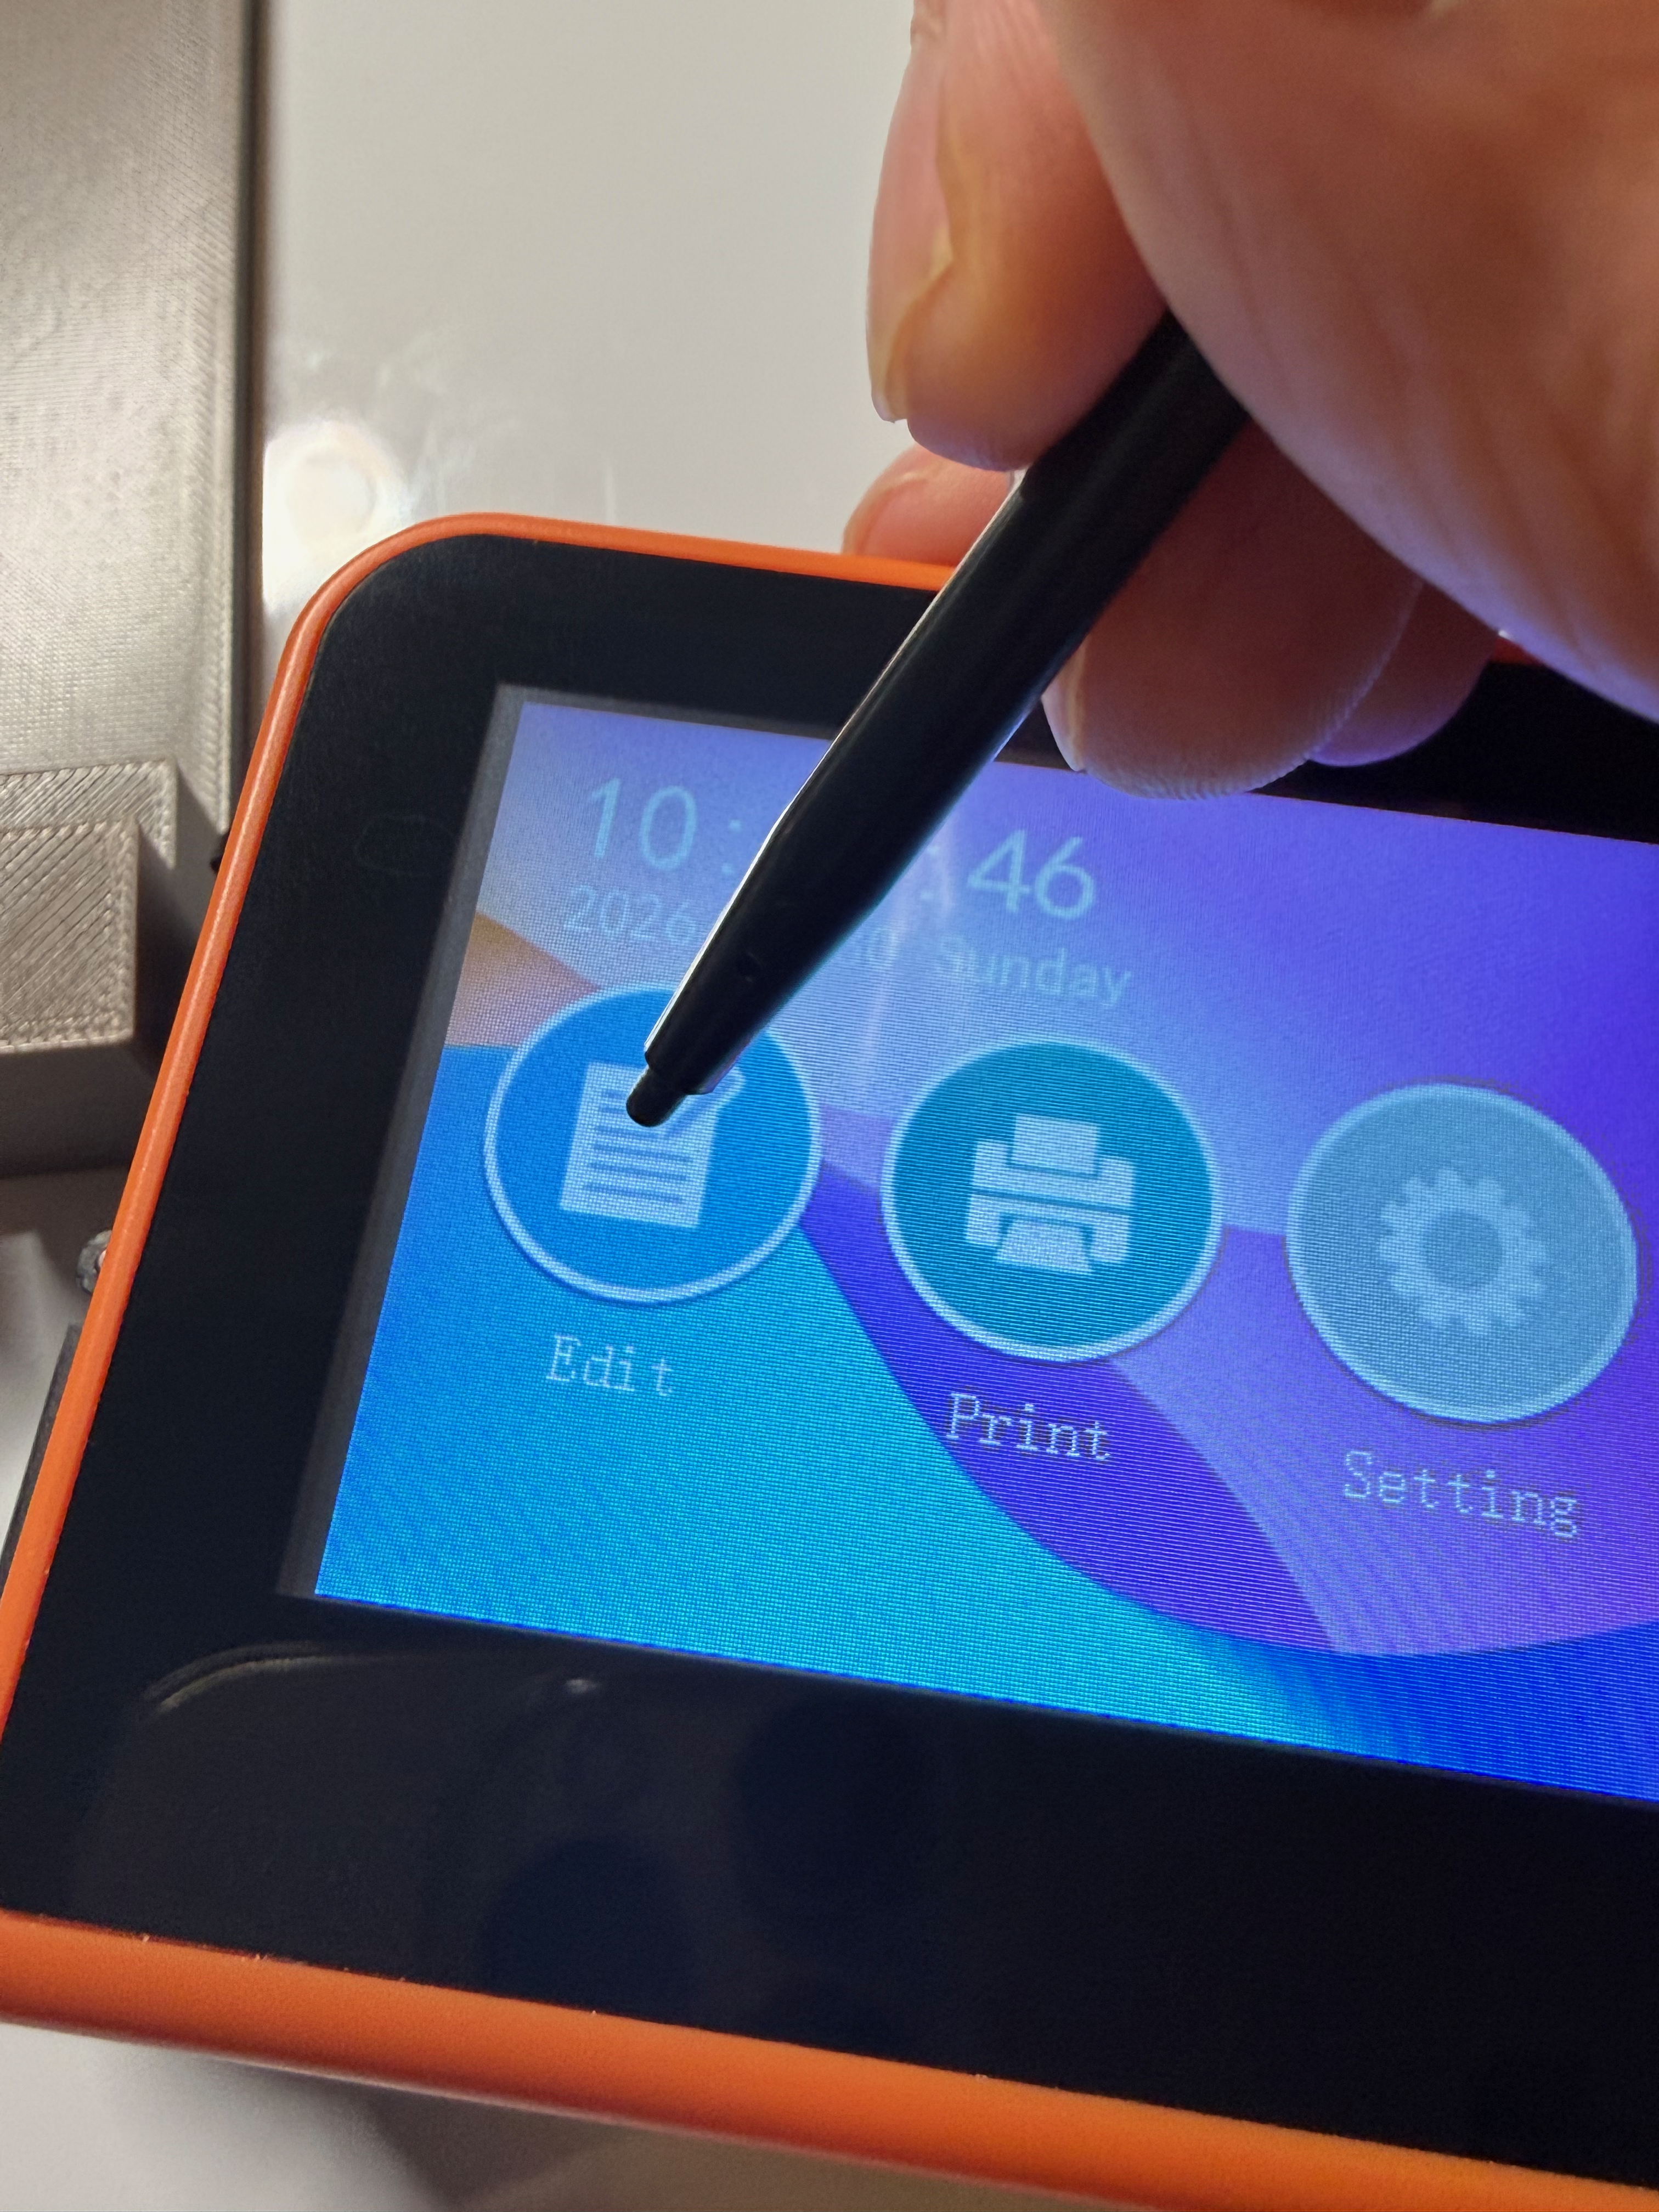
On printer, tap 'Edit'... then File: New
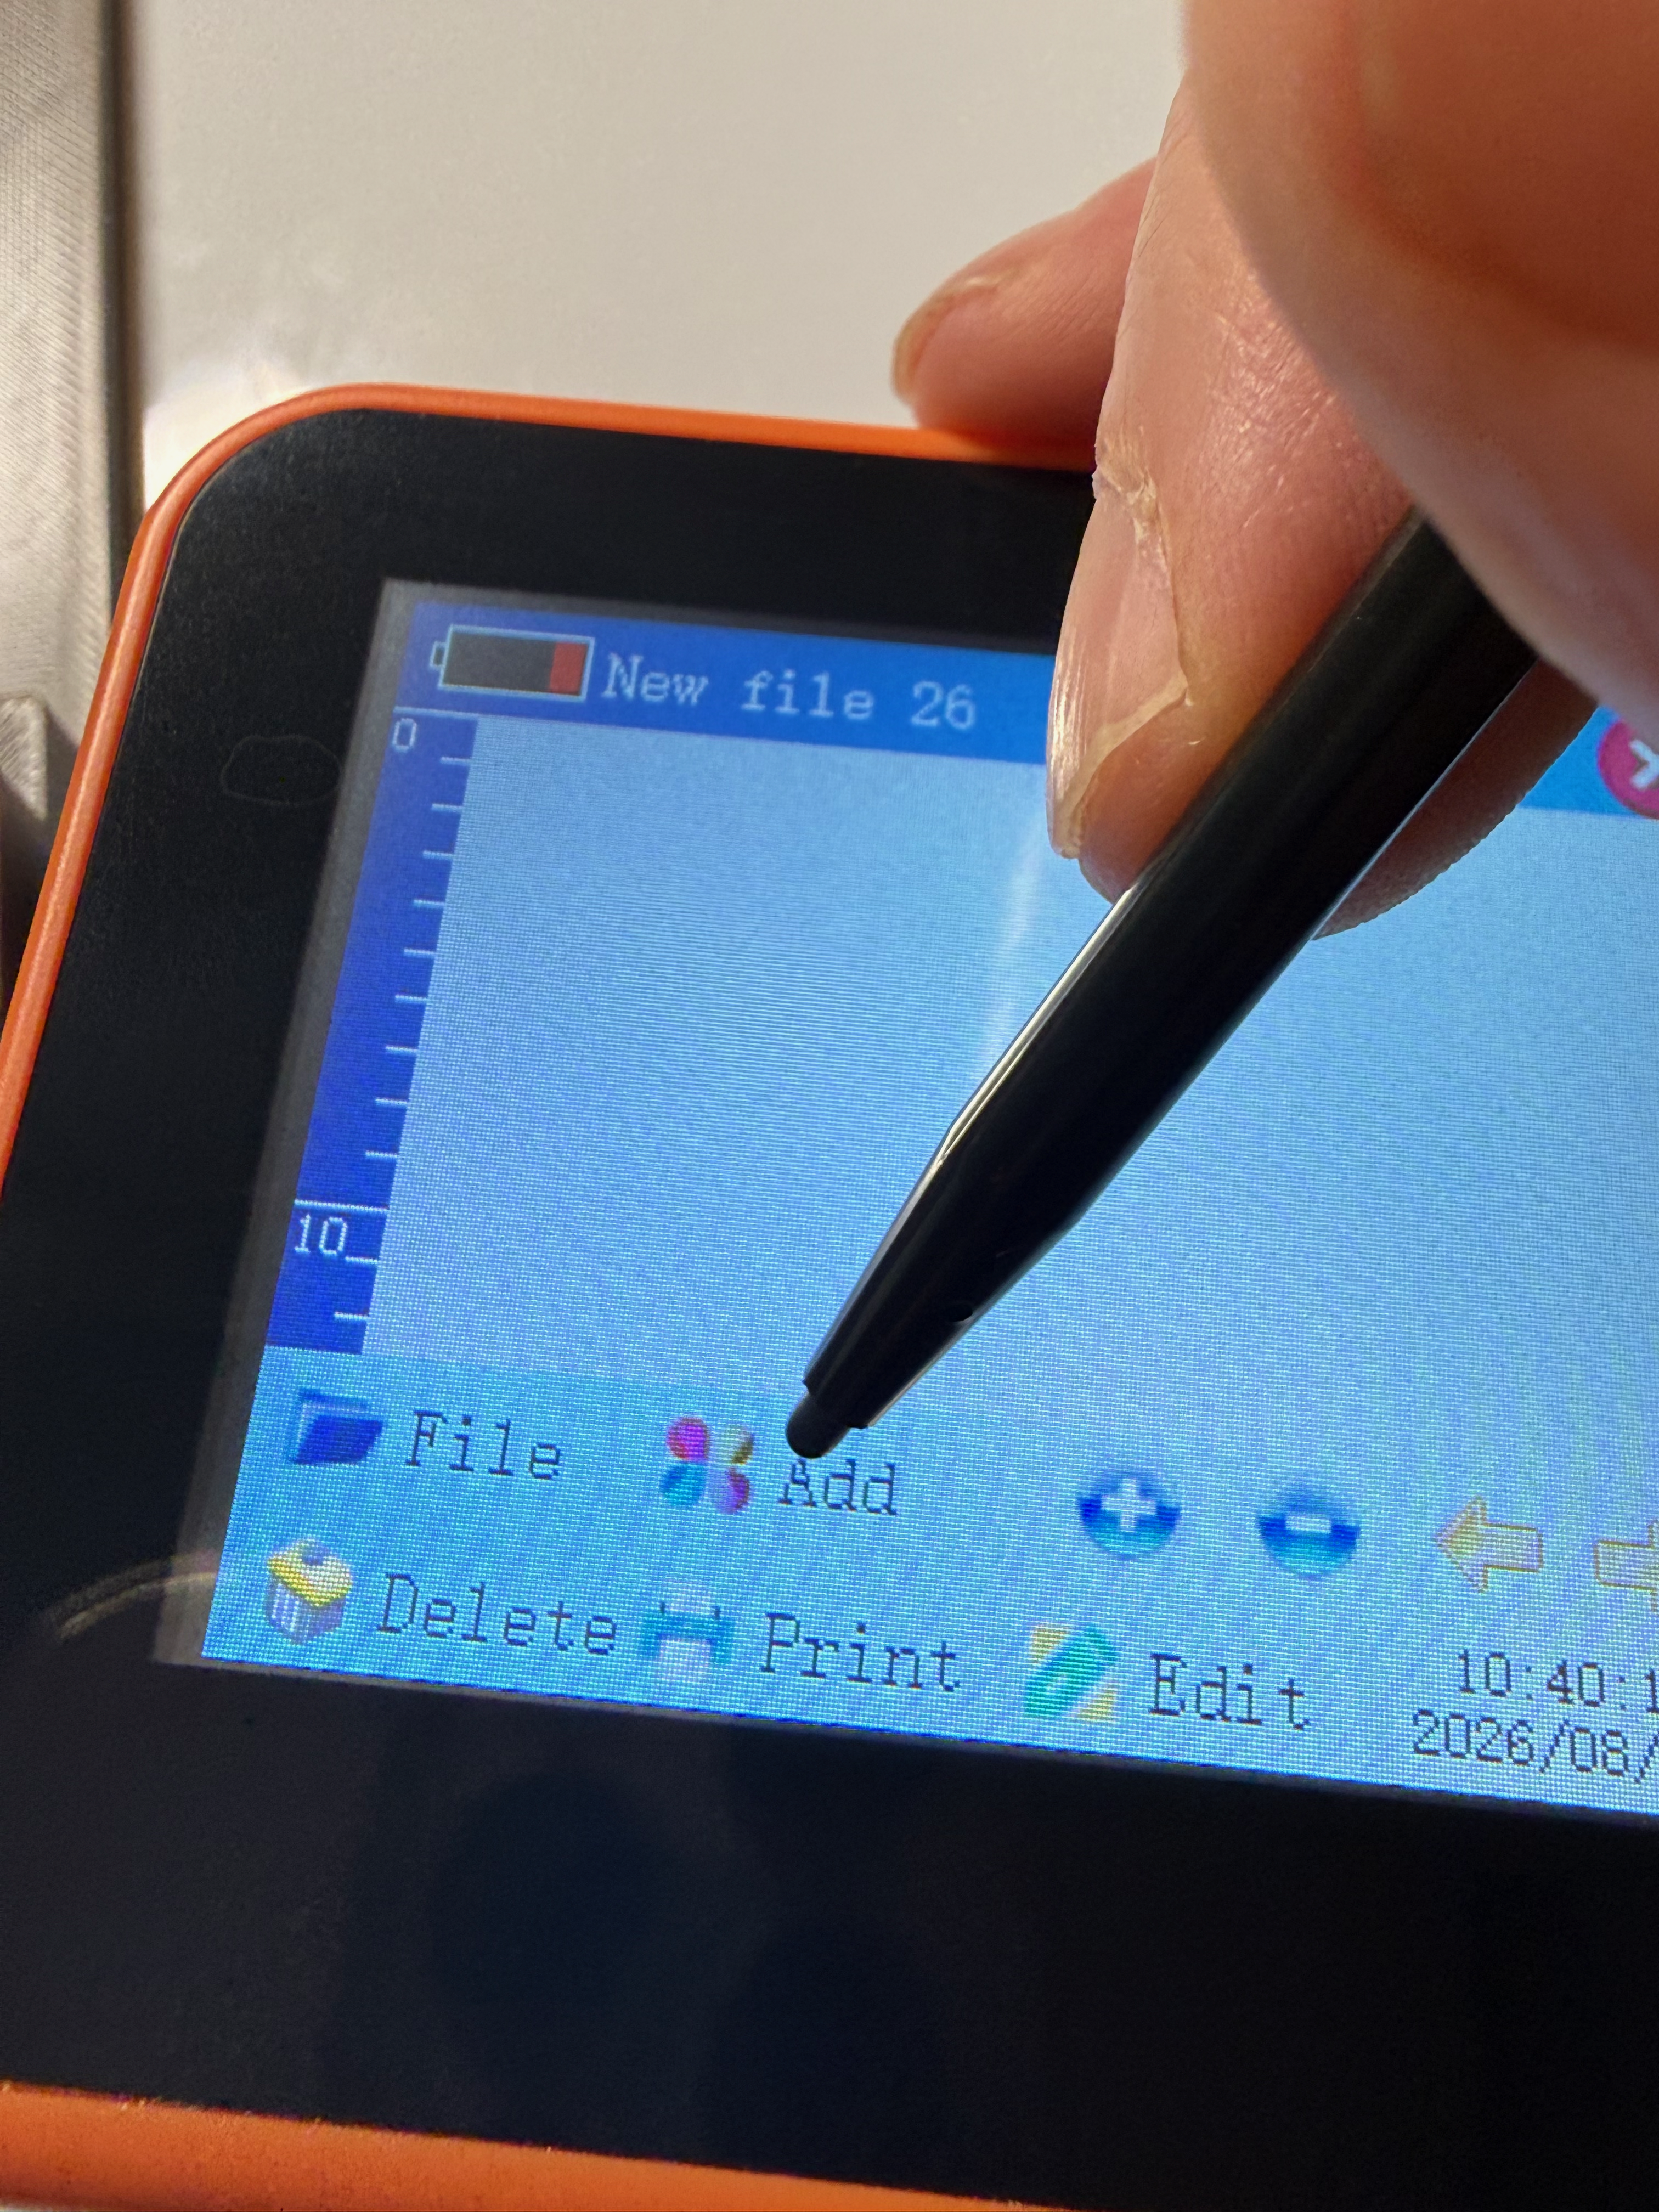
Tap 'Add'
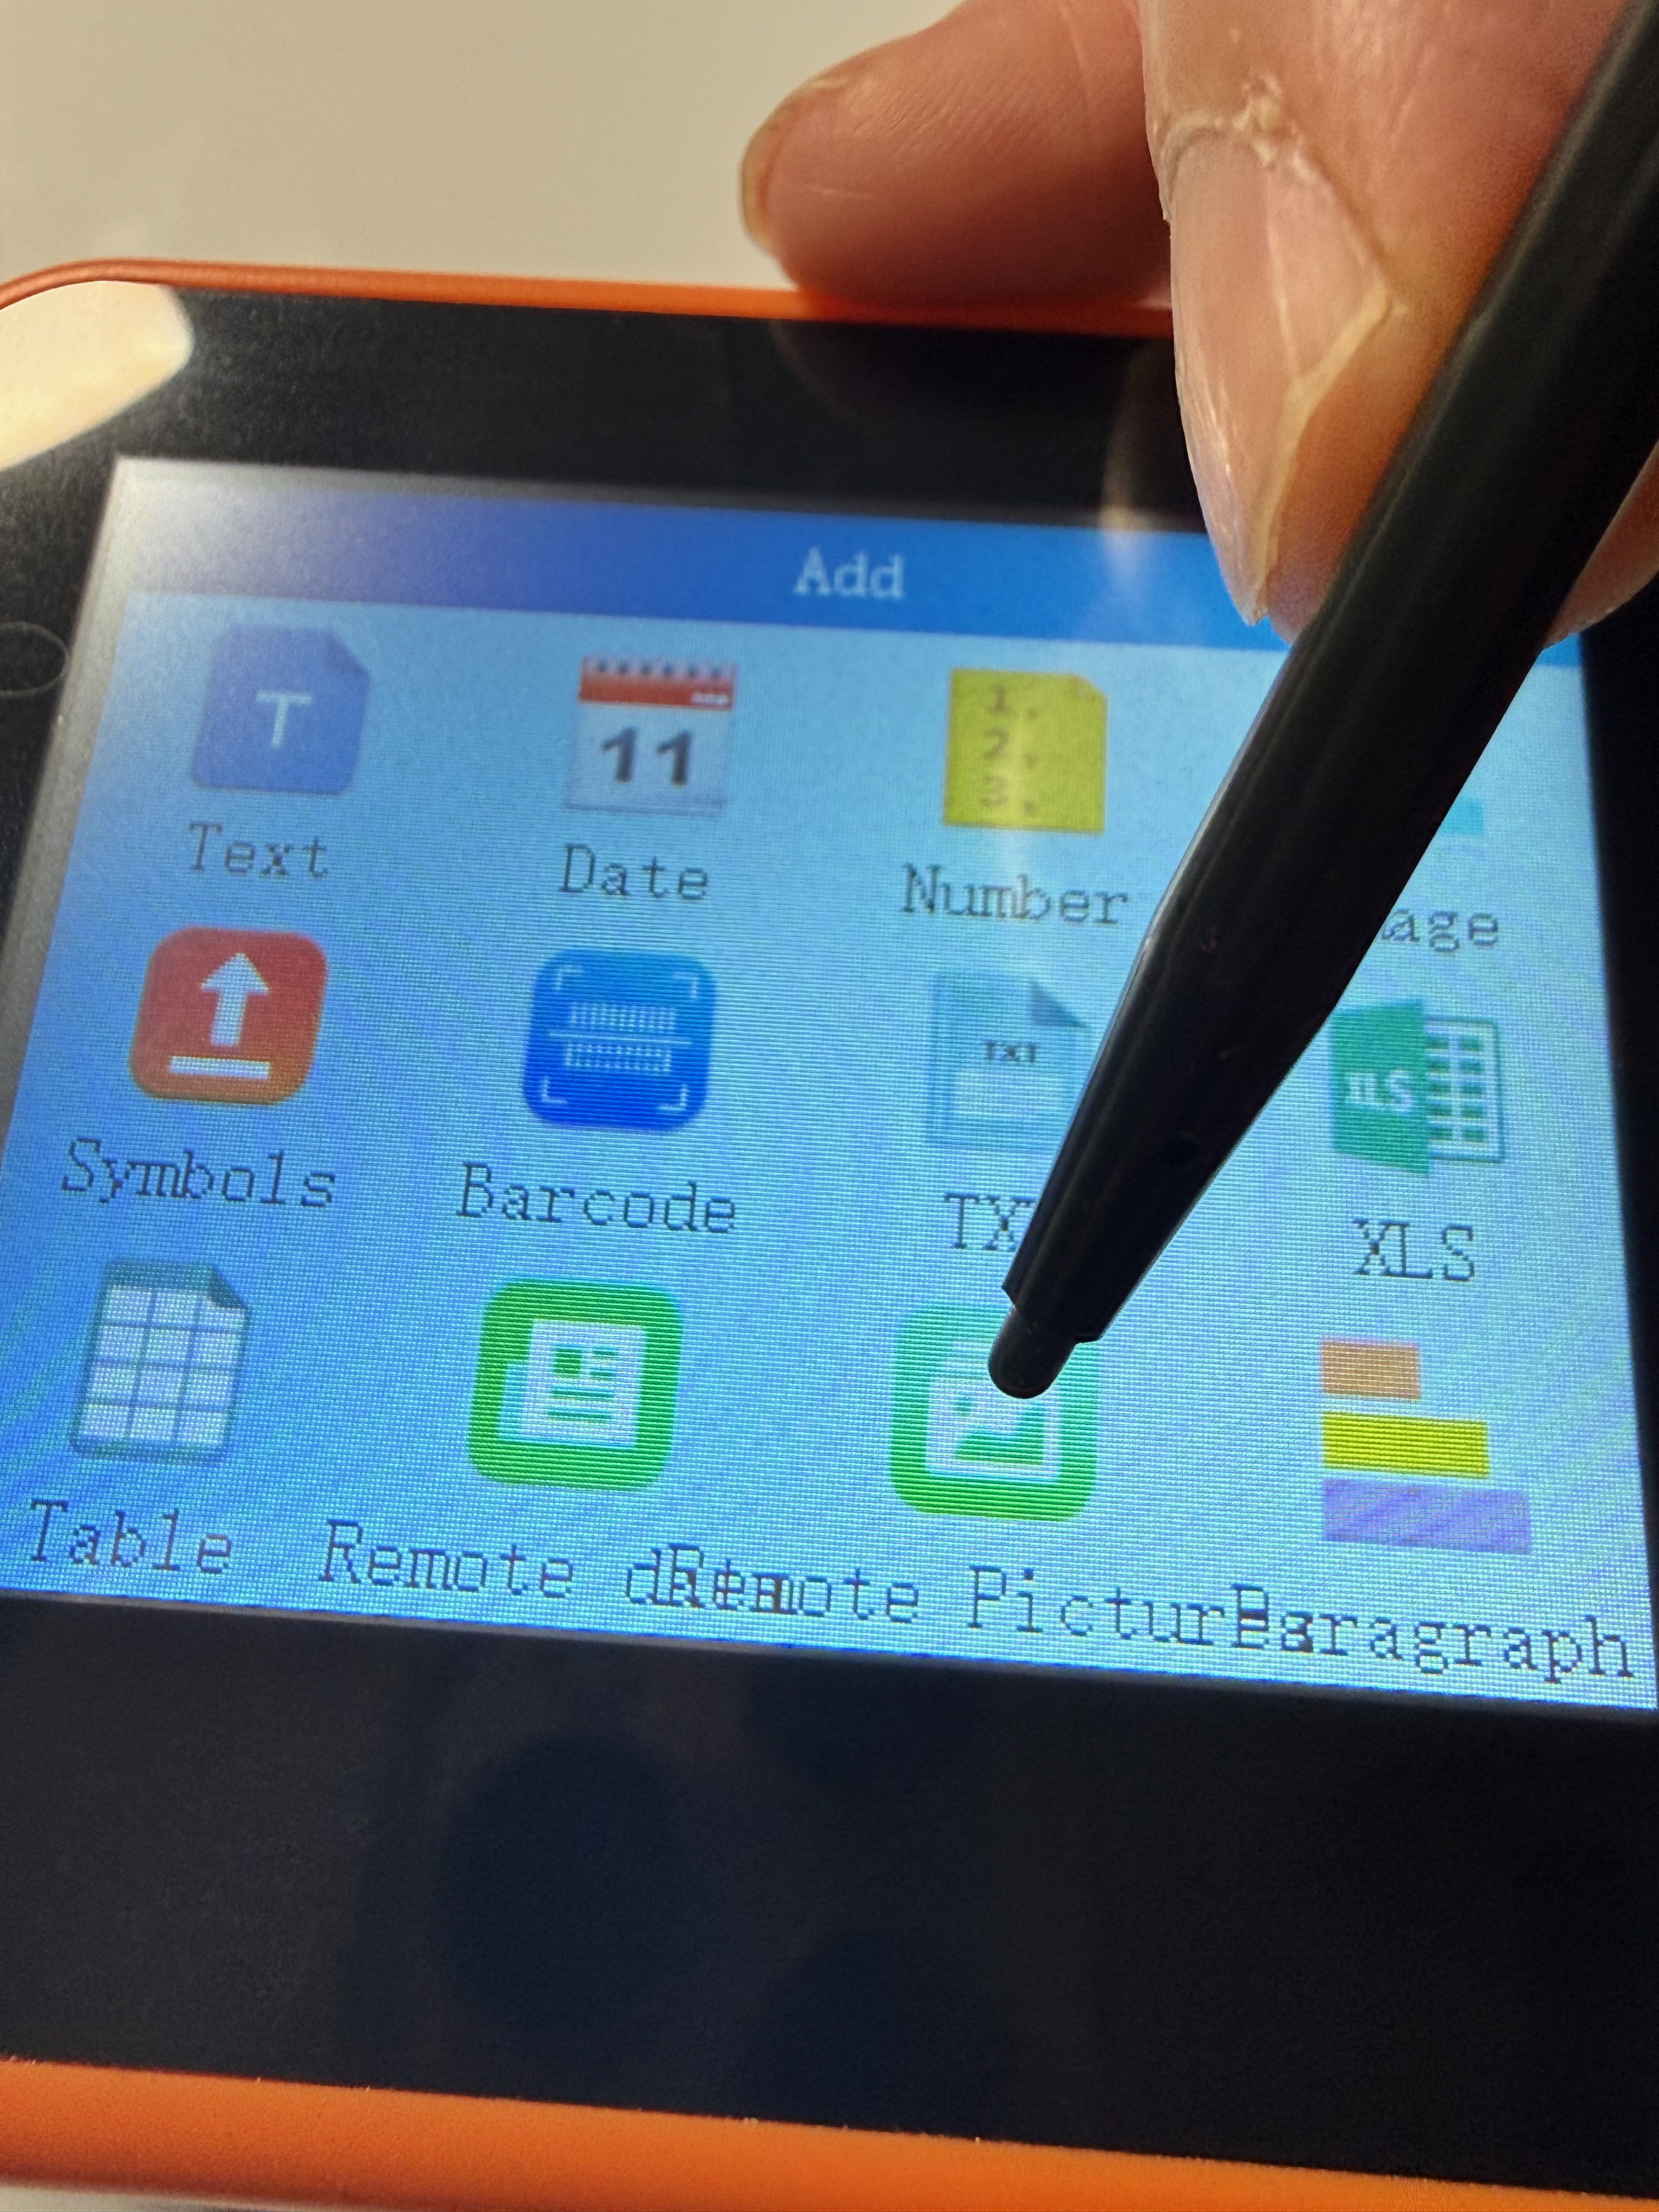
Tap 'Add'
Tap 'Remote Picture'
Ready to receive
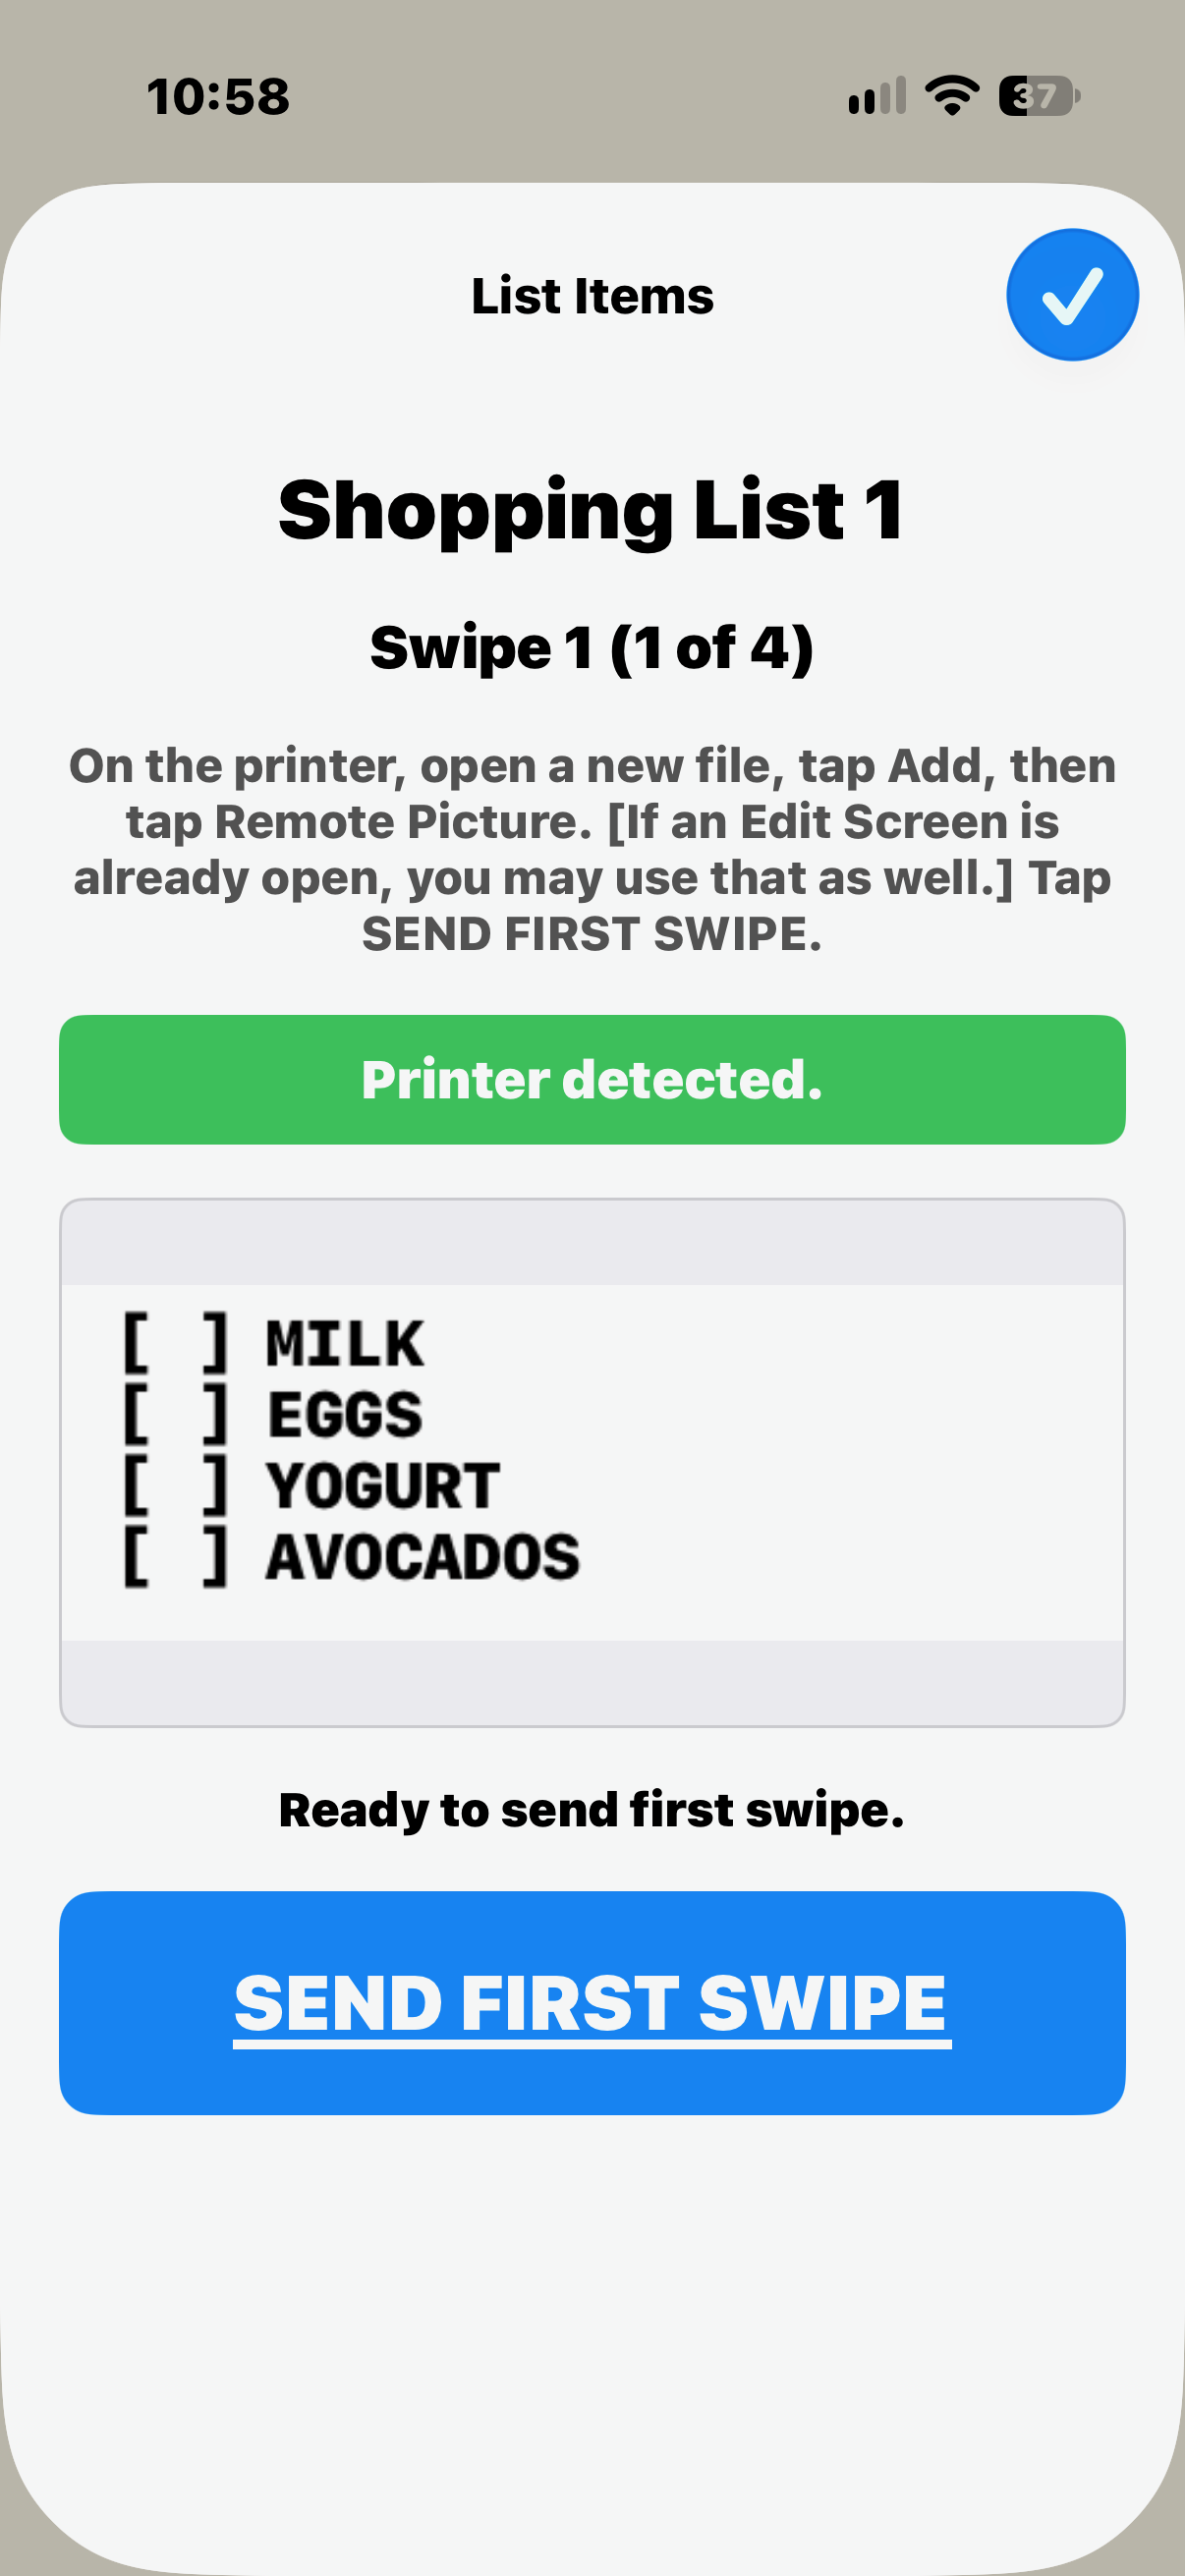
Ready to receive
Tap 'SEND FIRST SWIPE'
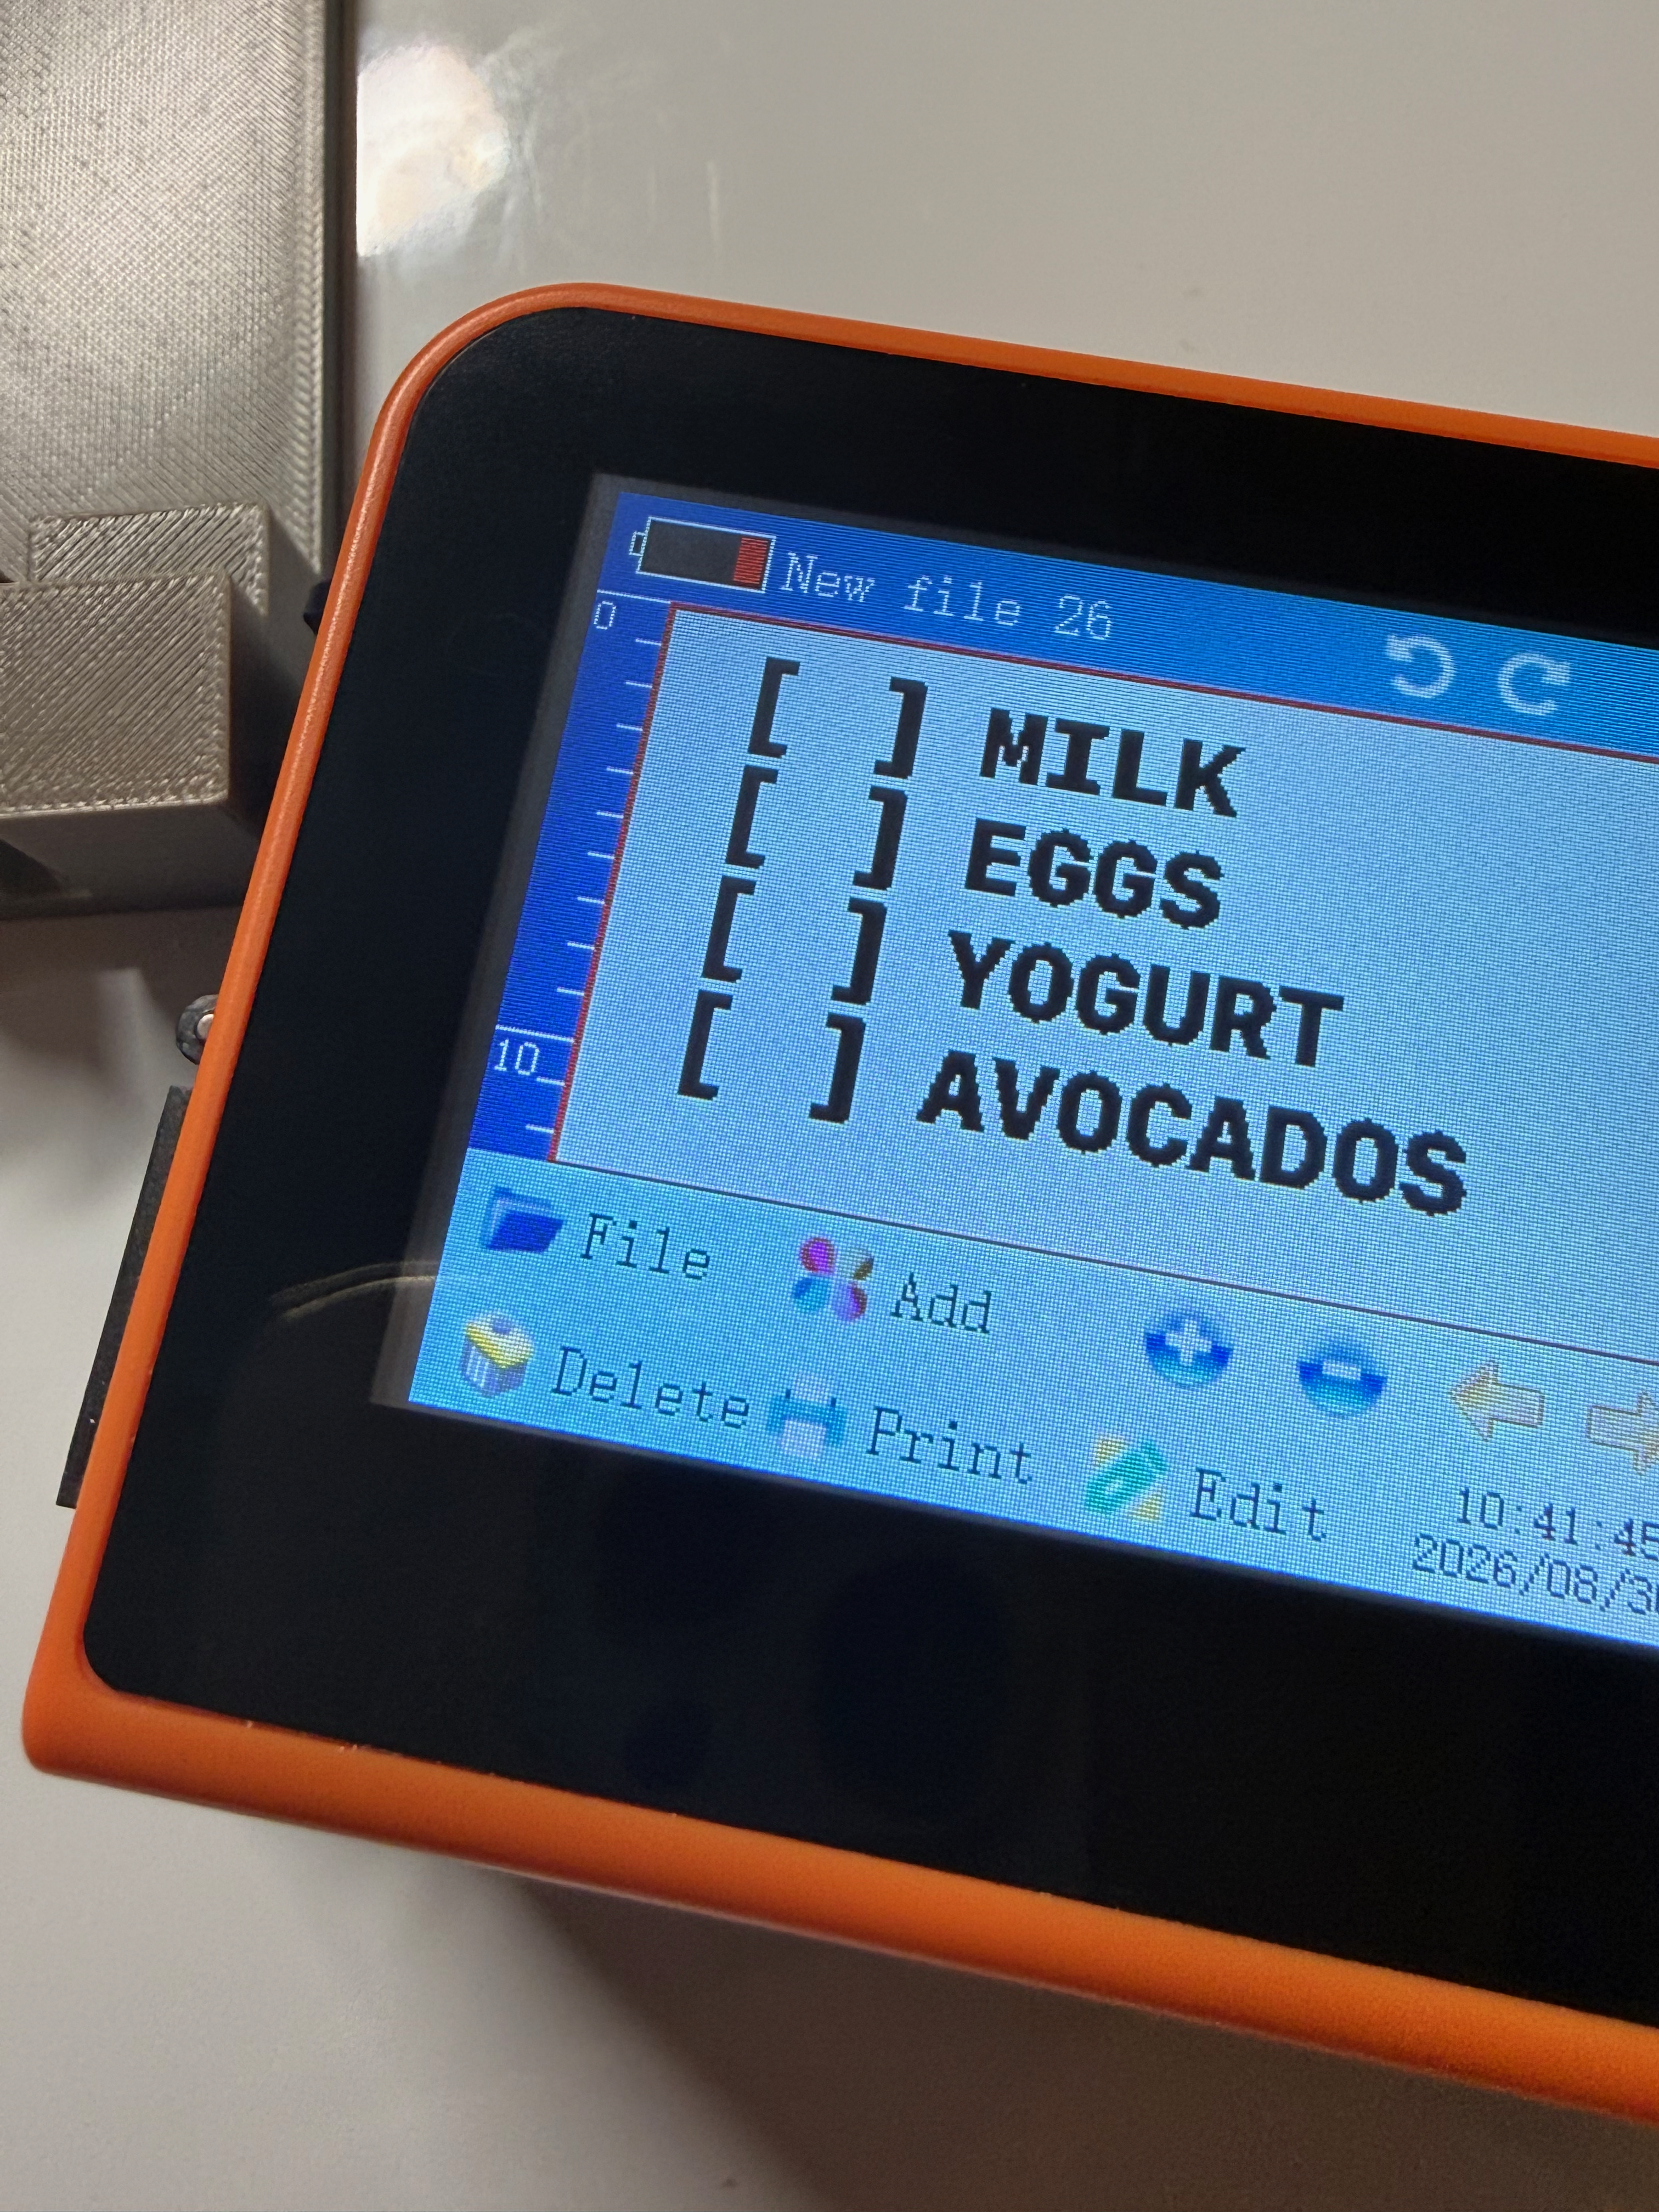
Your first List segment is displayed
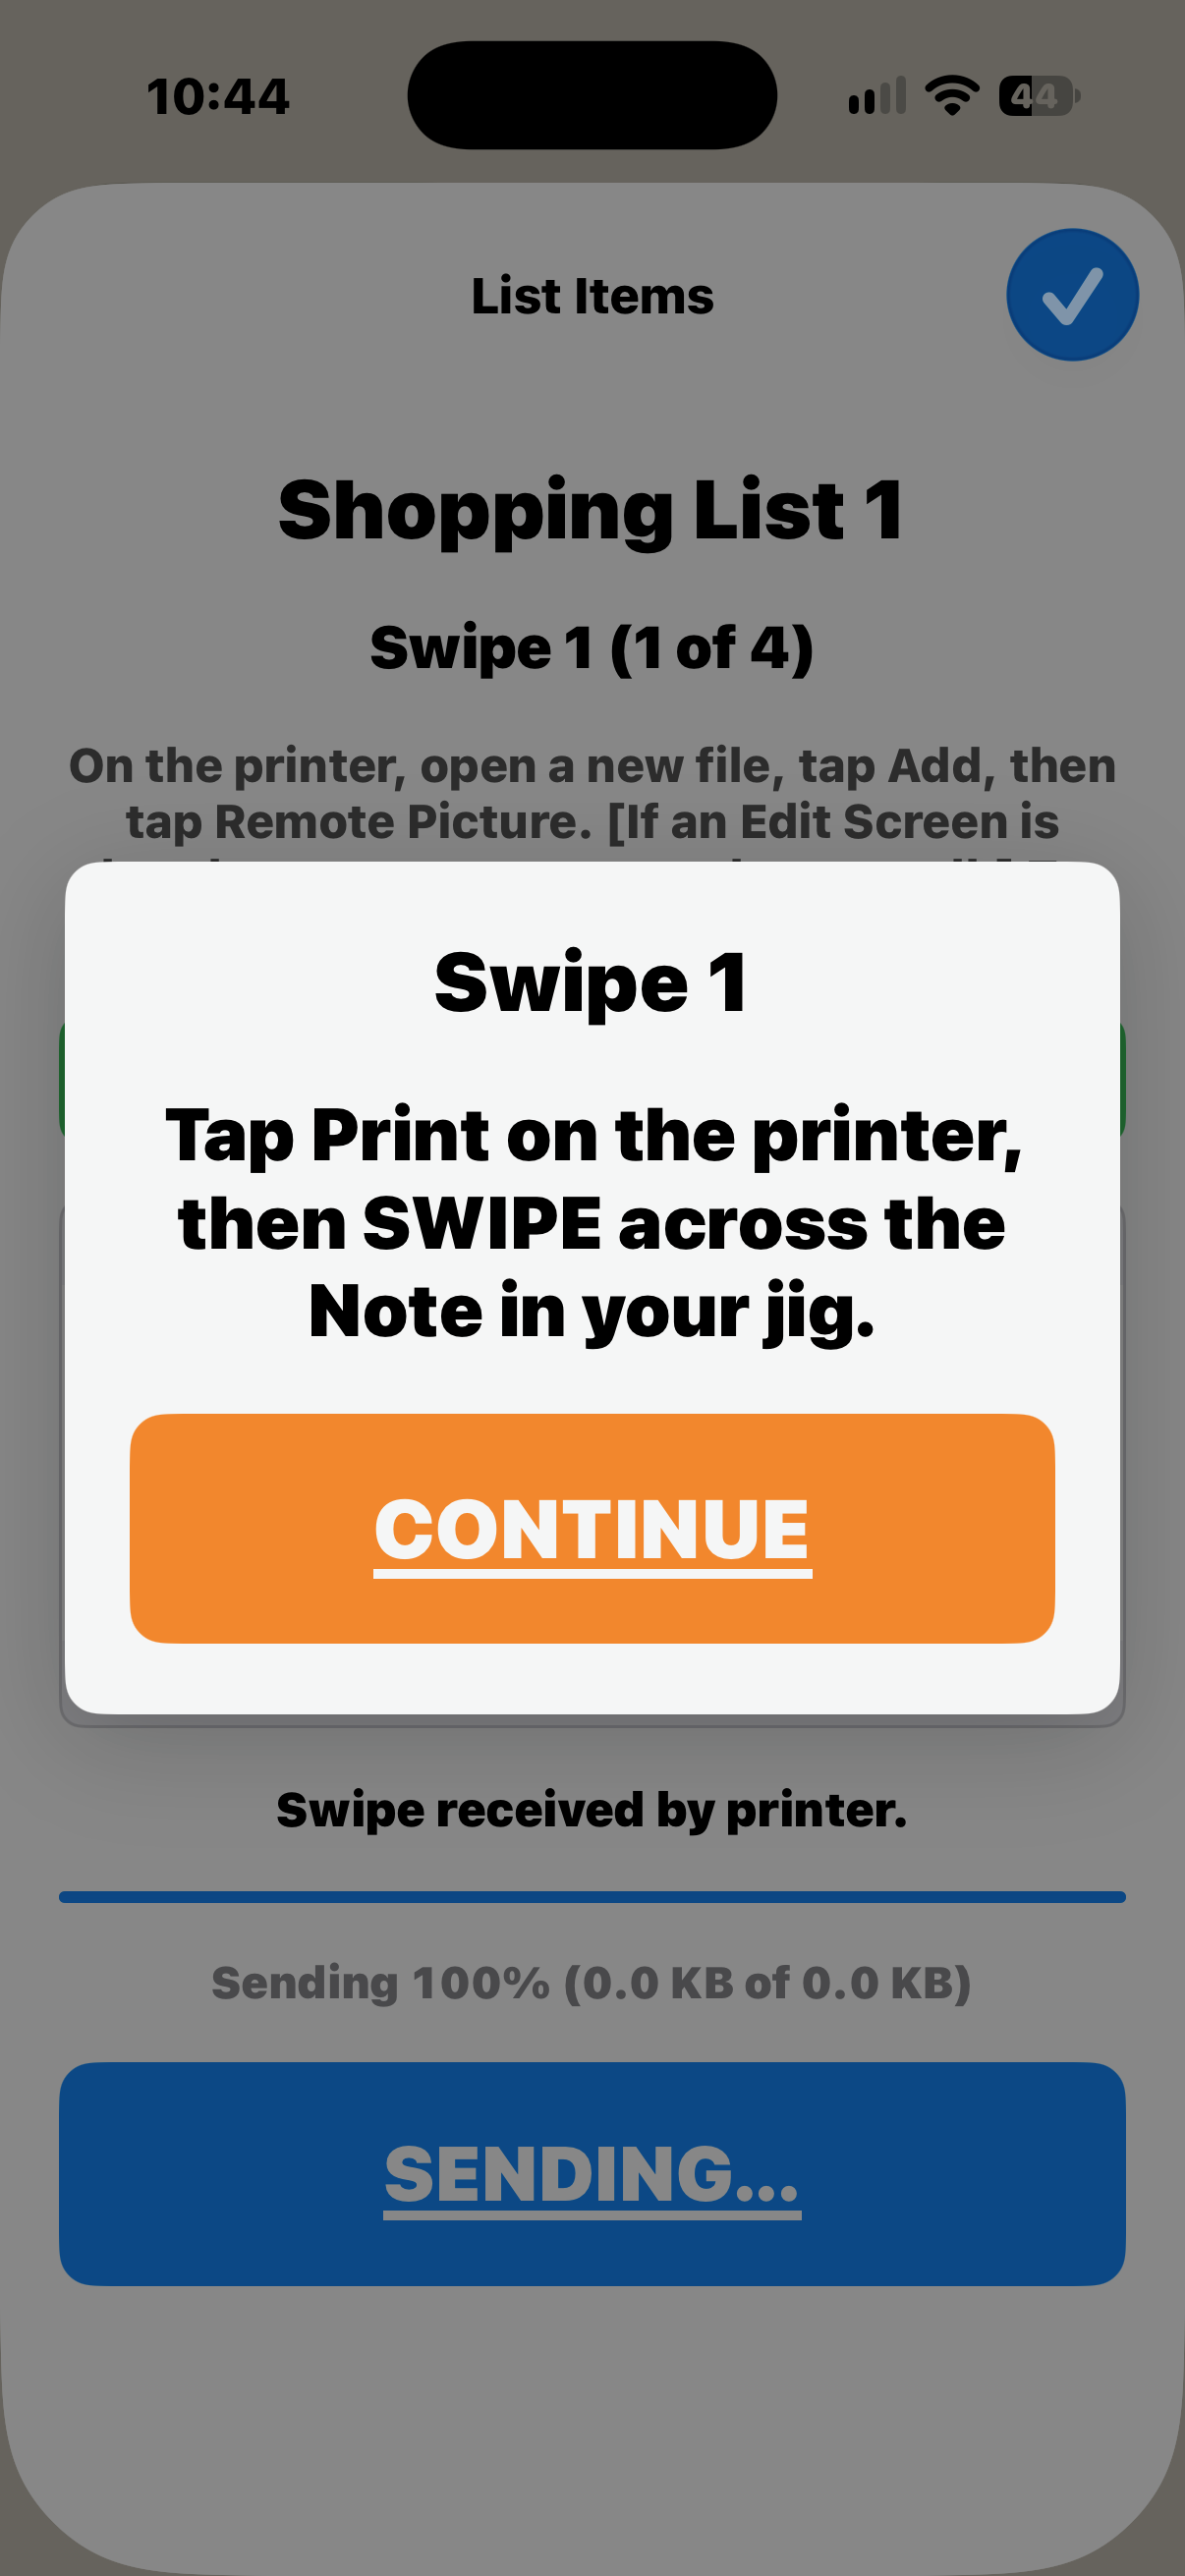
LISTS app instruction
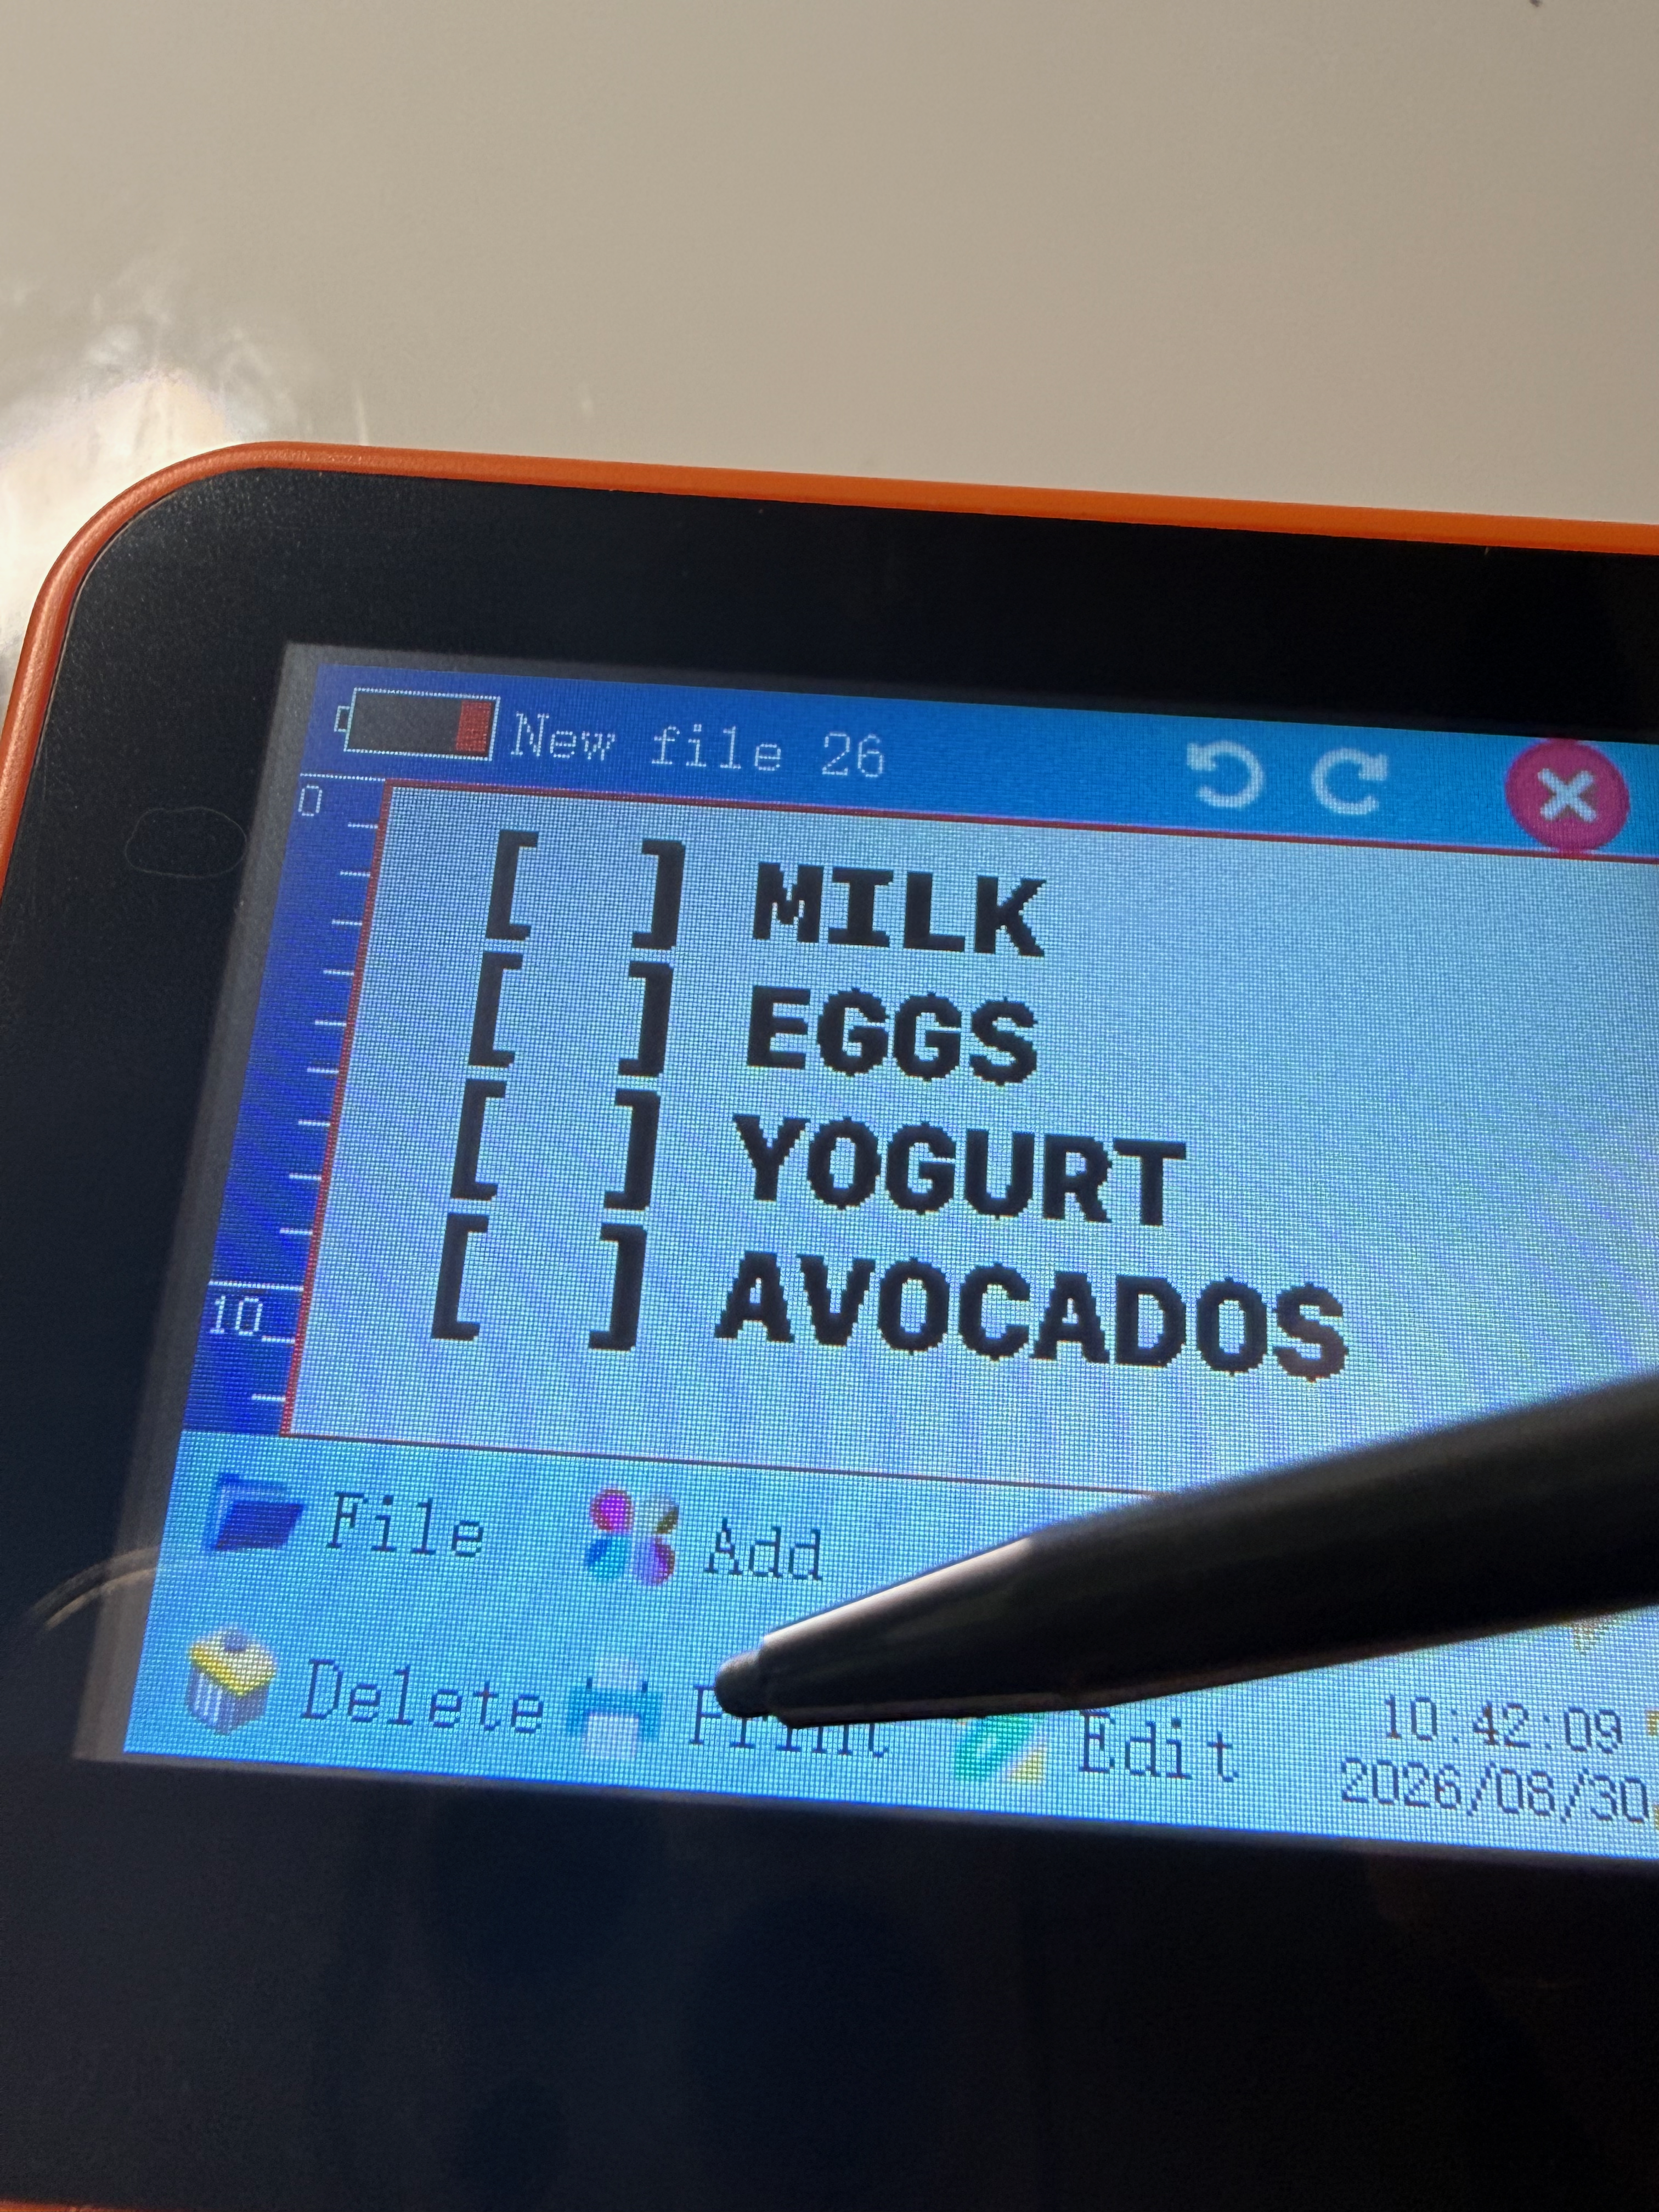
Tap 'Print' button on printer screen
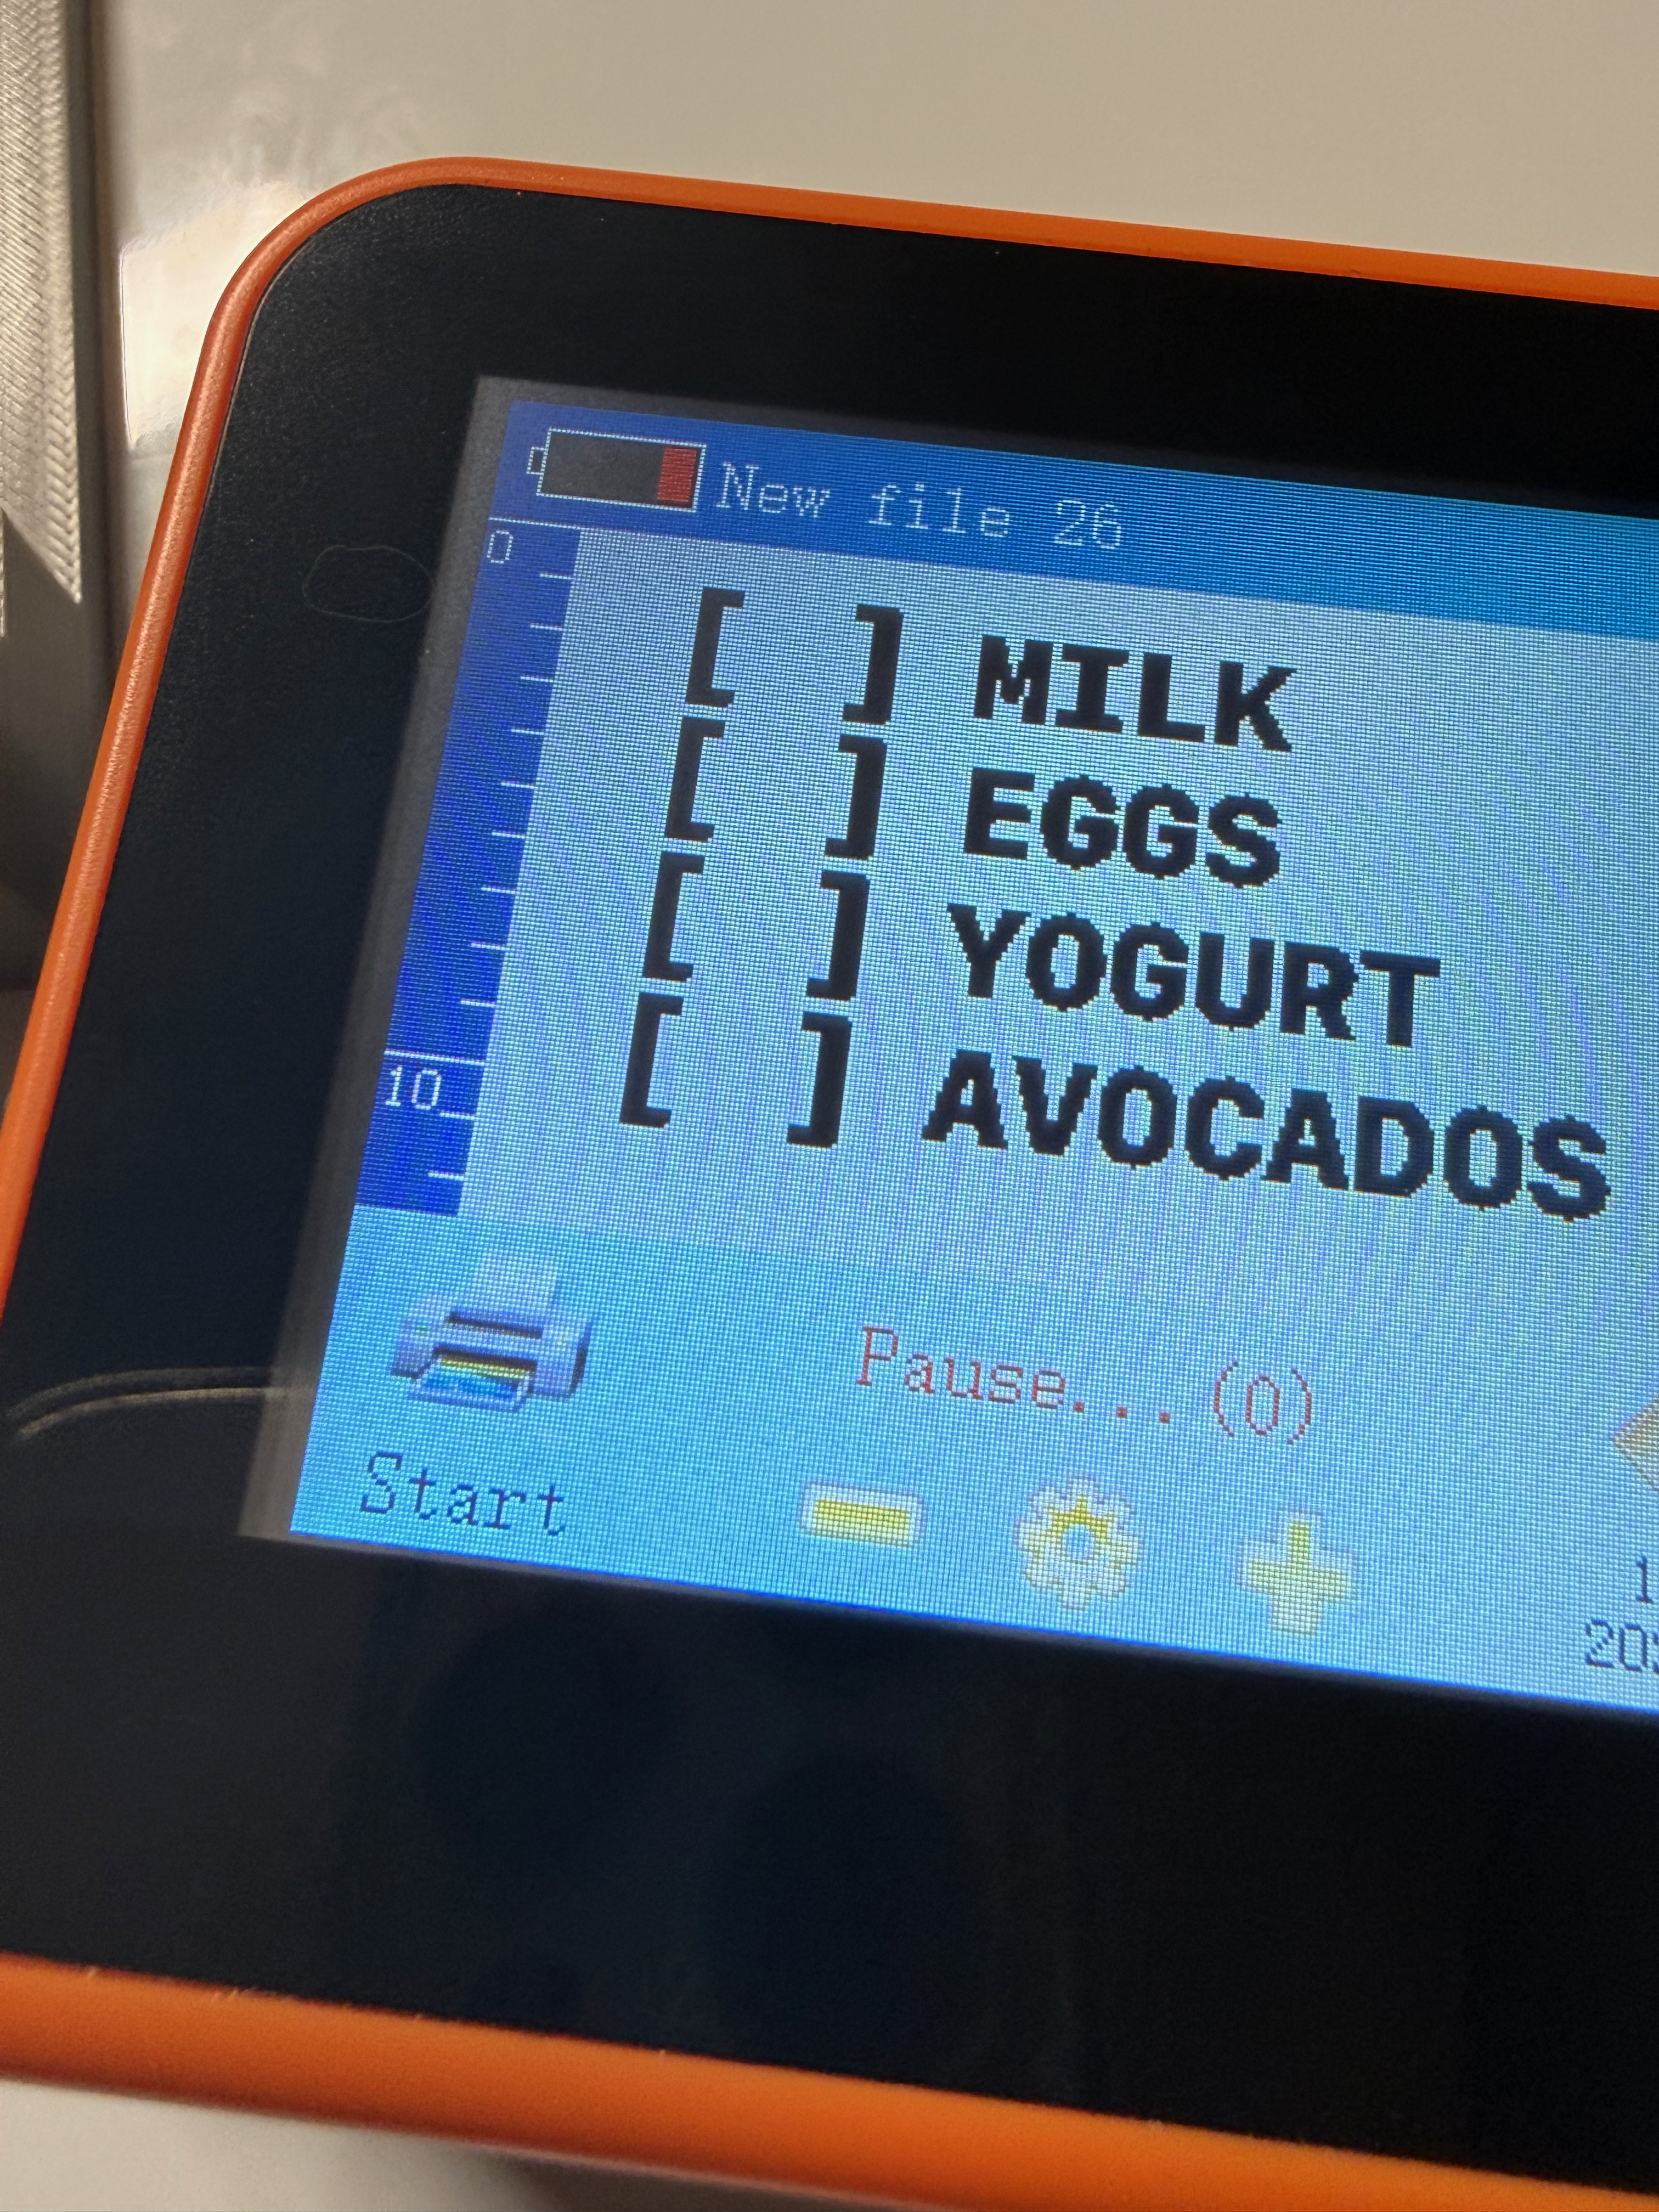
Print-ready mode
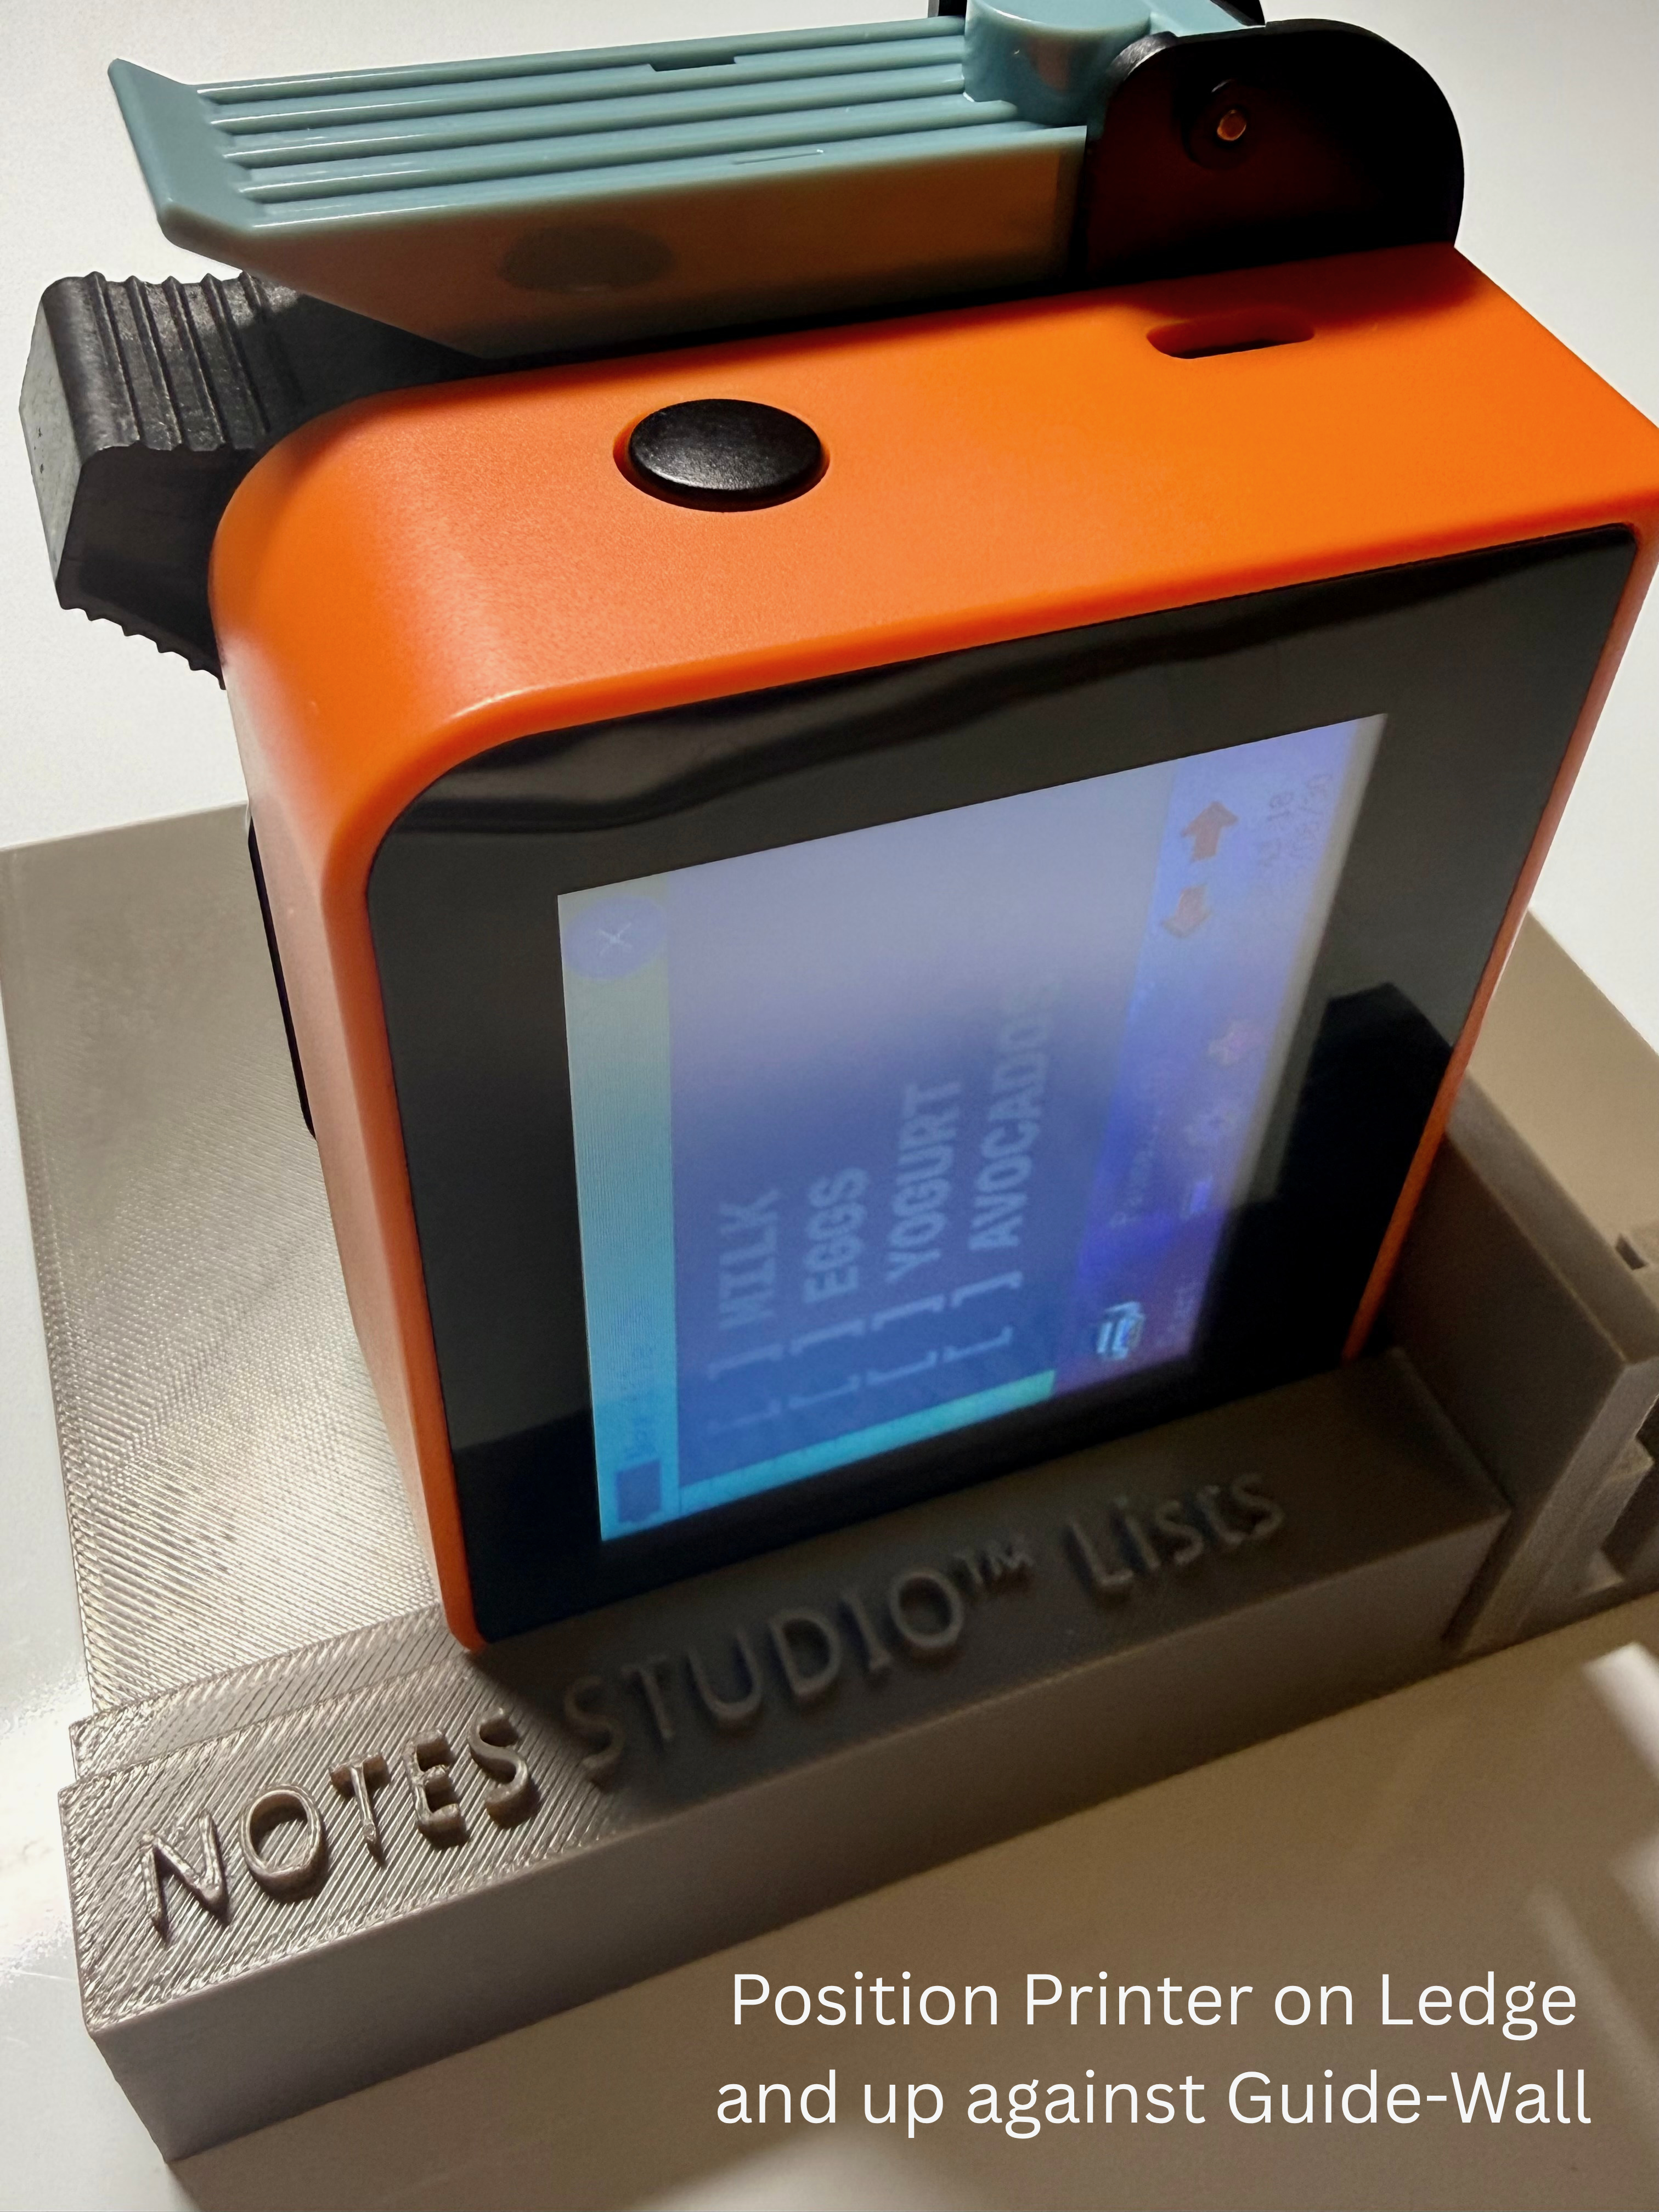
Print-ready mode
Set printer on the jig ledge and up against the Guide-Wall
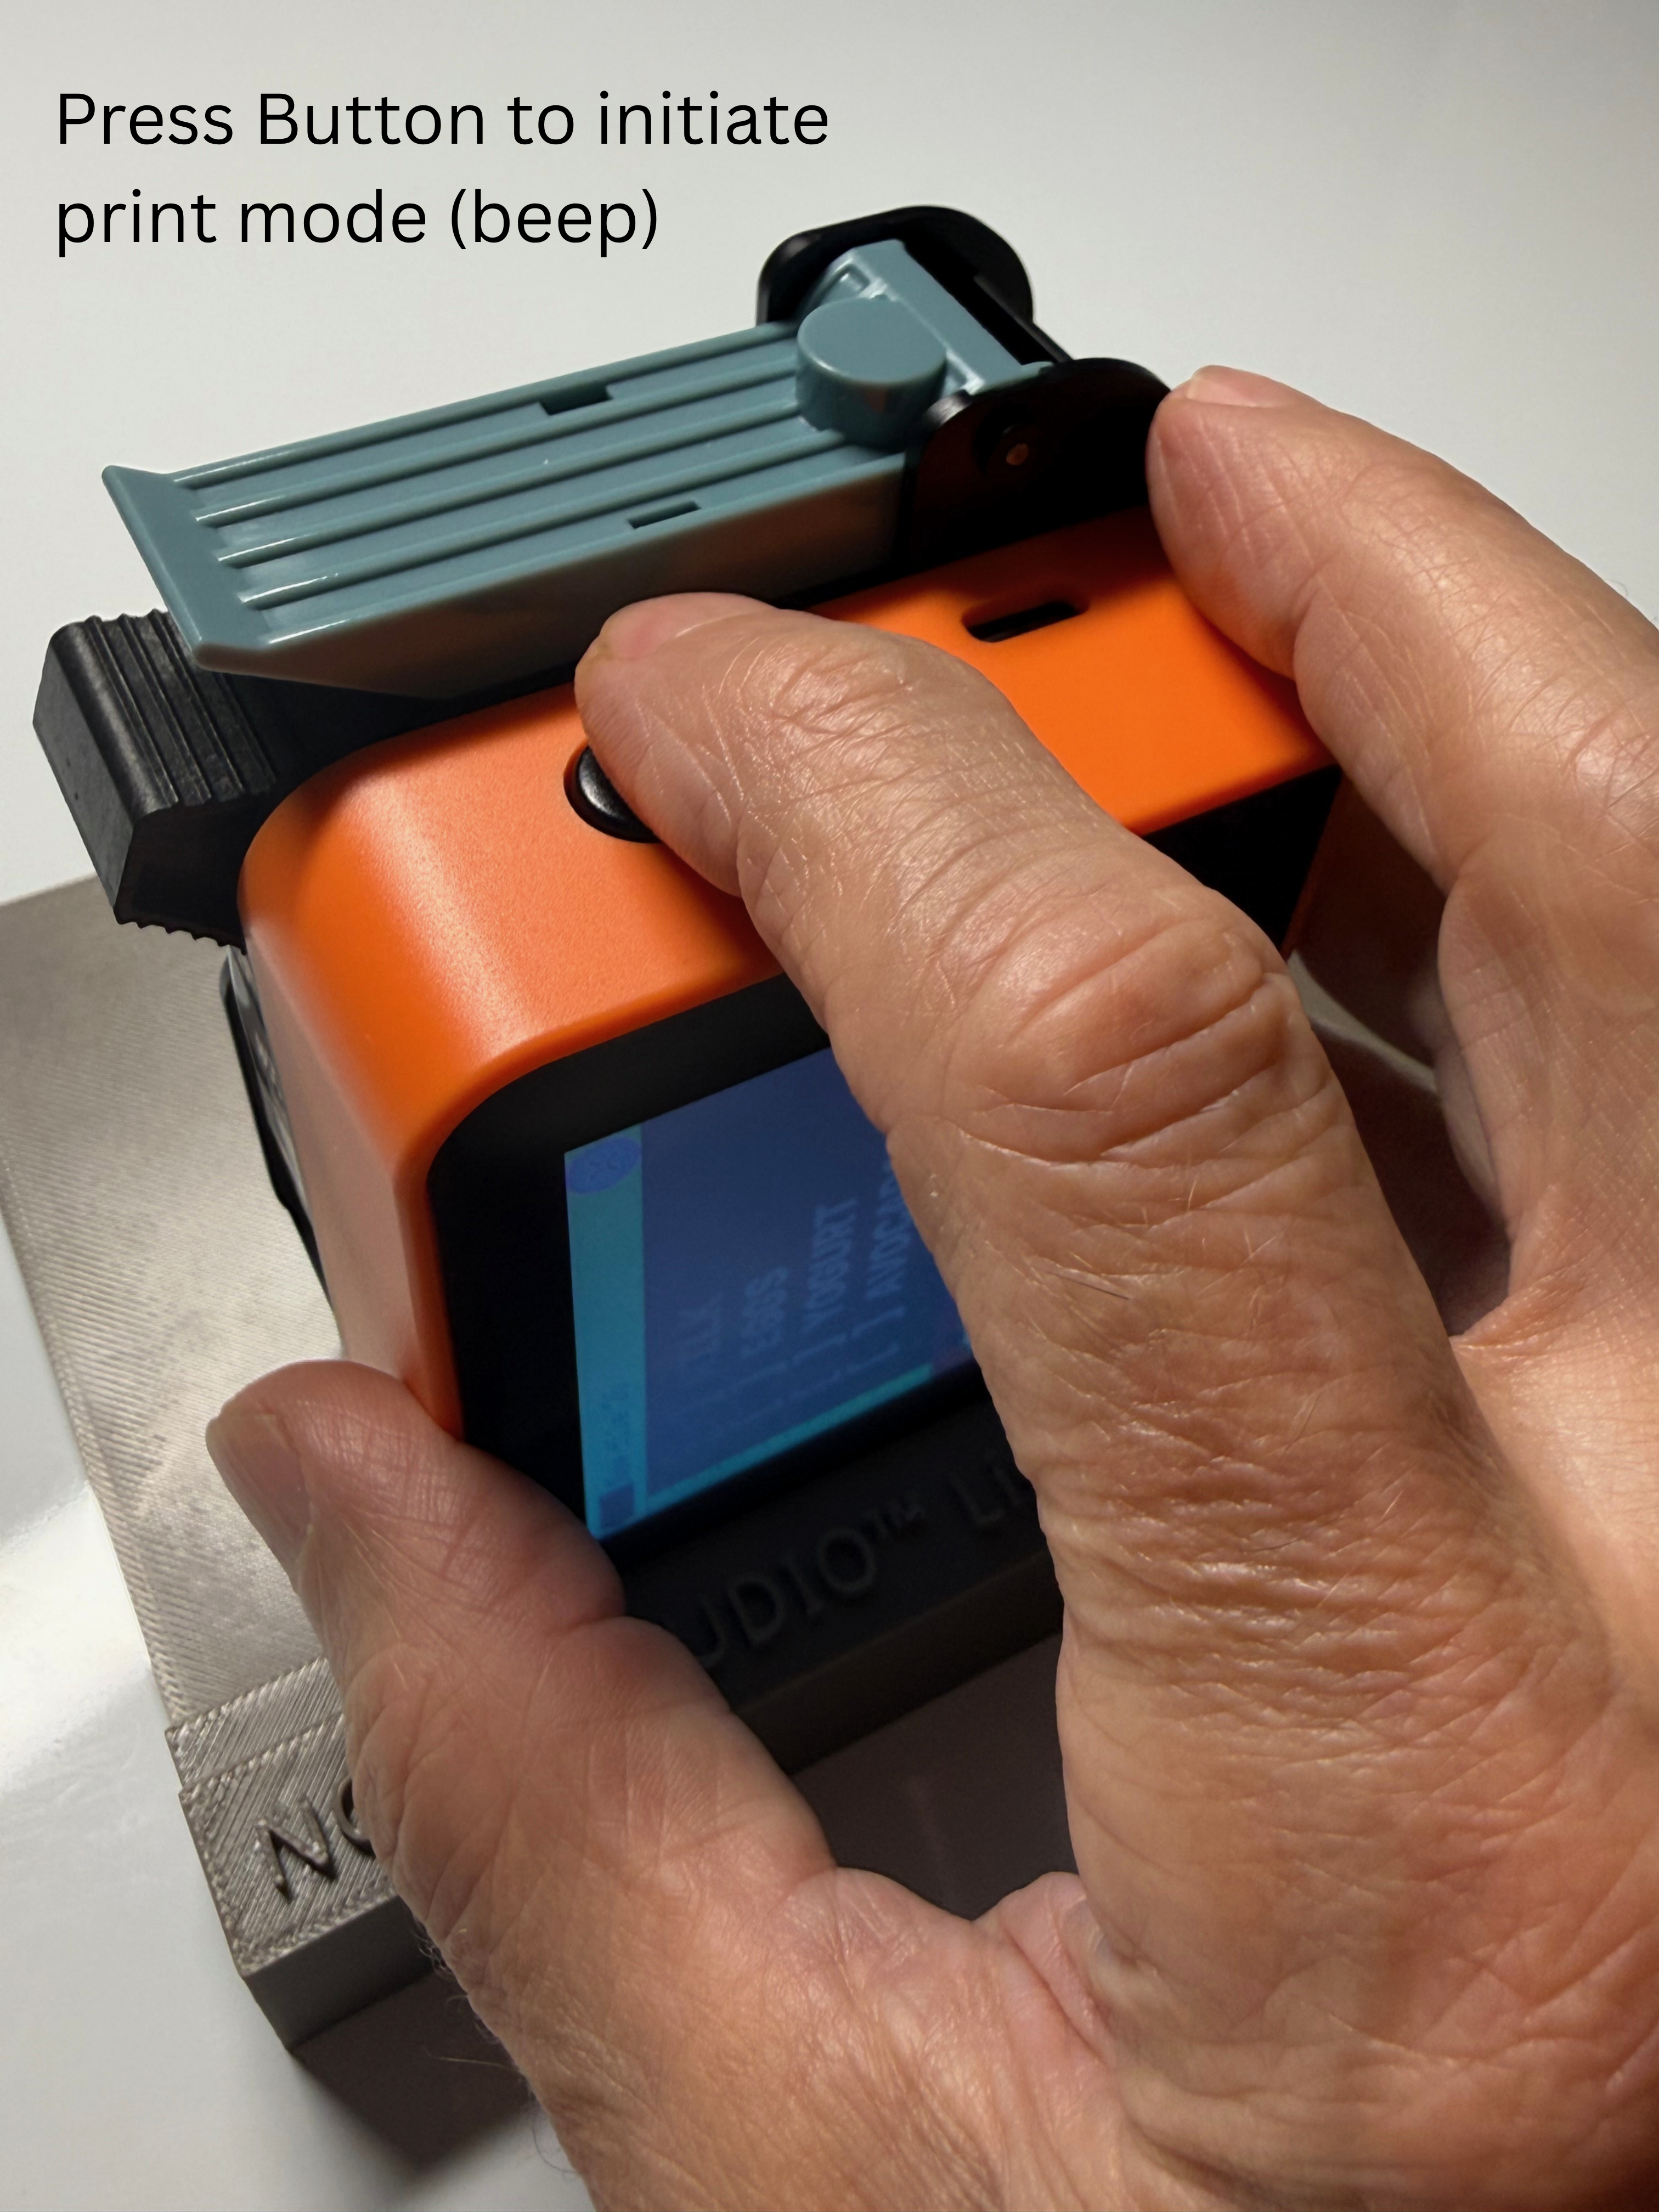
Press the button on top... until you hear a 'beep'
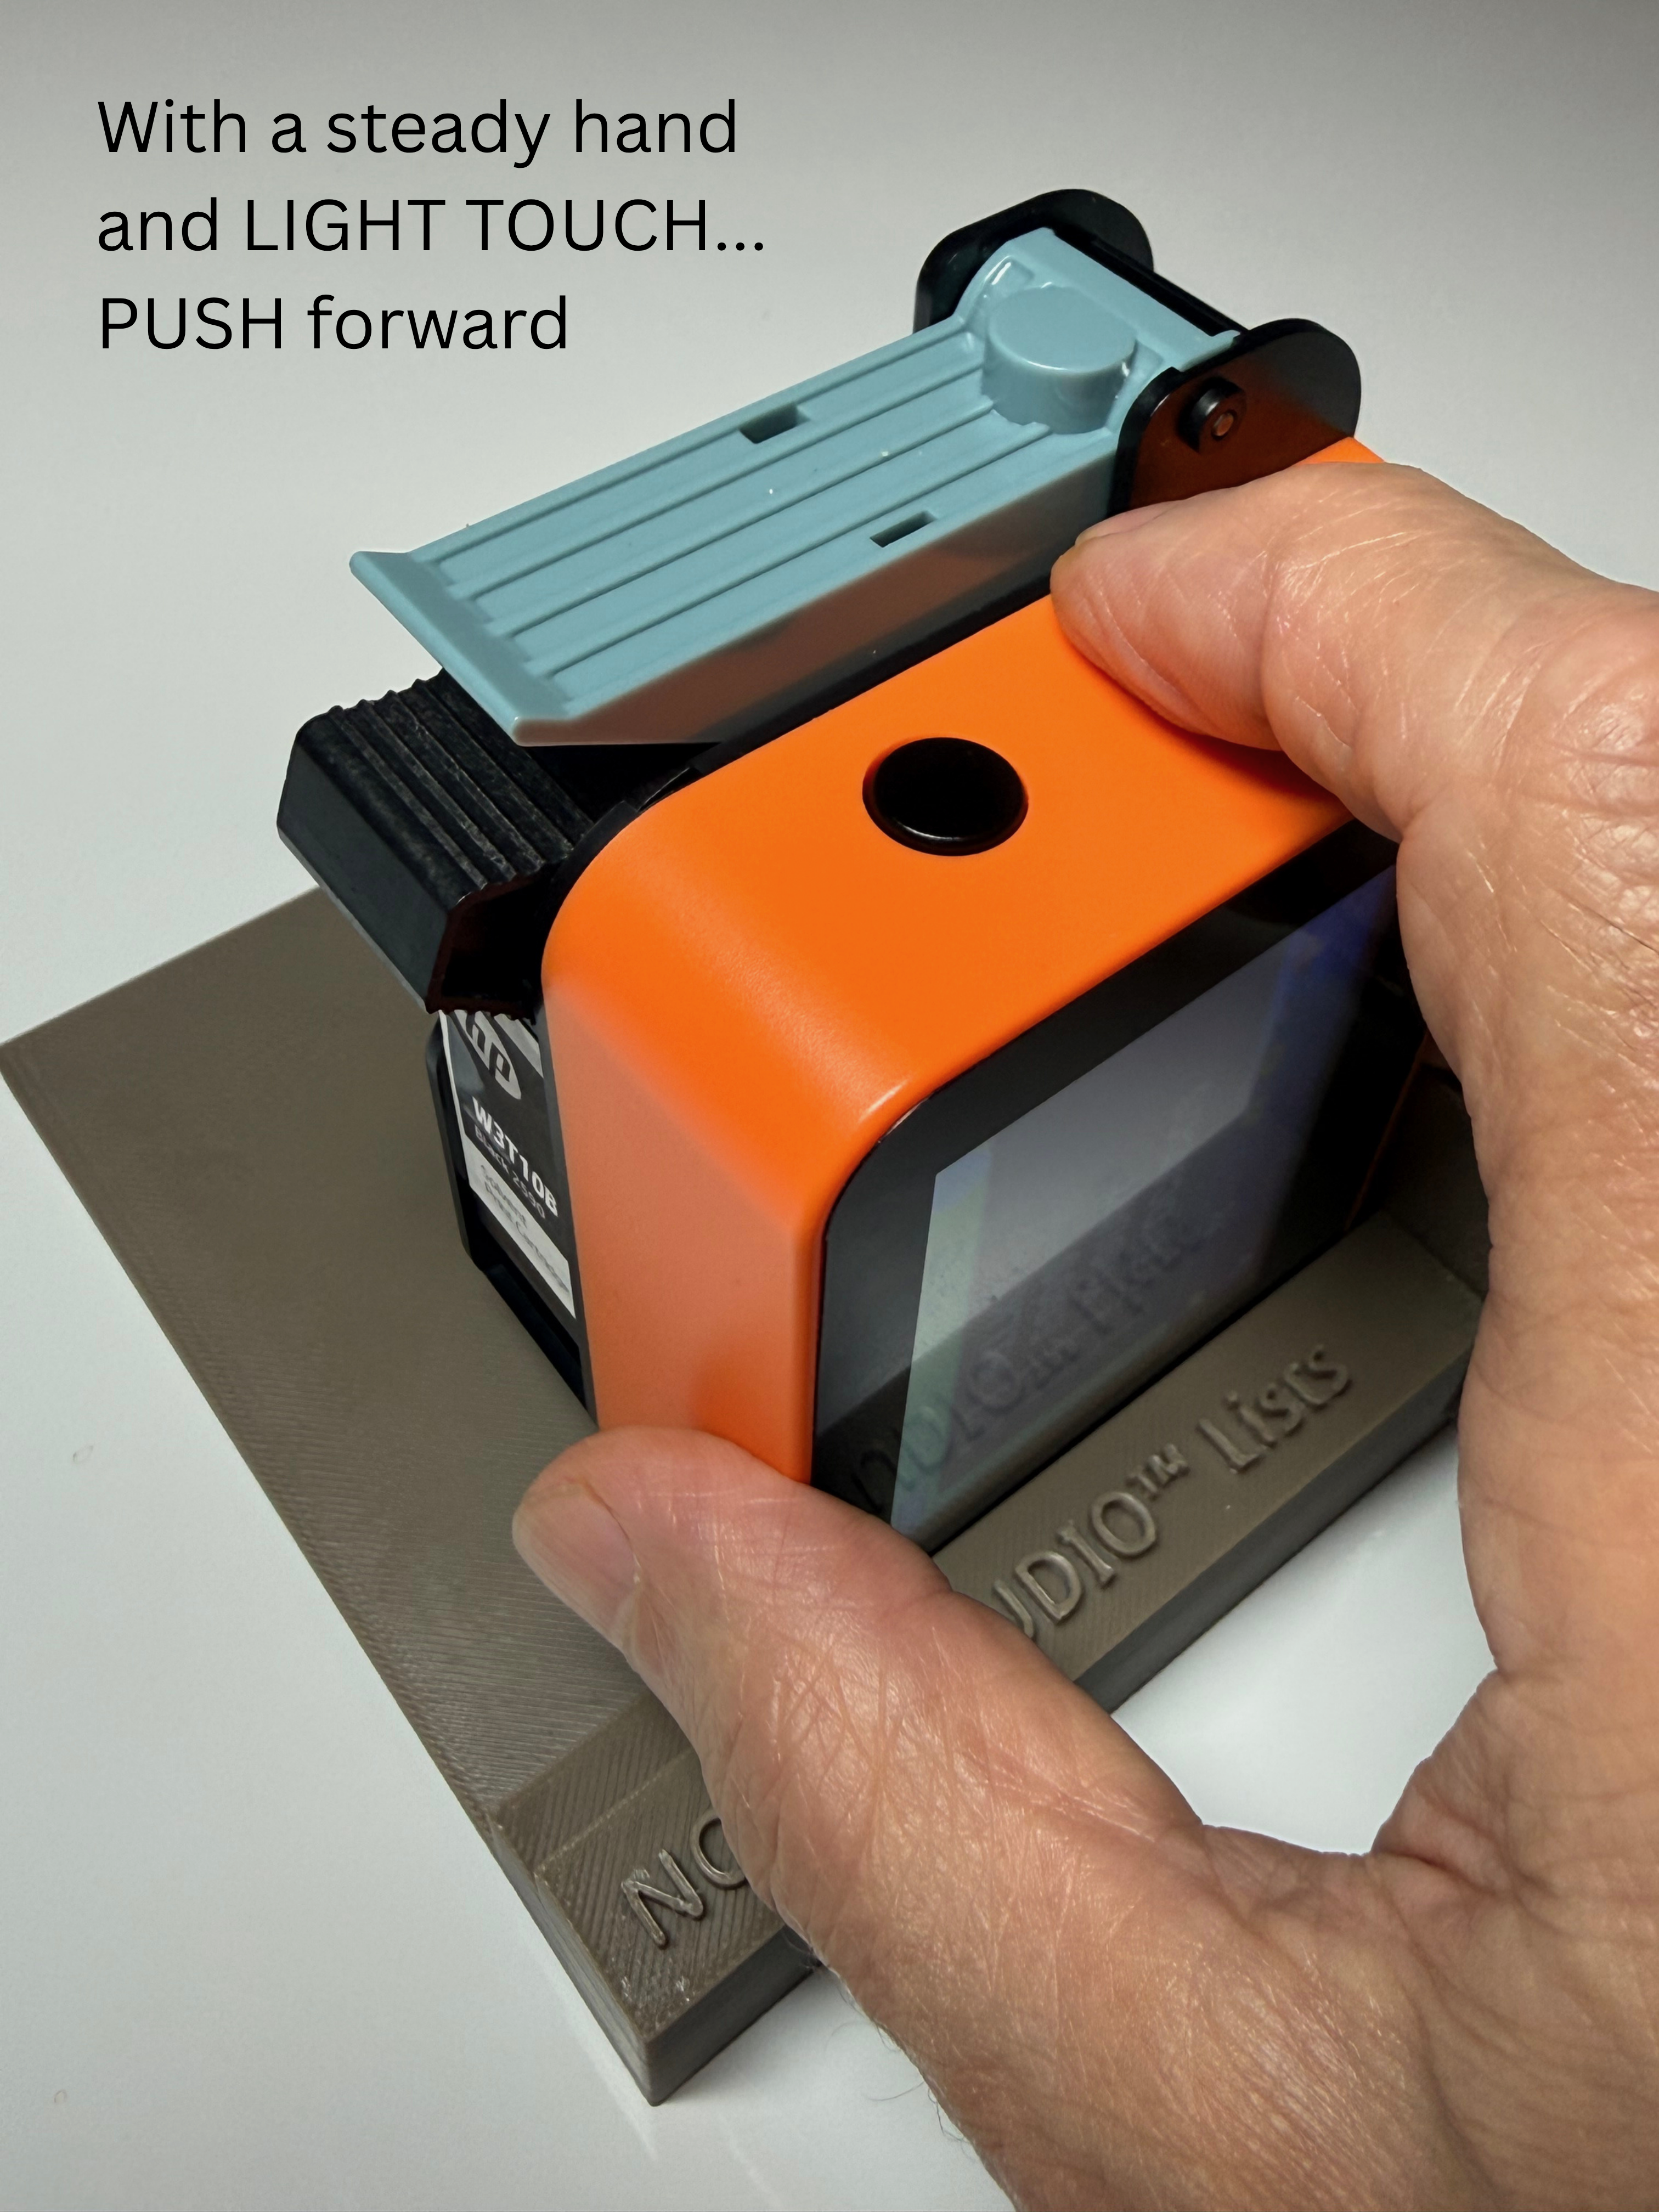
Use a steady hand and LIGHT TOUCH to PUSH the printer forward. You will hear another 'beep' when the print is complete.
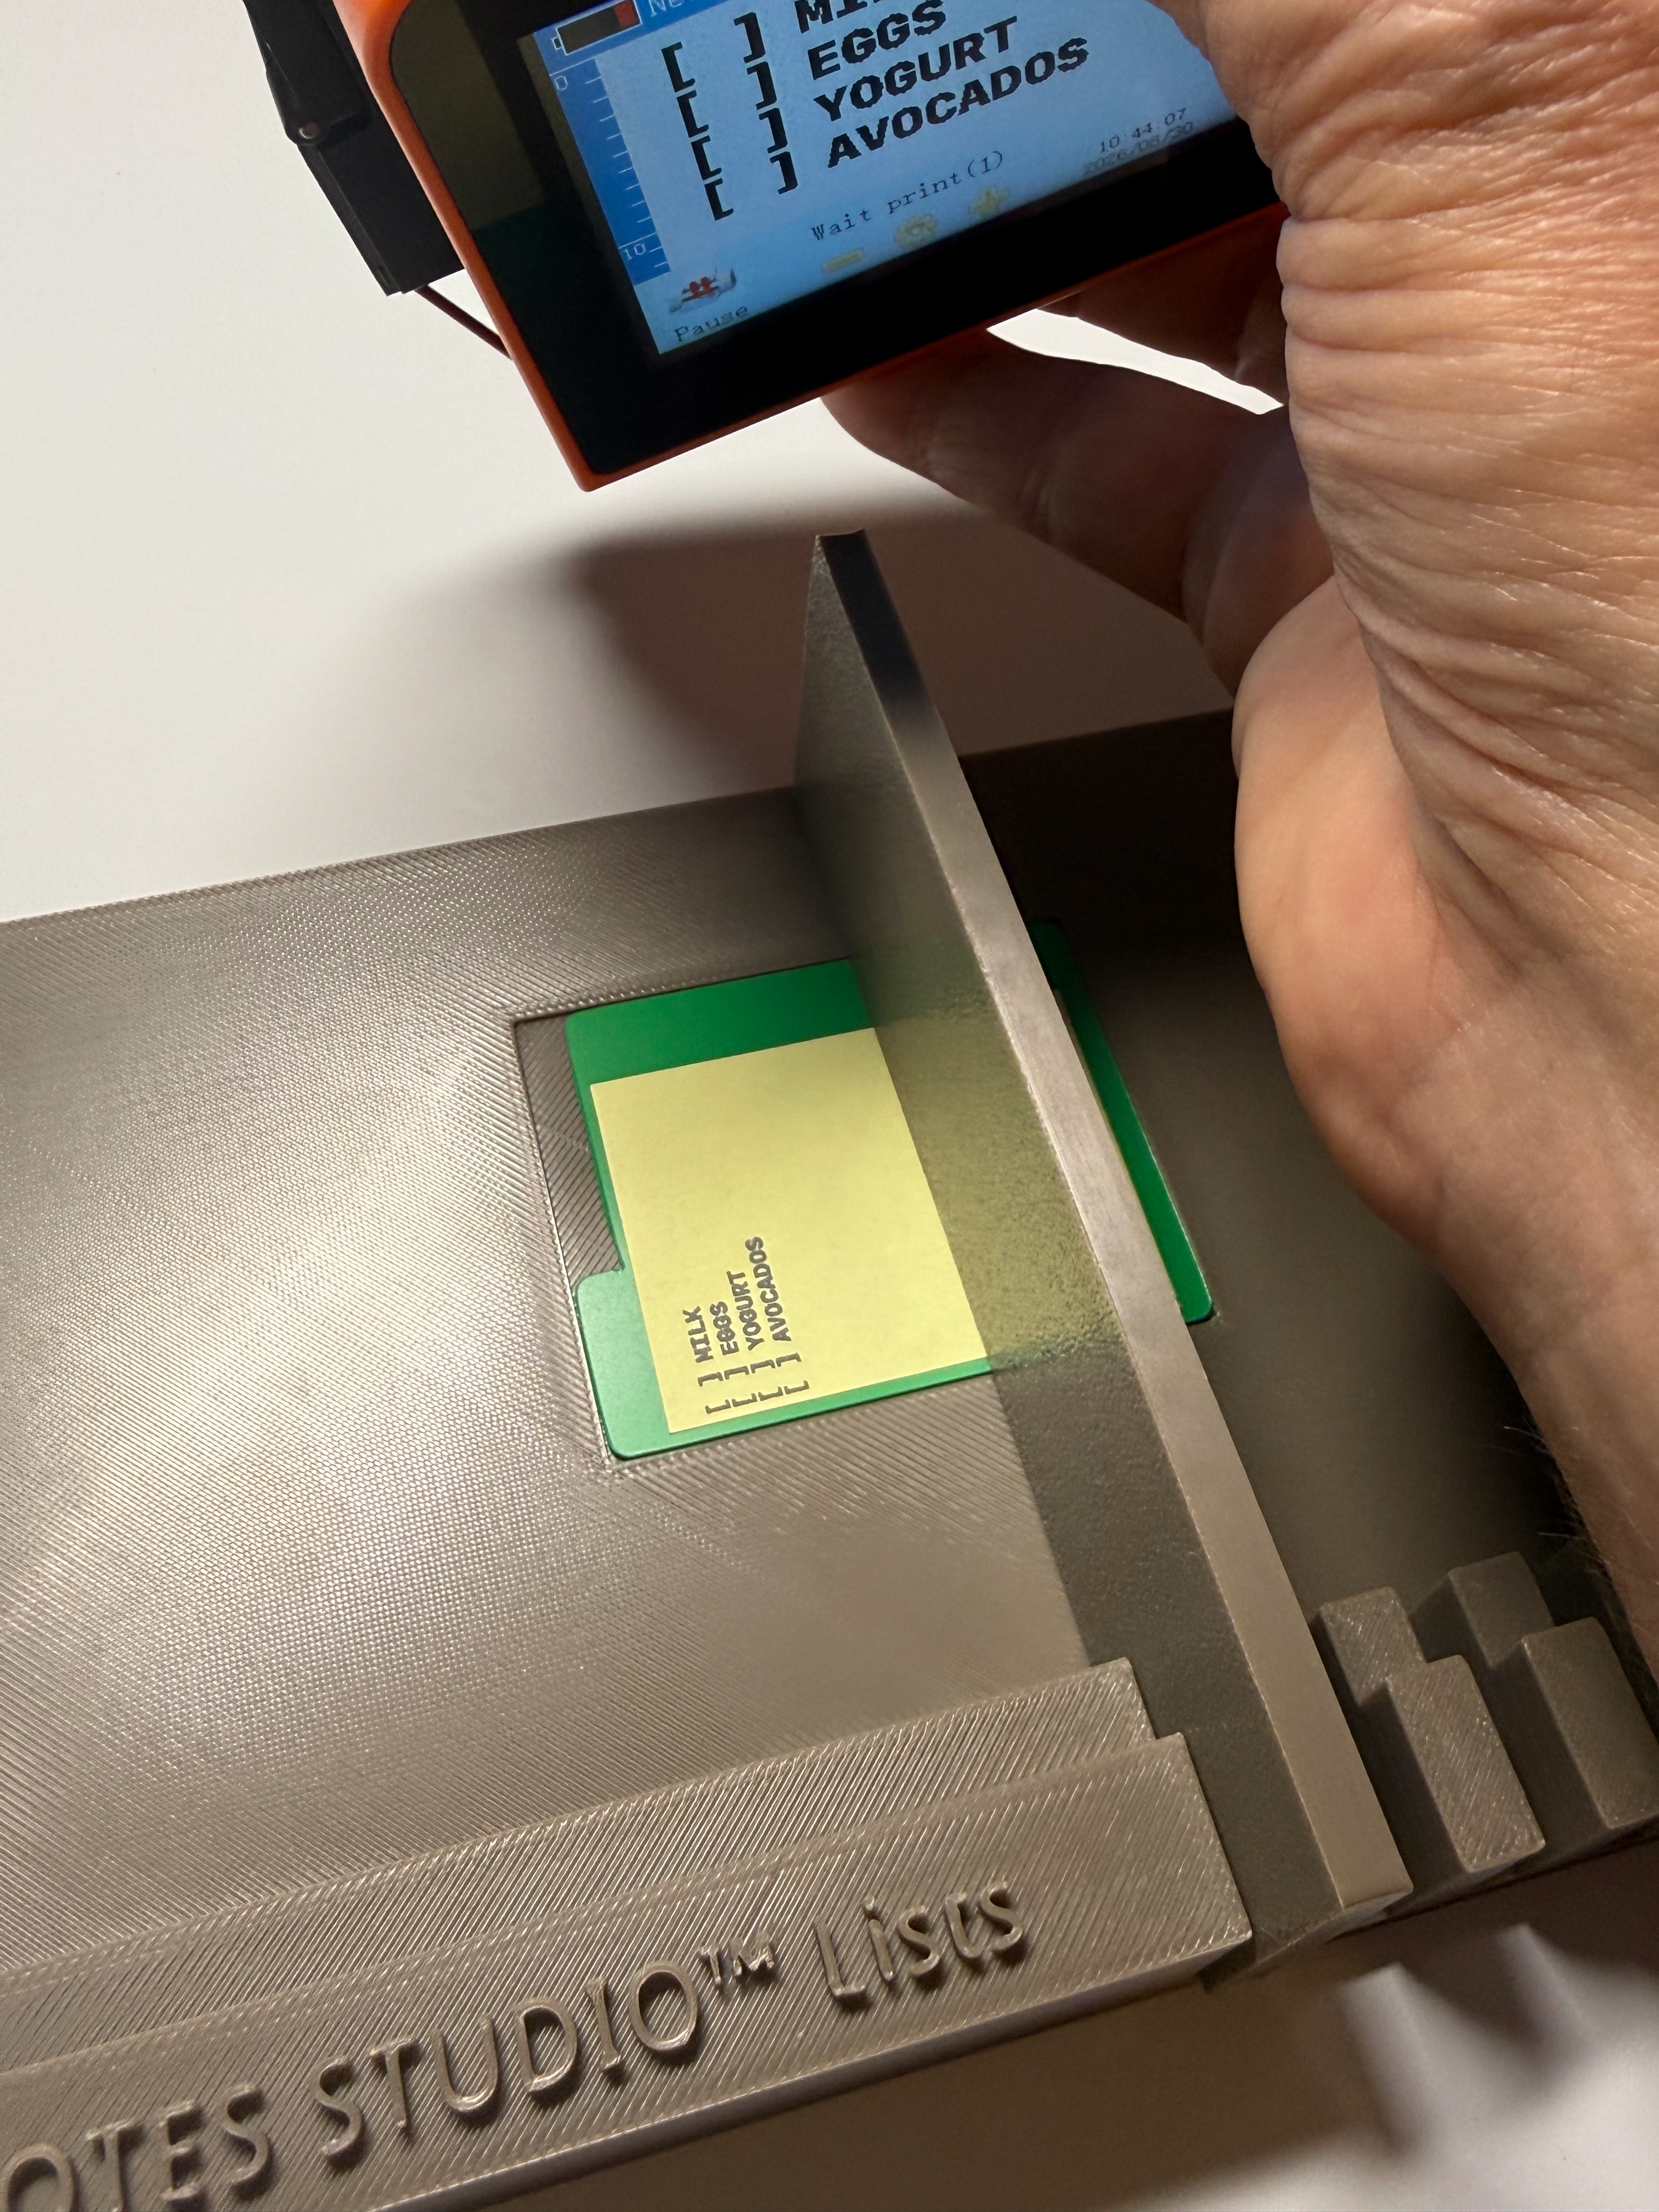
Your first List segment is done!
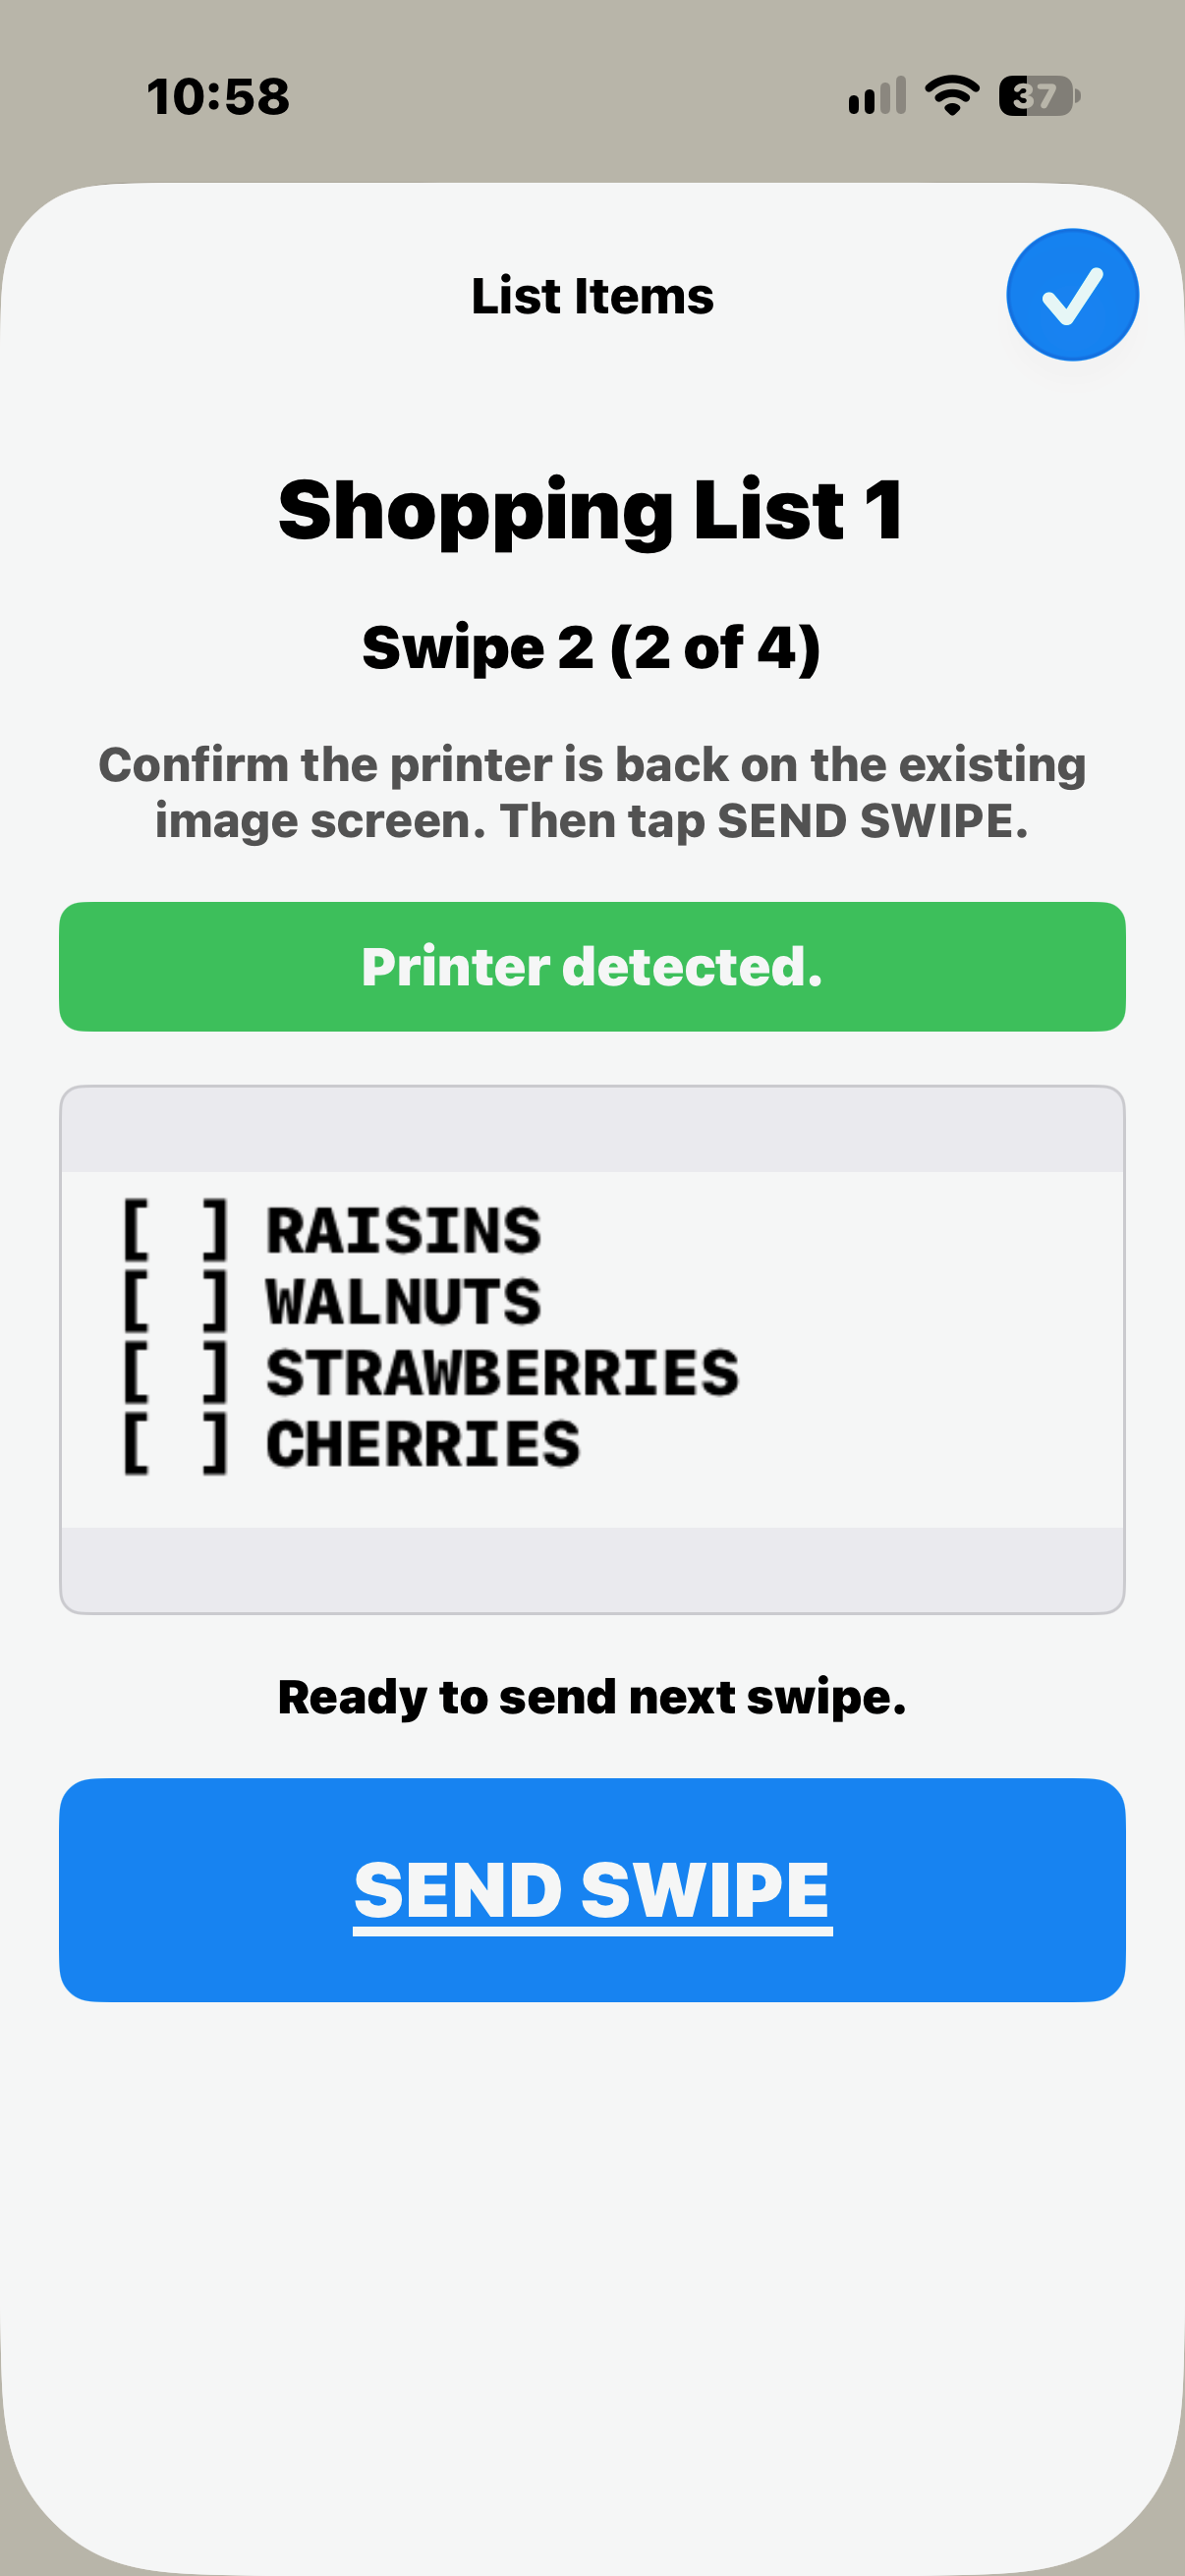
After tapping 'Continue', you will see your second List segment. Tap 'SEND SWIPE'.
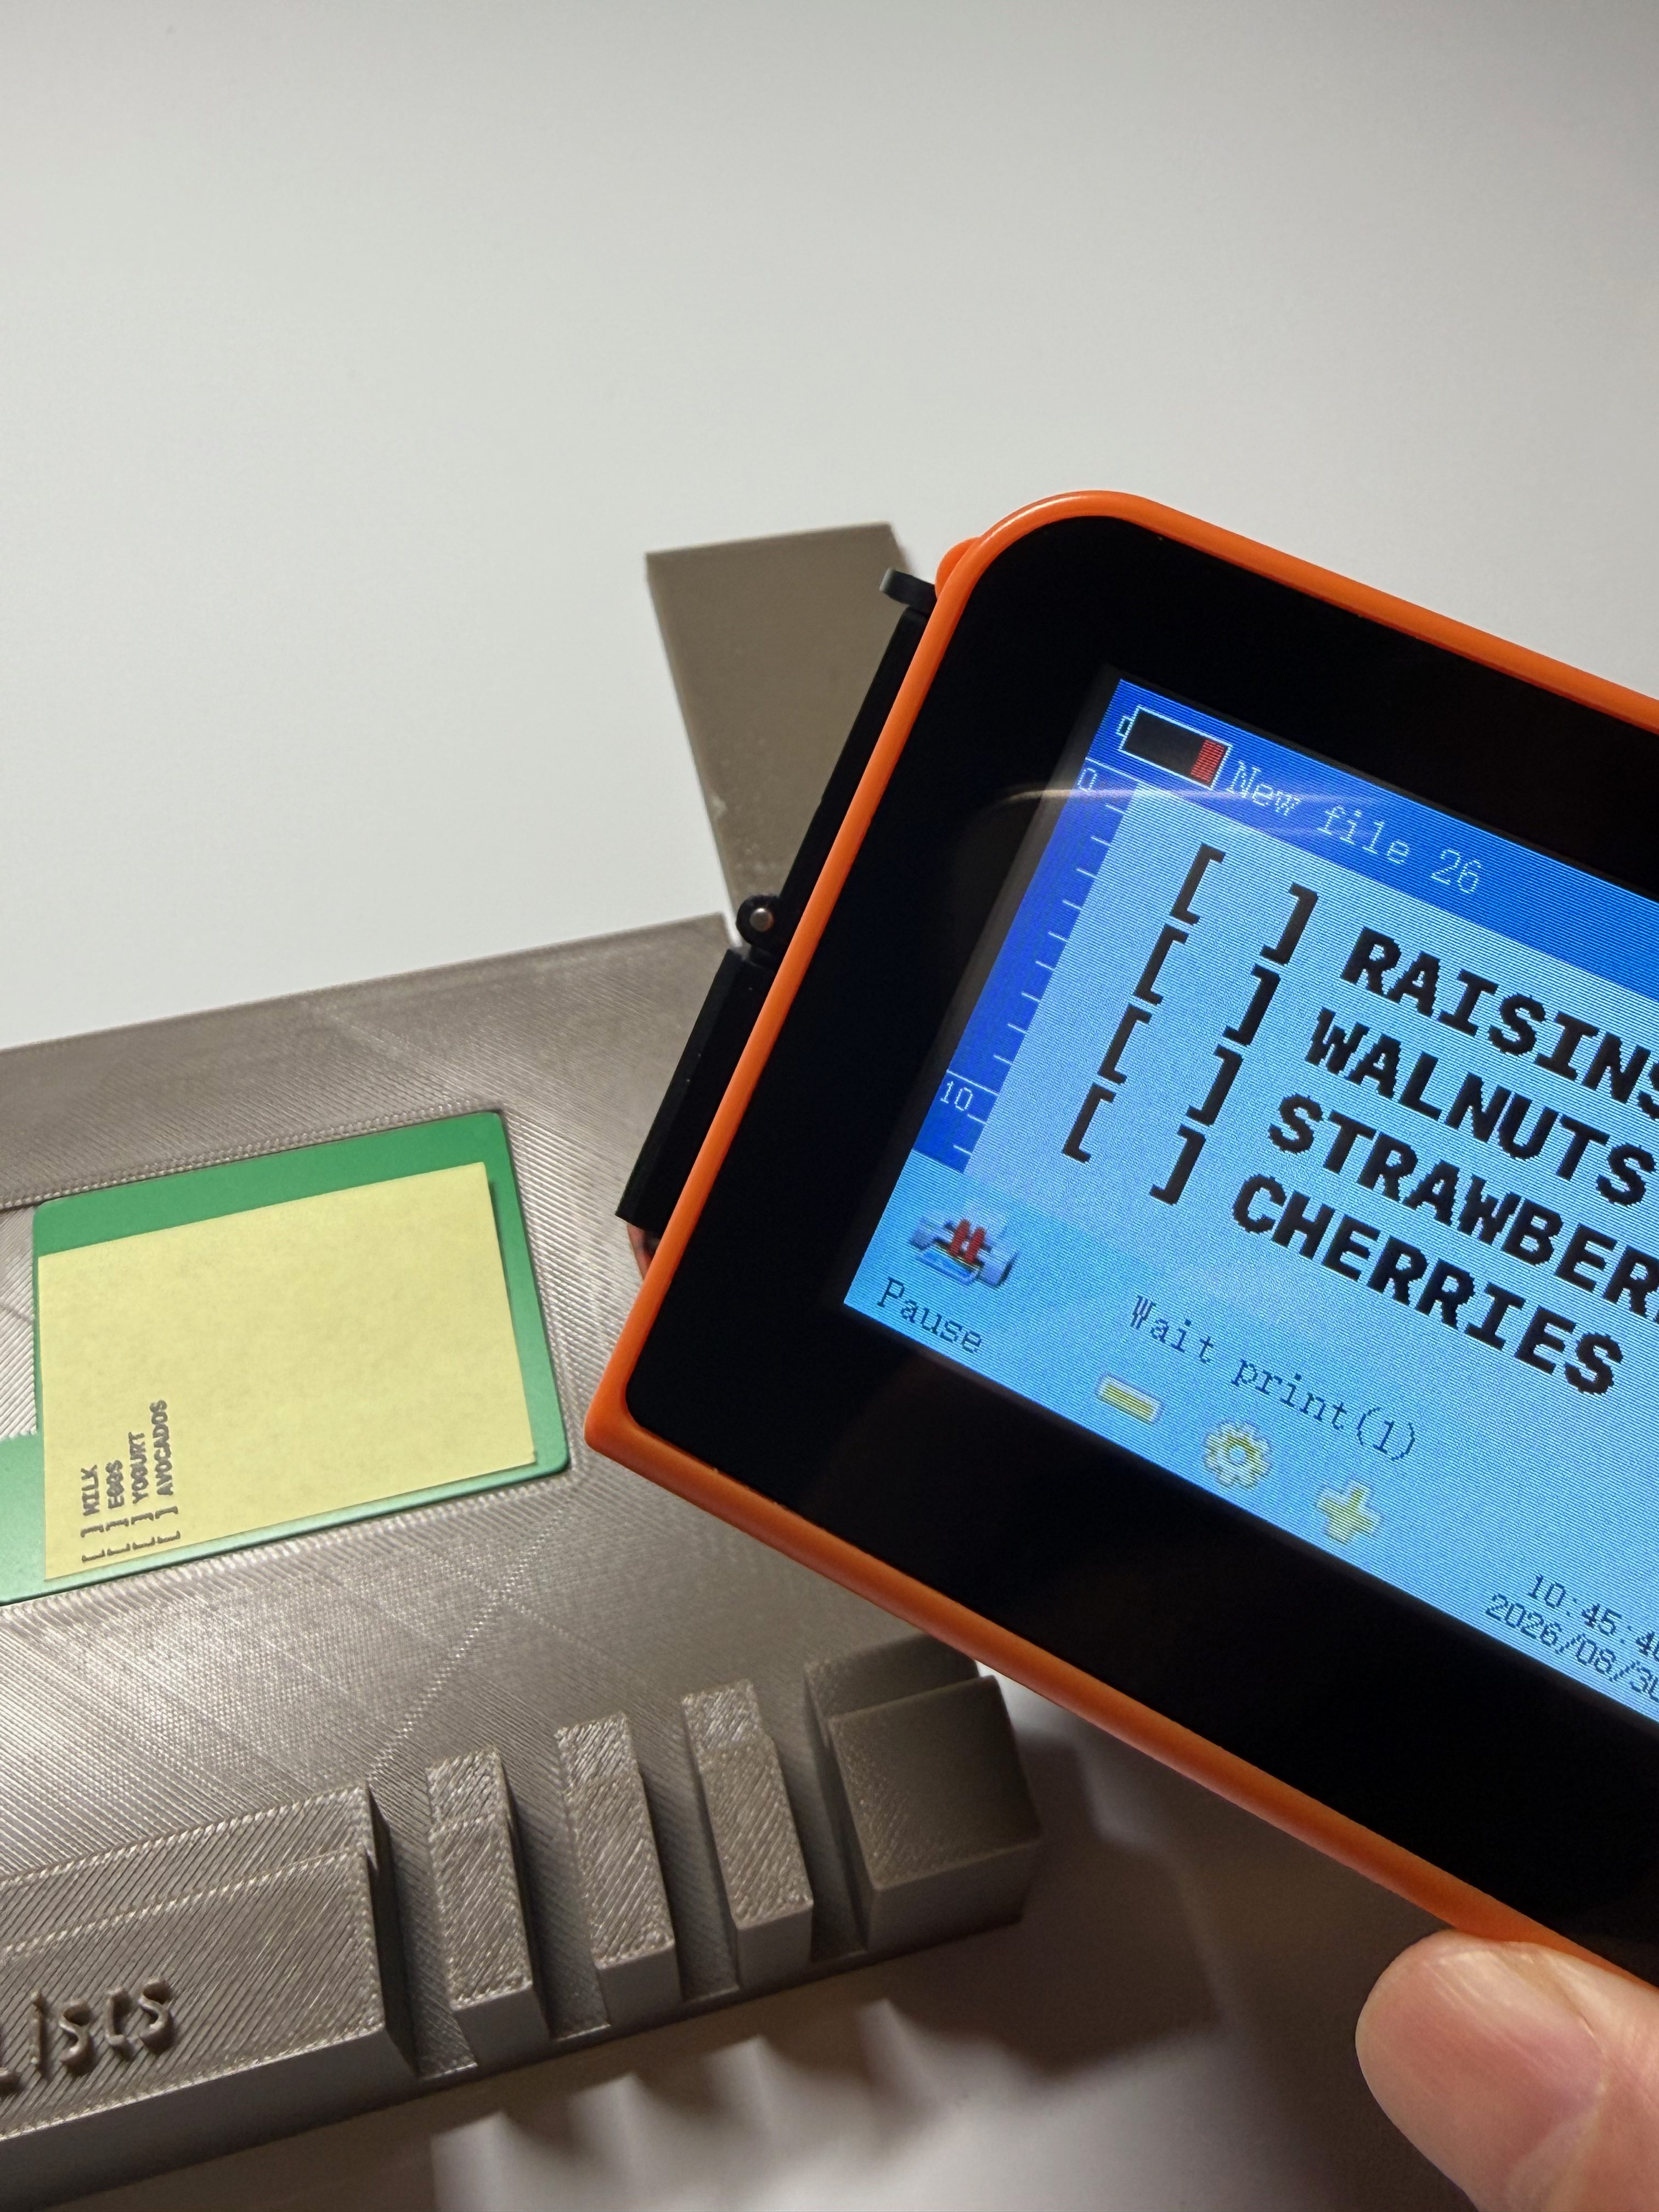
Your second List segment is now on your printer.
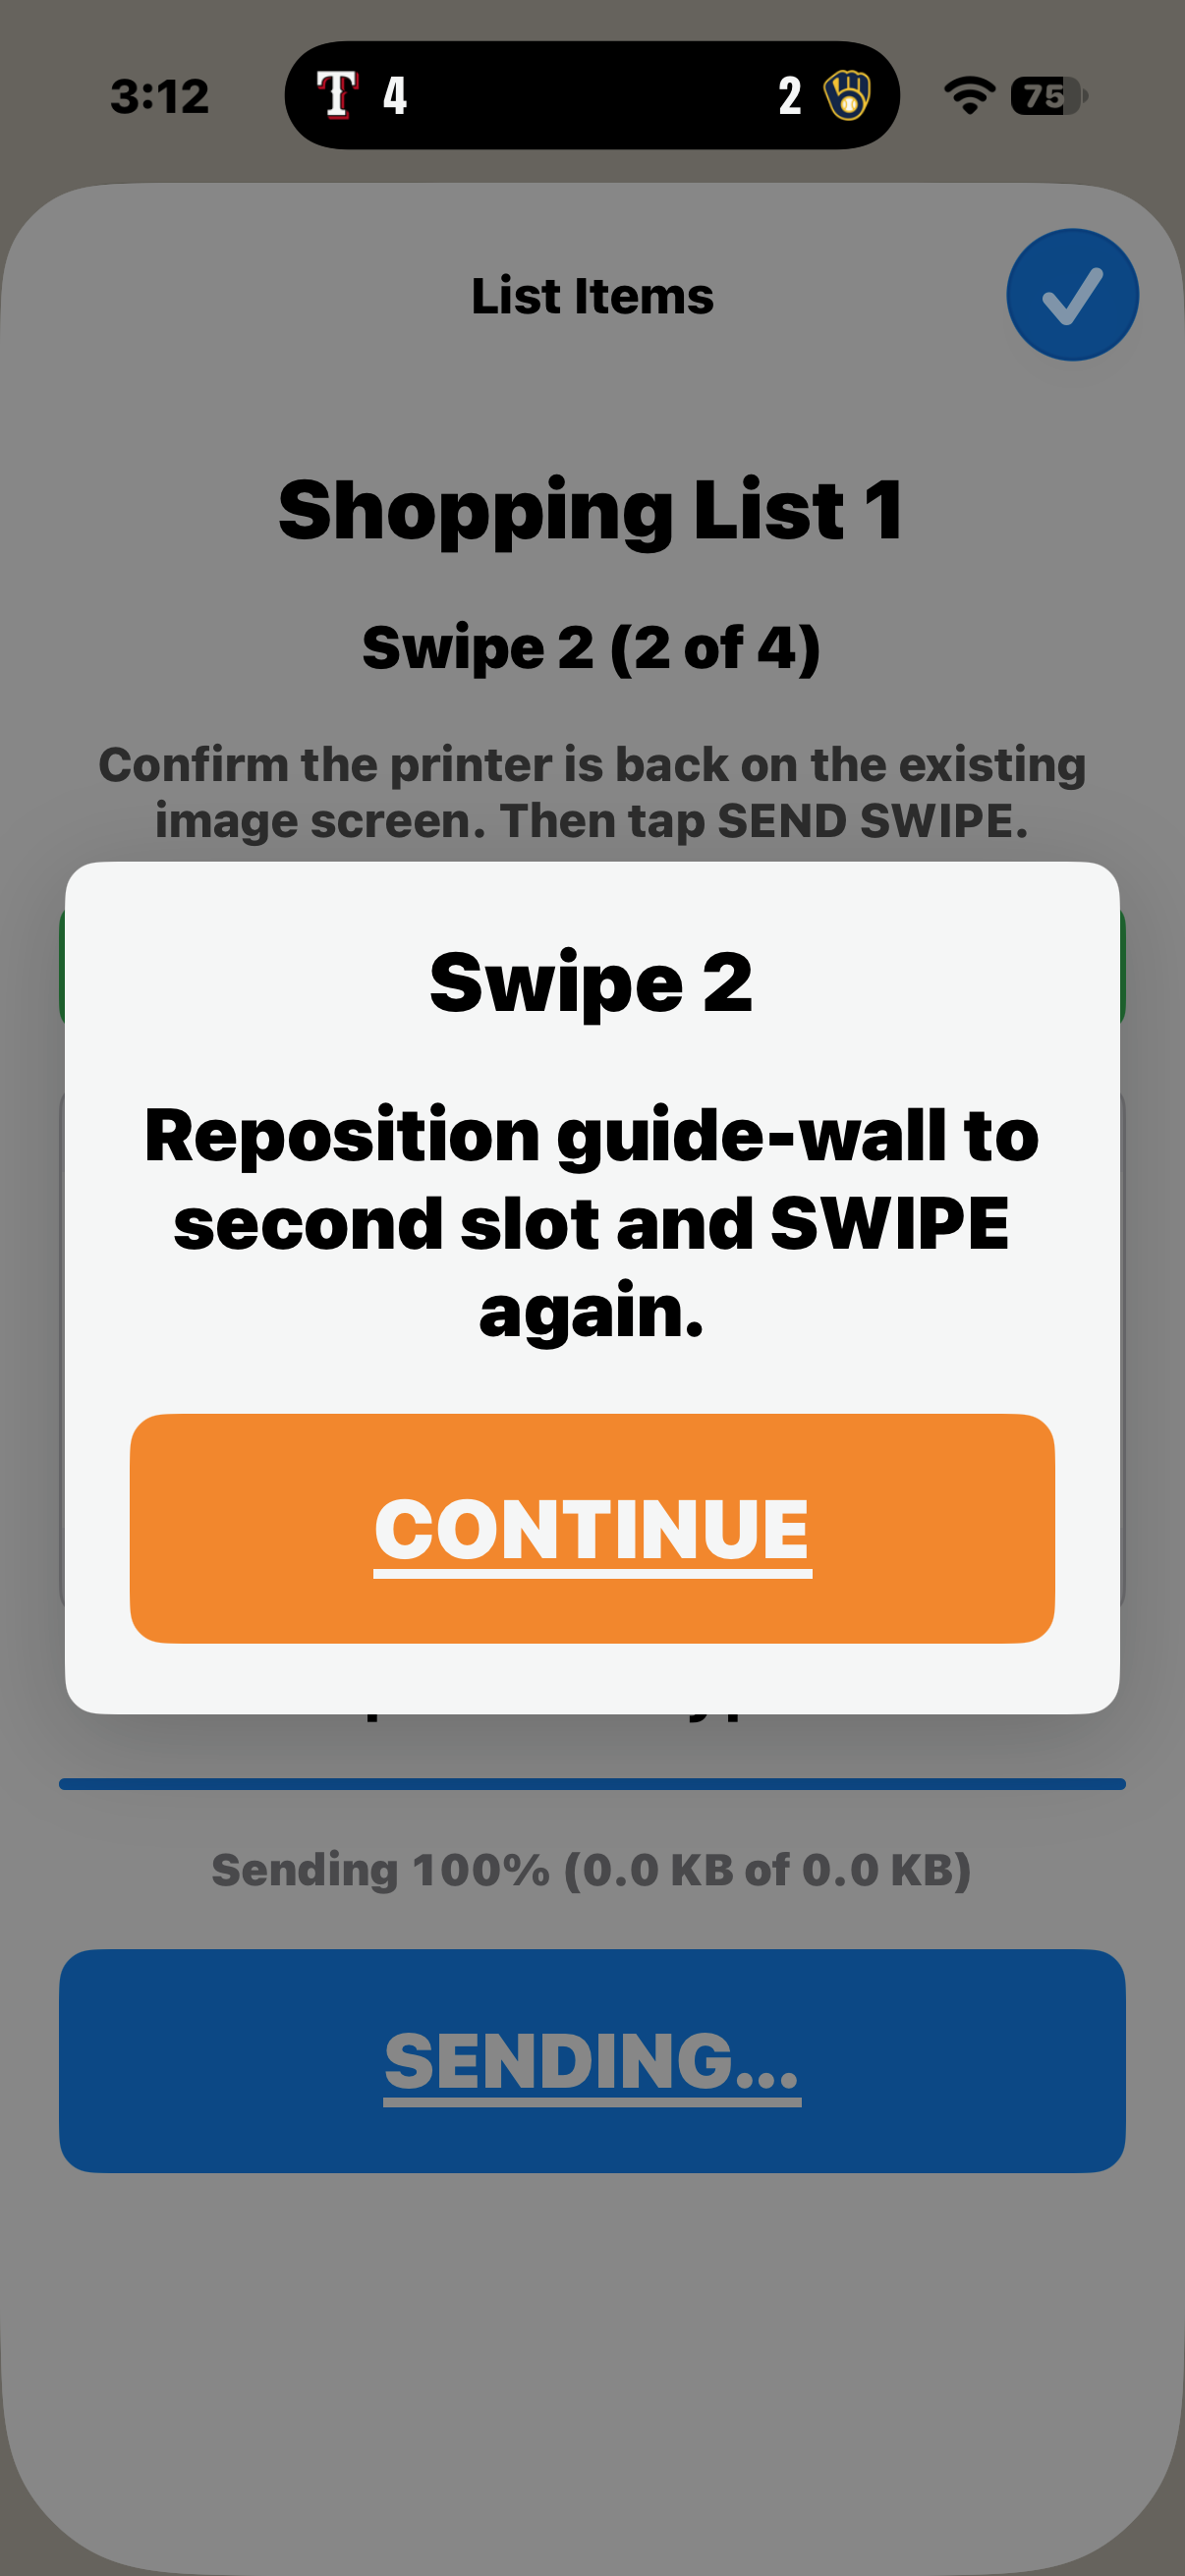
Move the Guide-Wall to Slot 2
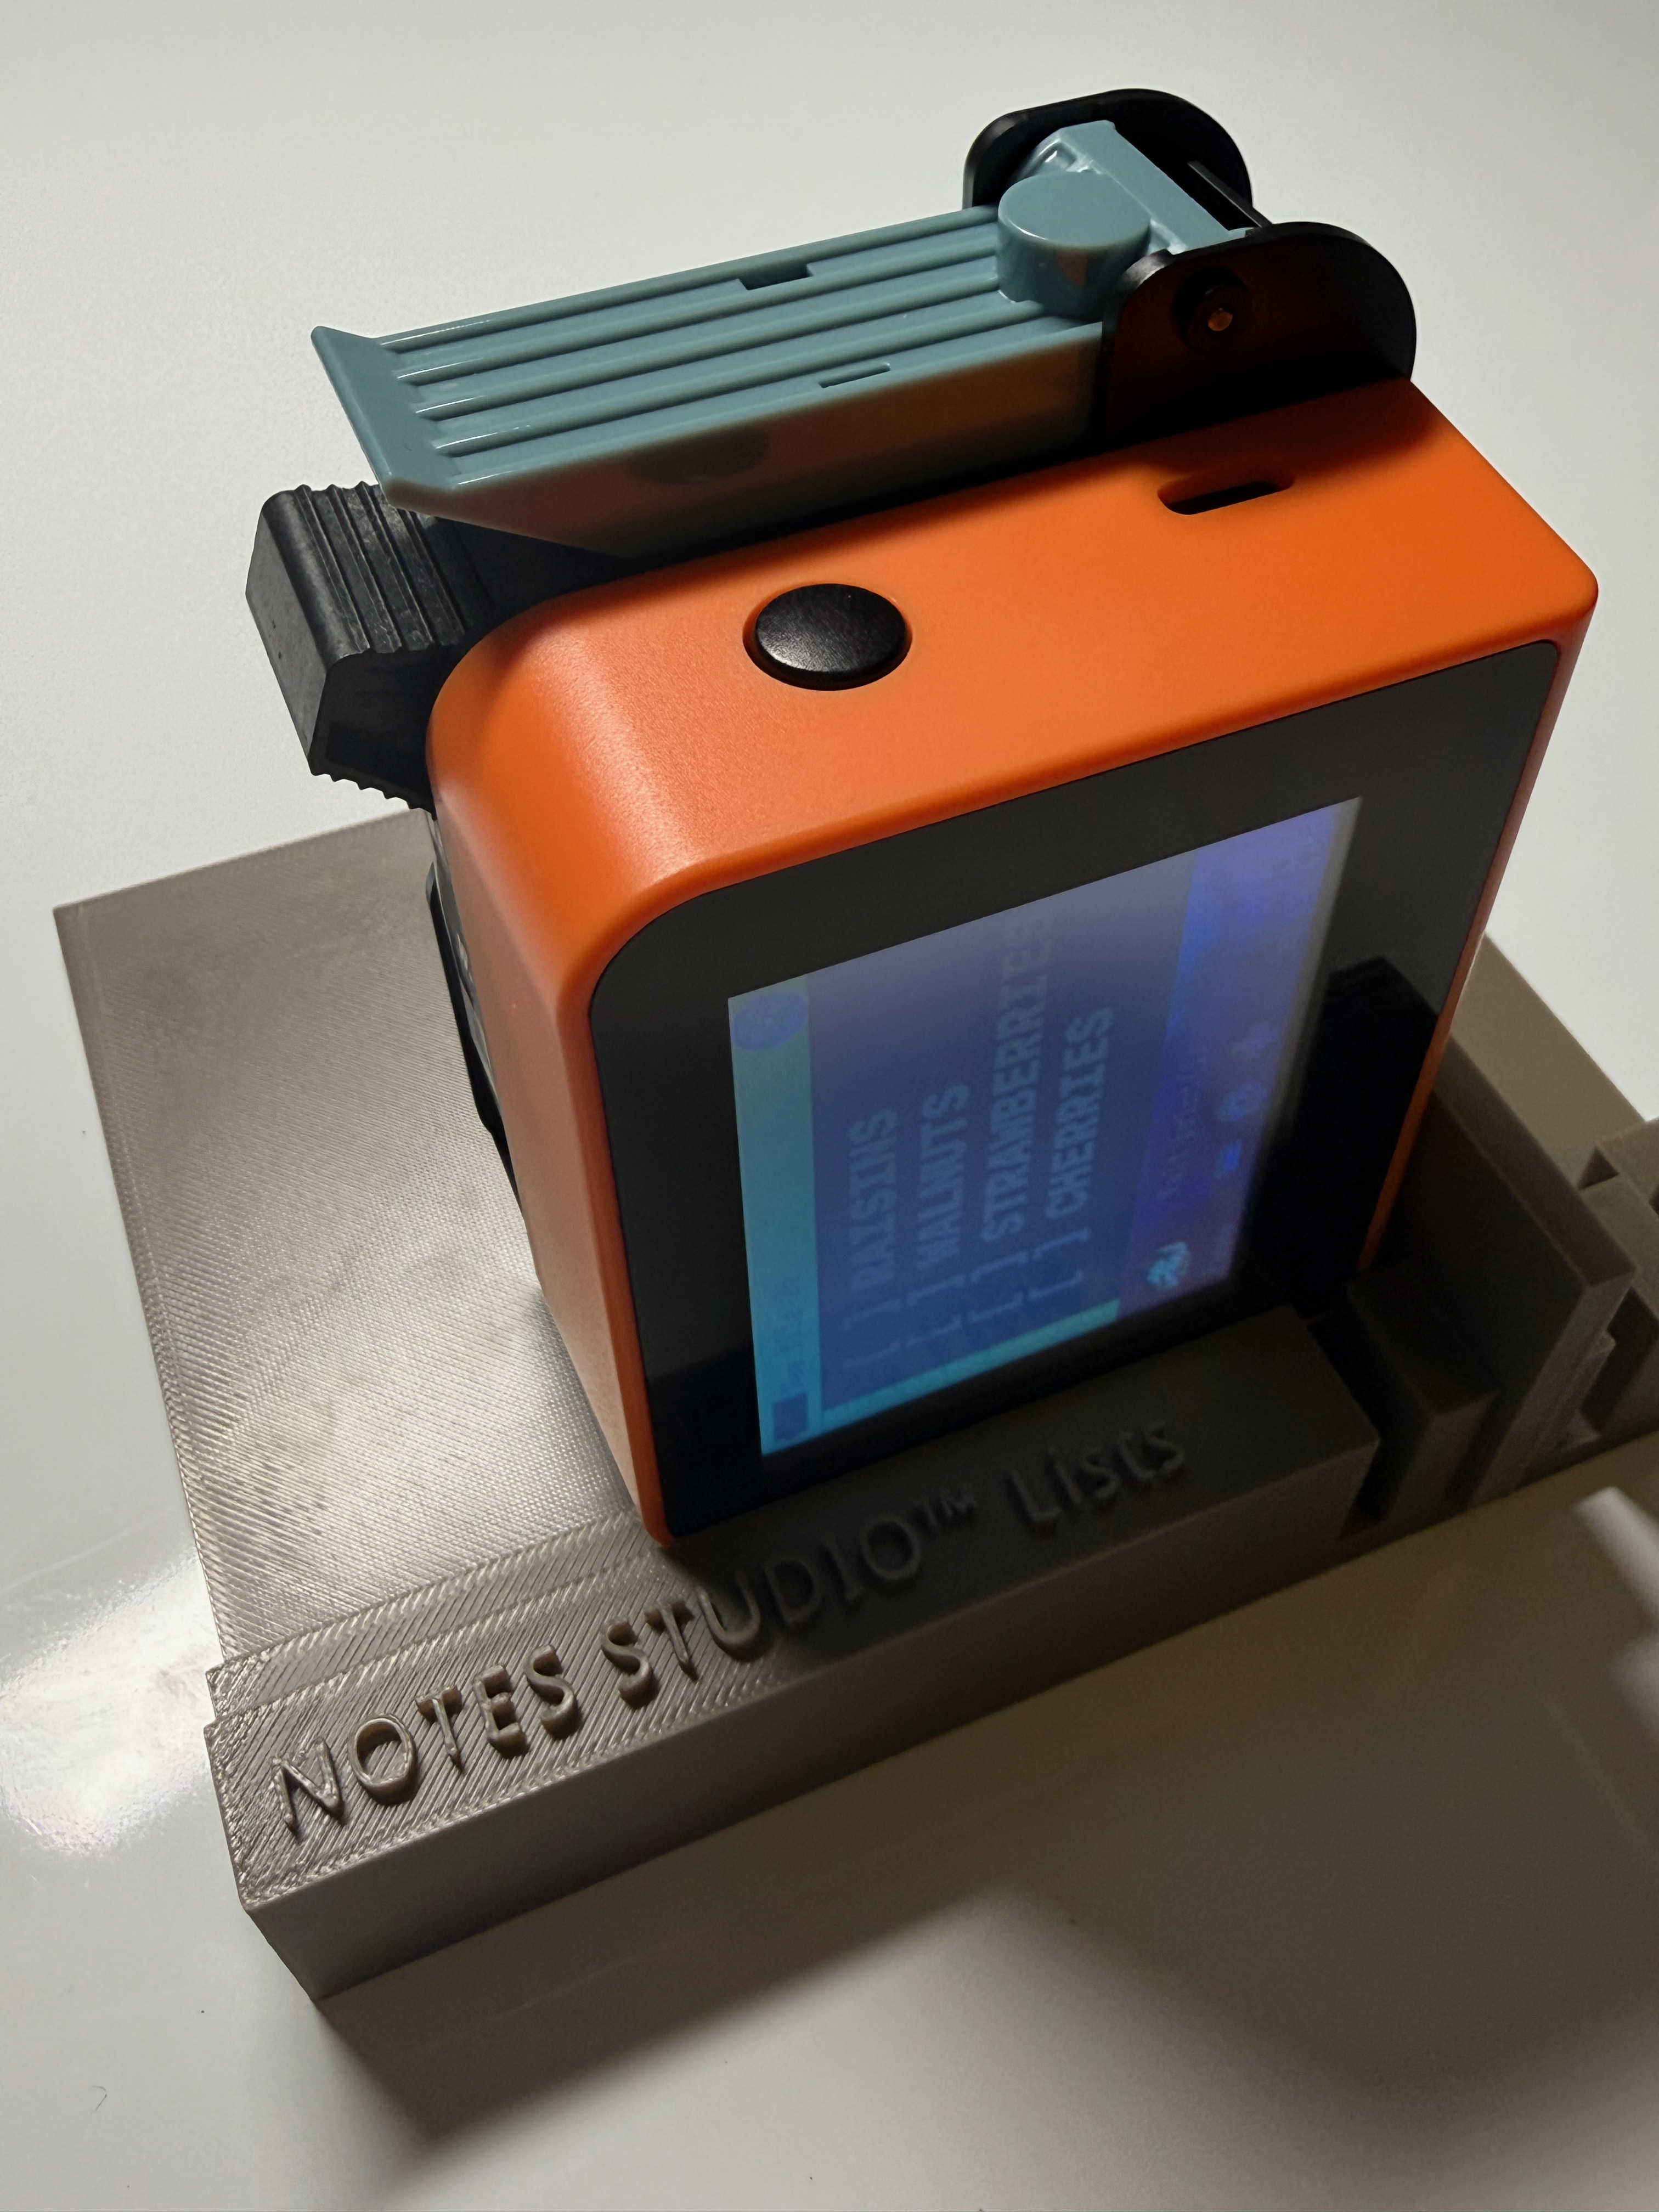
Reset your printer on jig ledge and against the guide-wall.
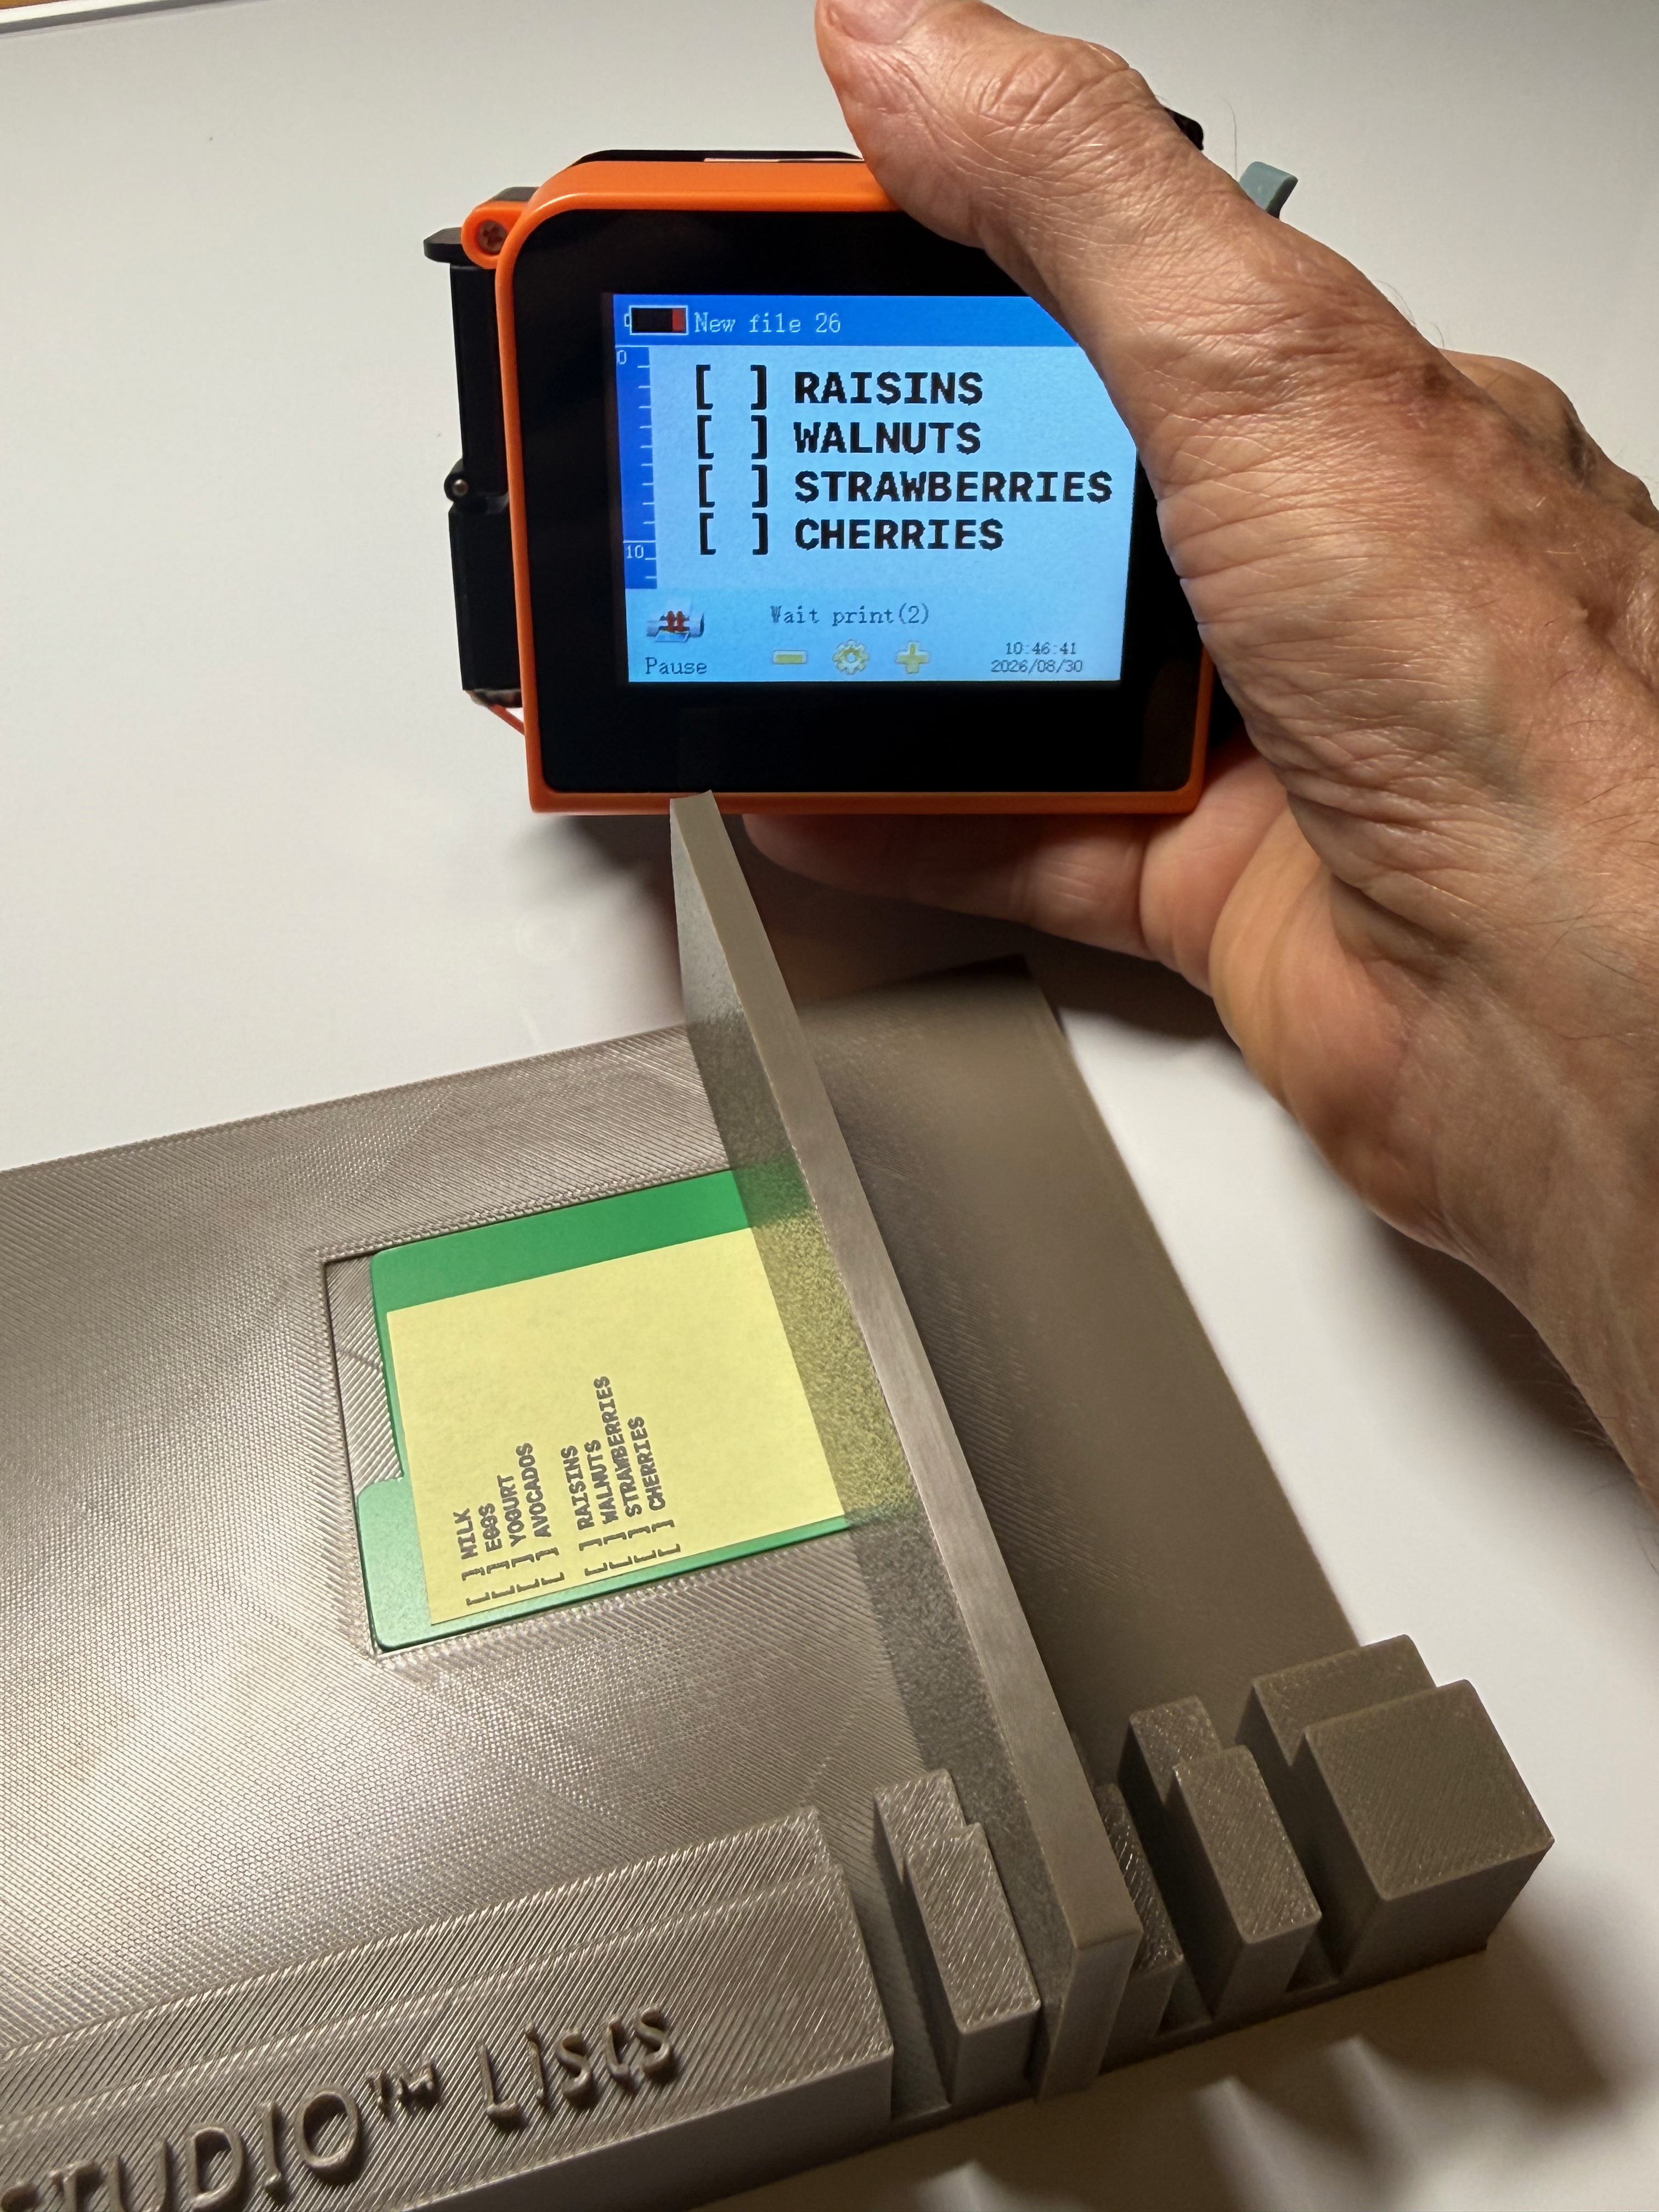
After your clean PUSH... List segment 2 is done!
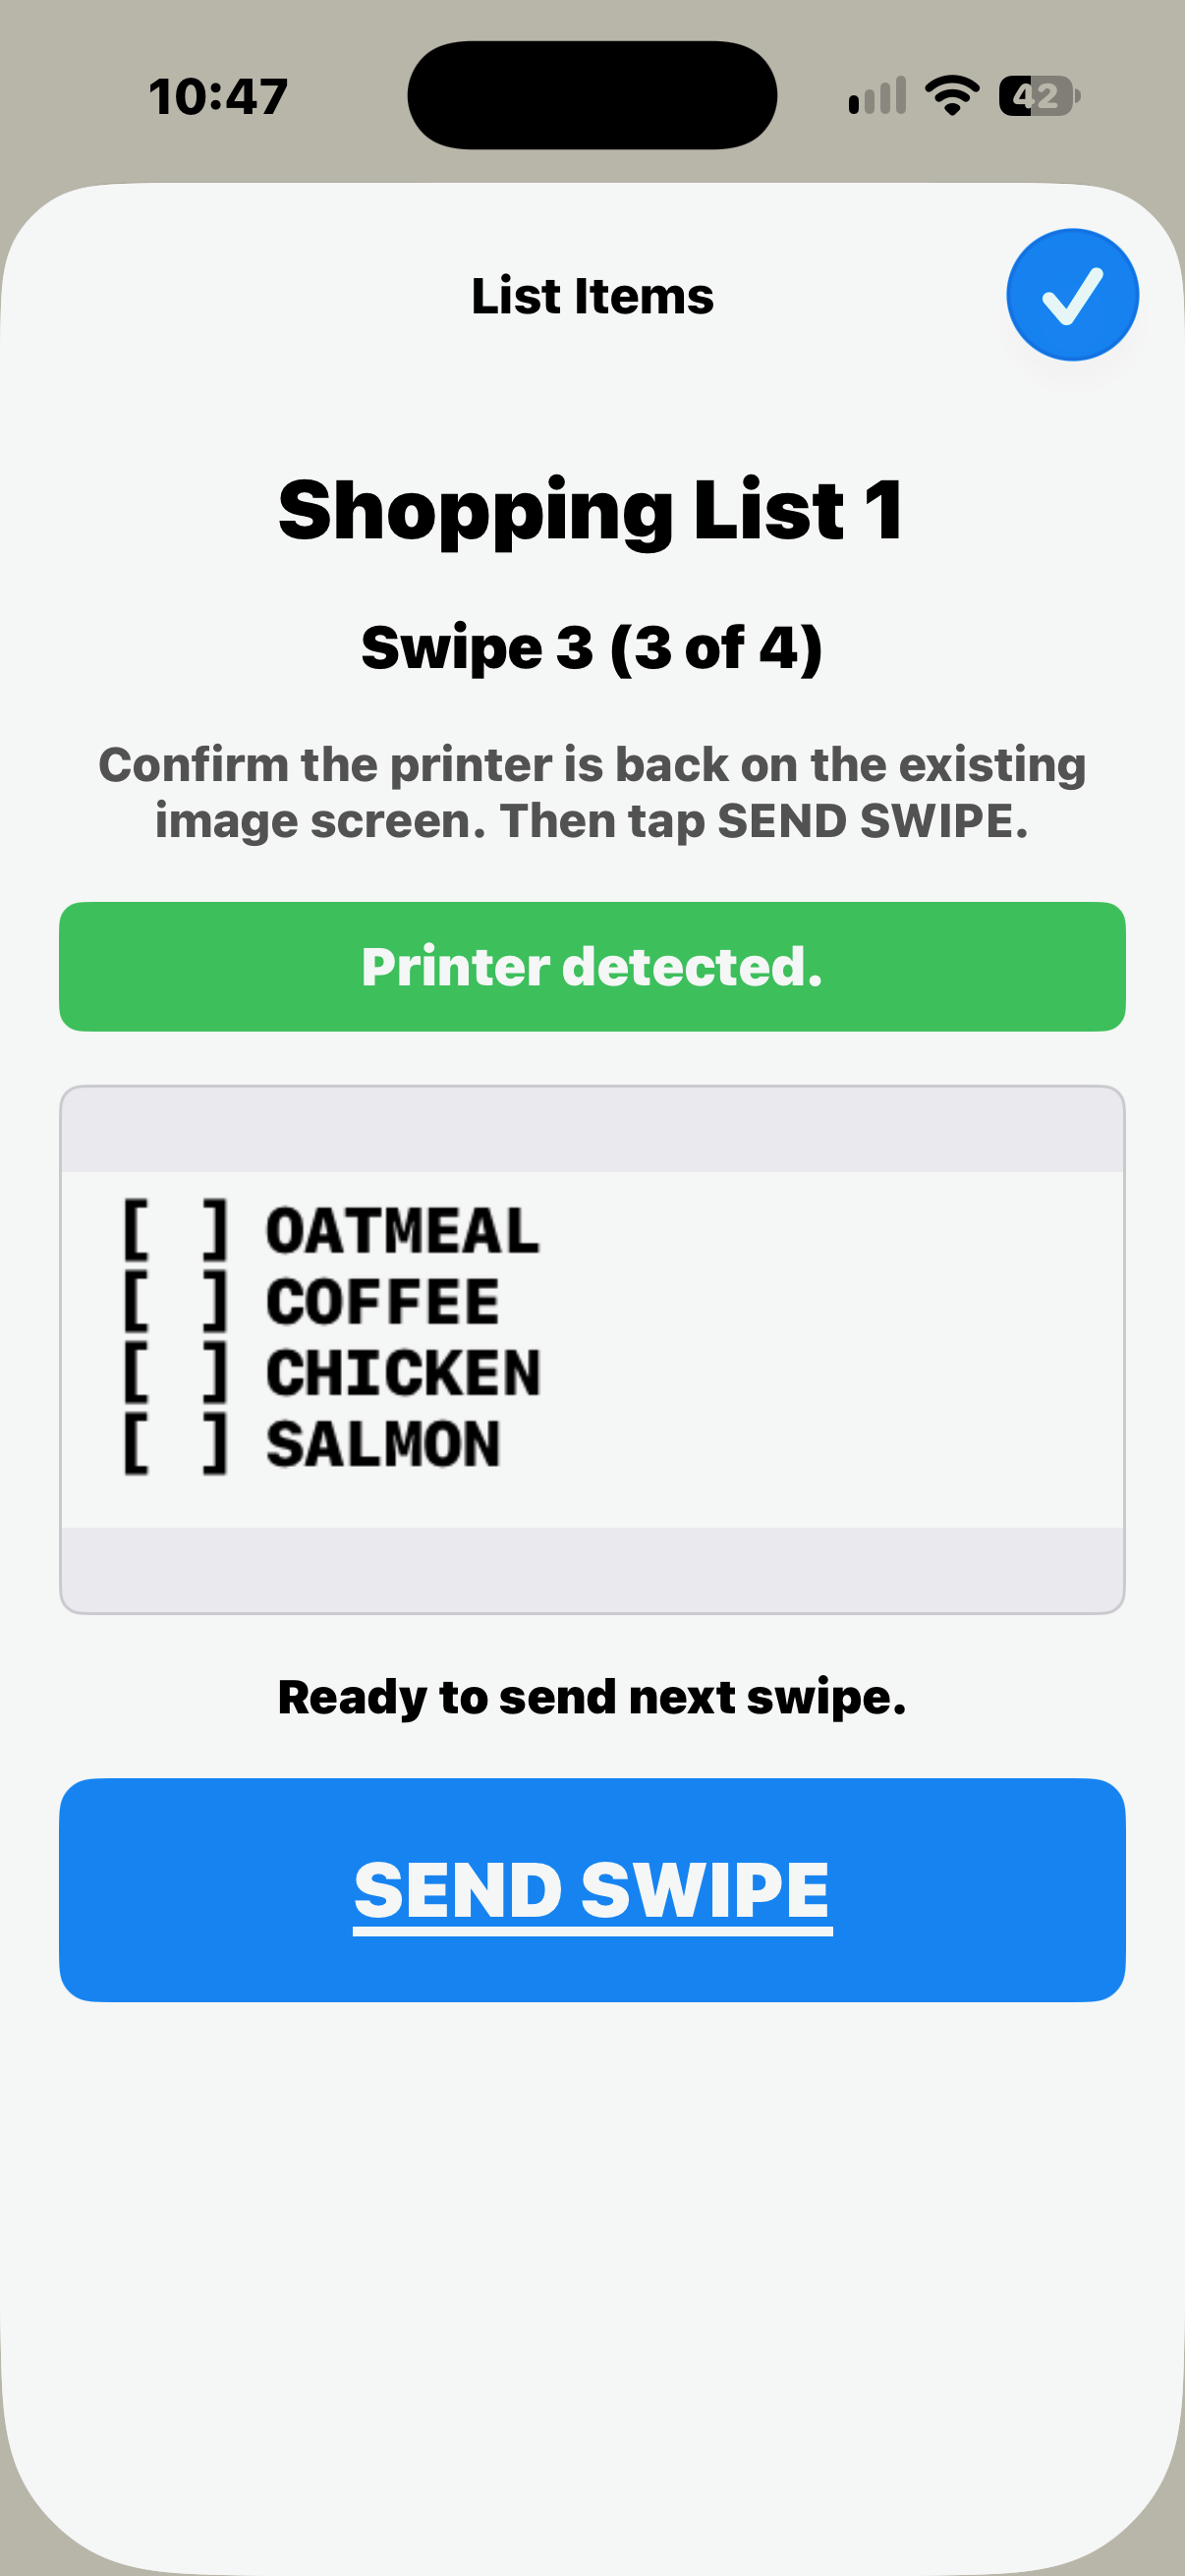
Repeat the sequence and 'SEND SWIPE' for your third List segment.
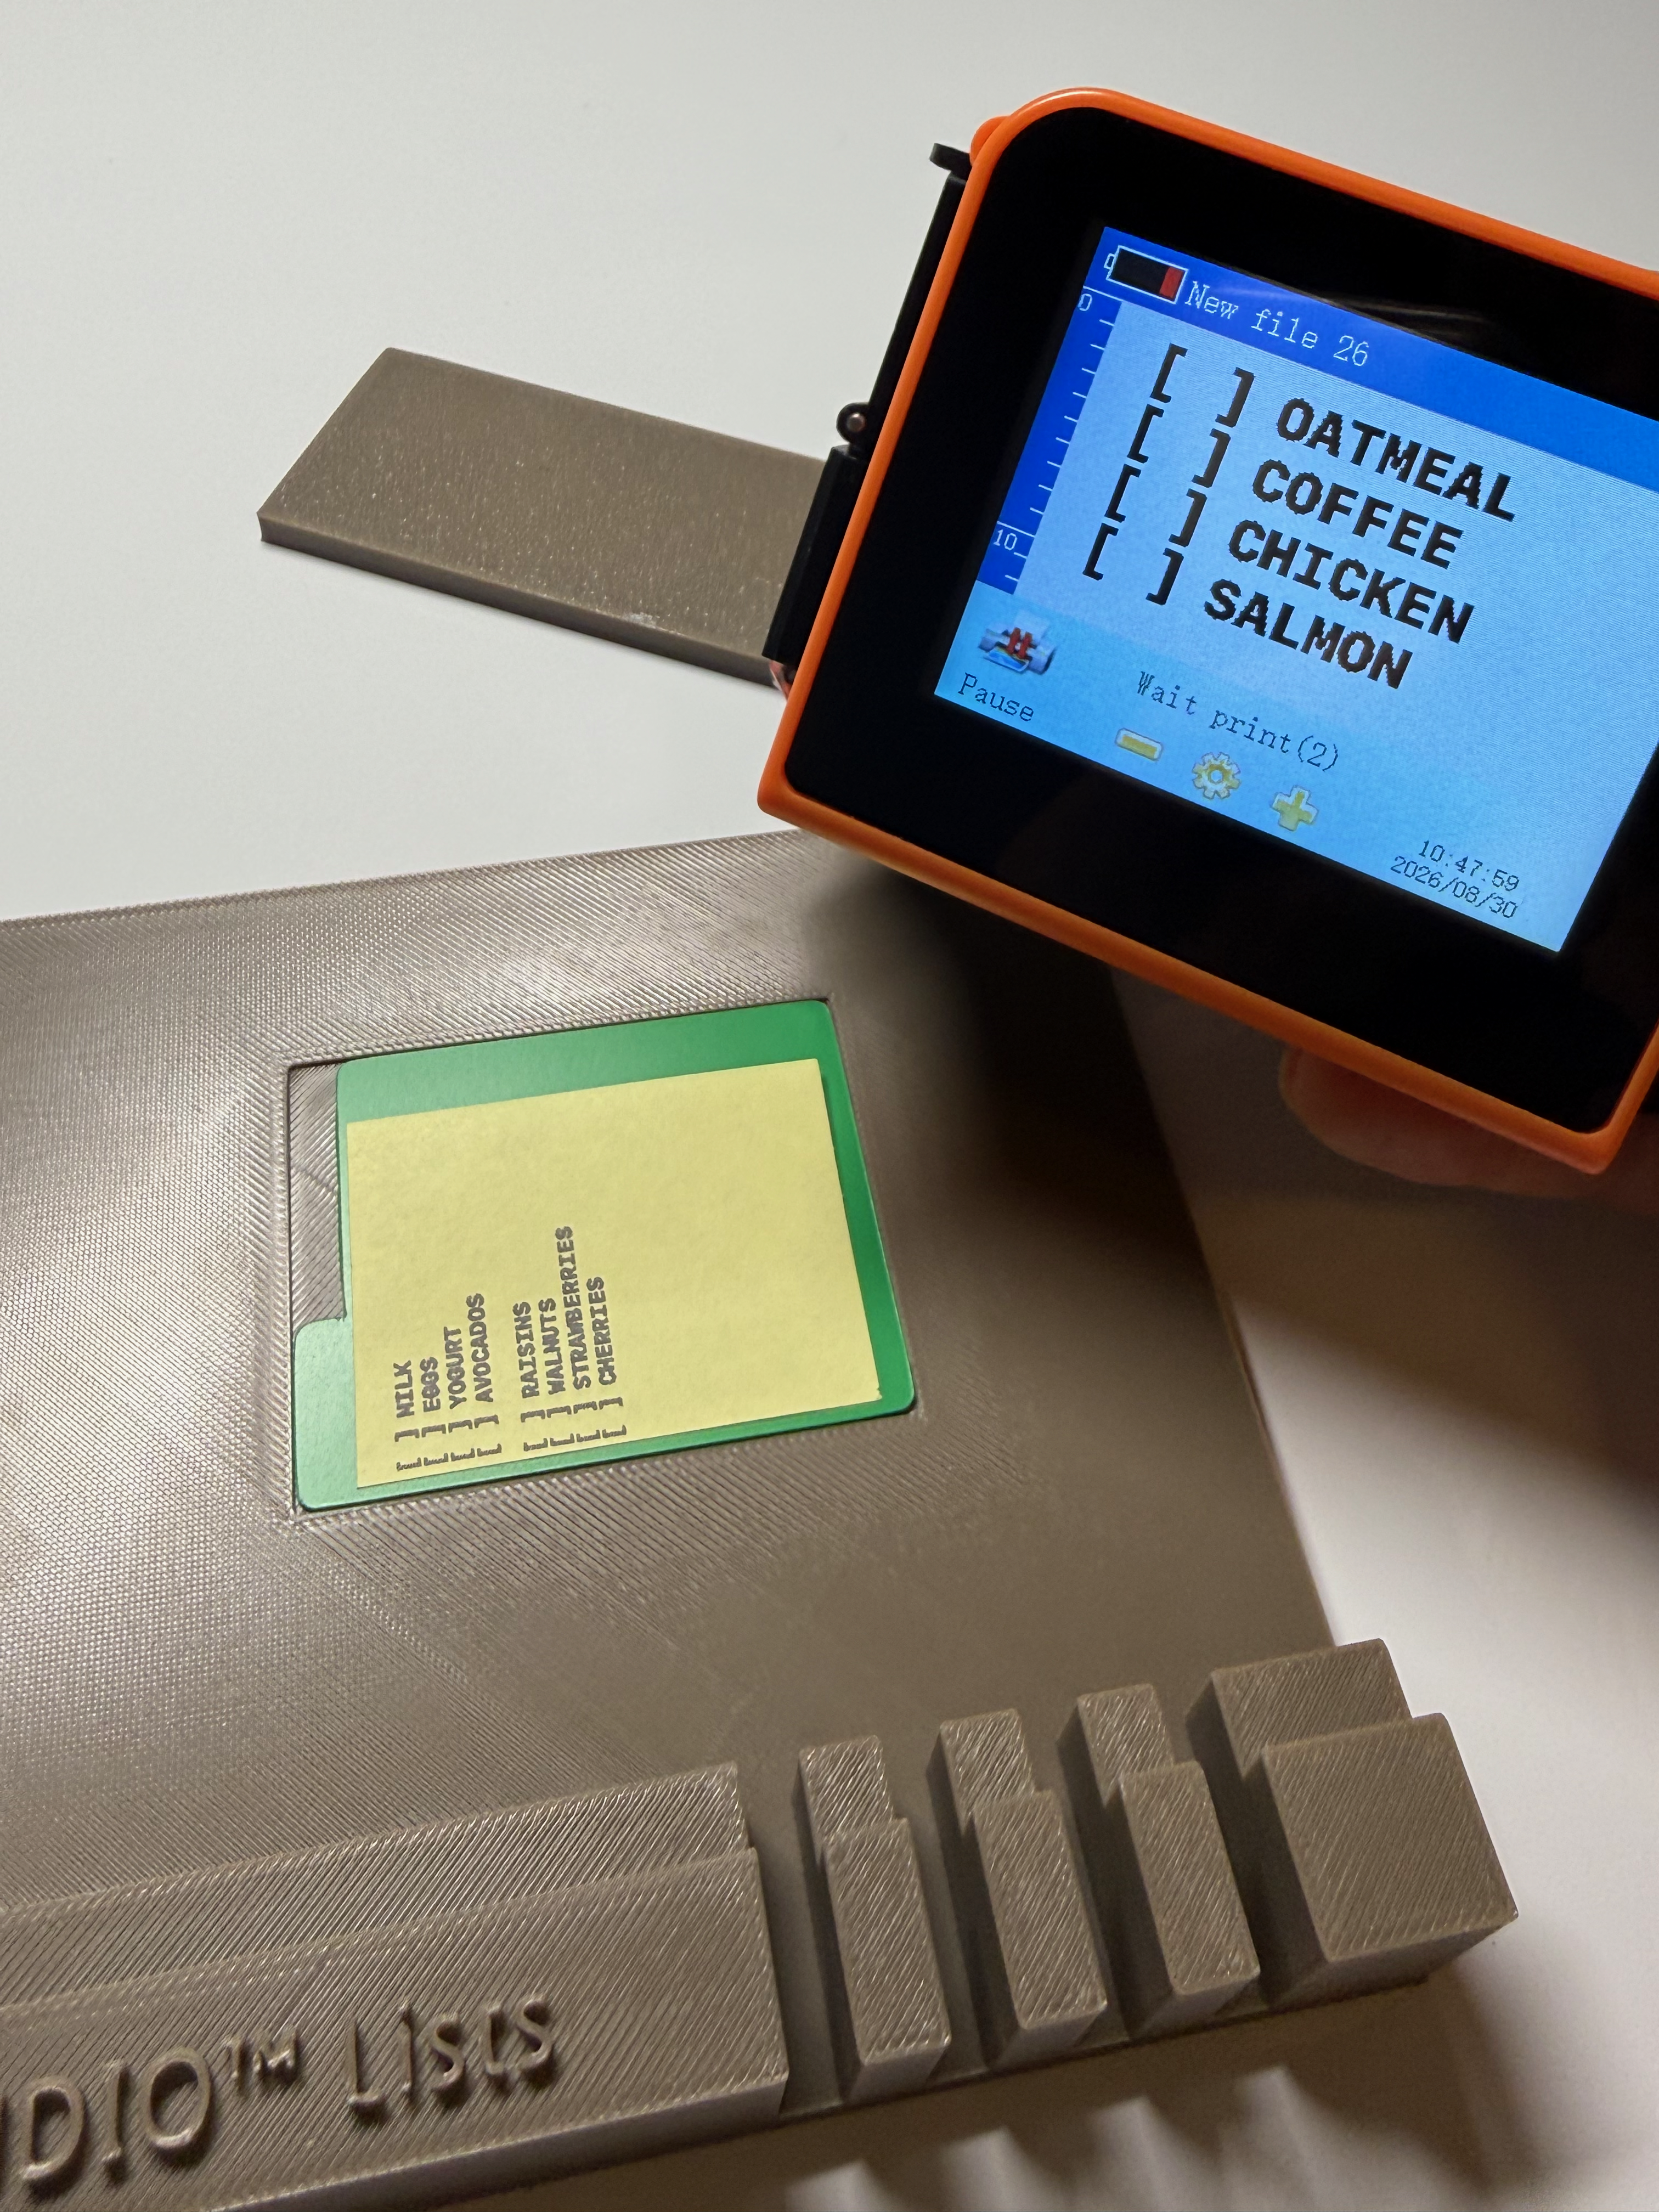
Third List segment is ready to print.
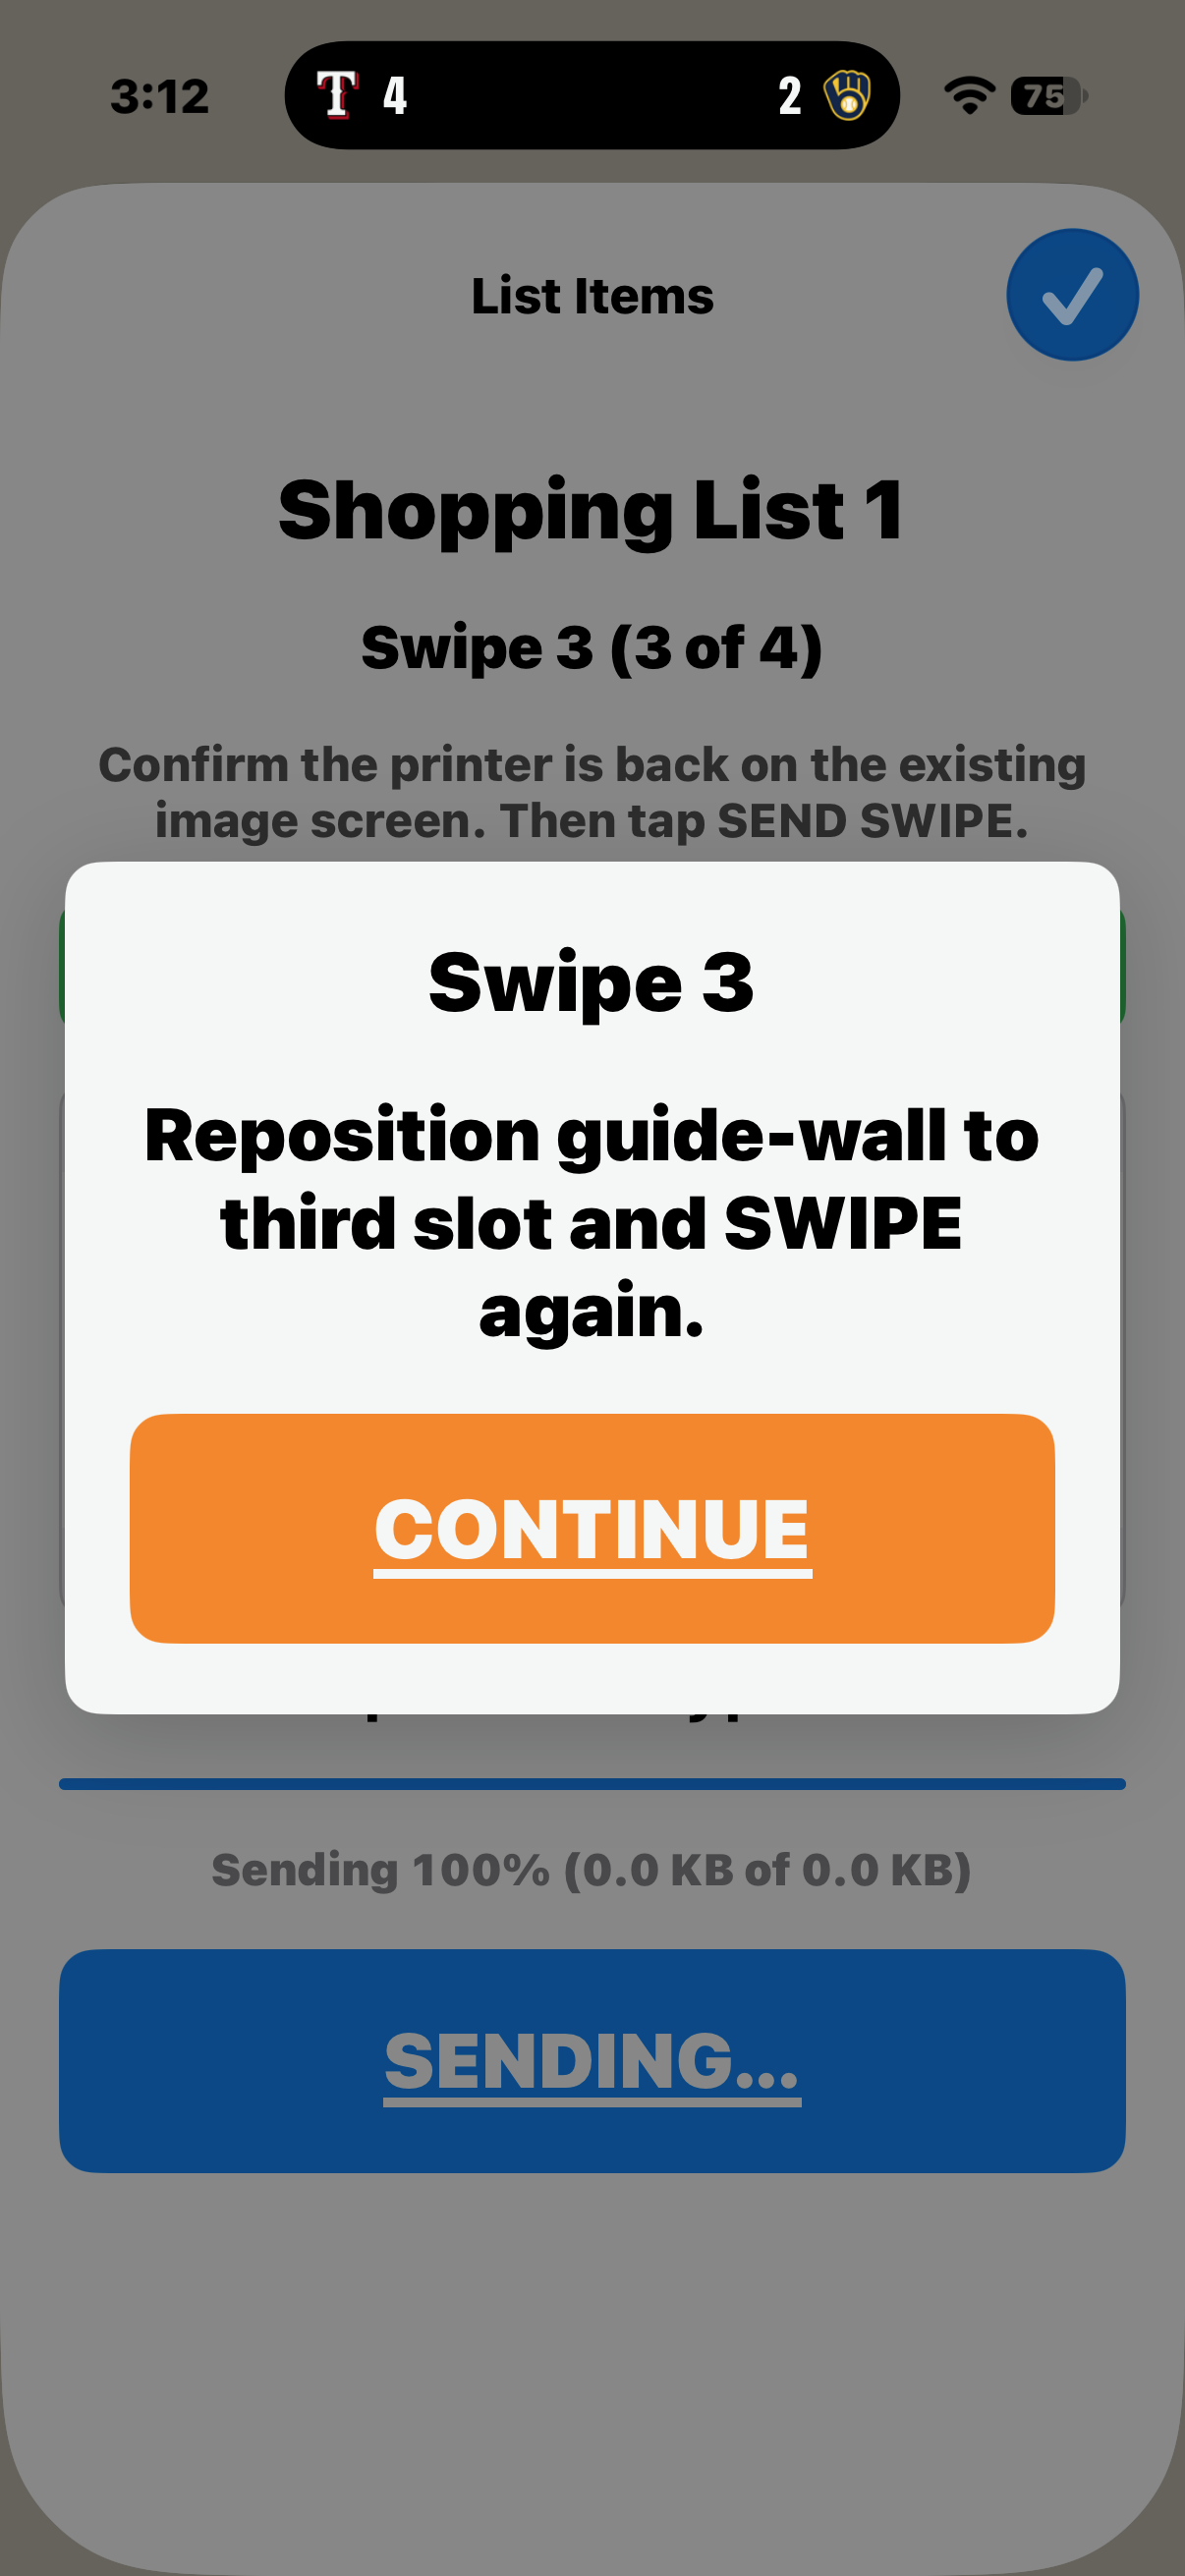
Move the guide-wall to Slot 3.
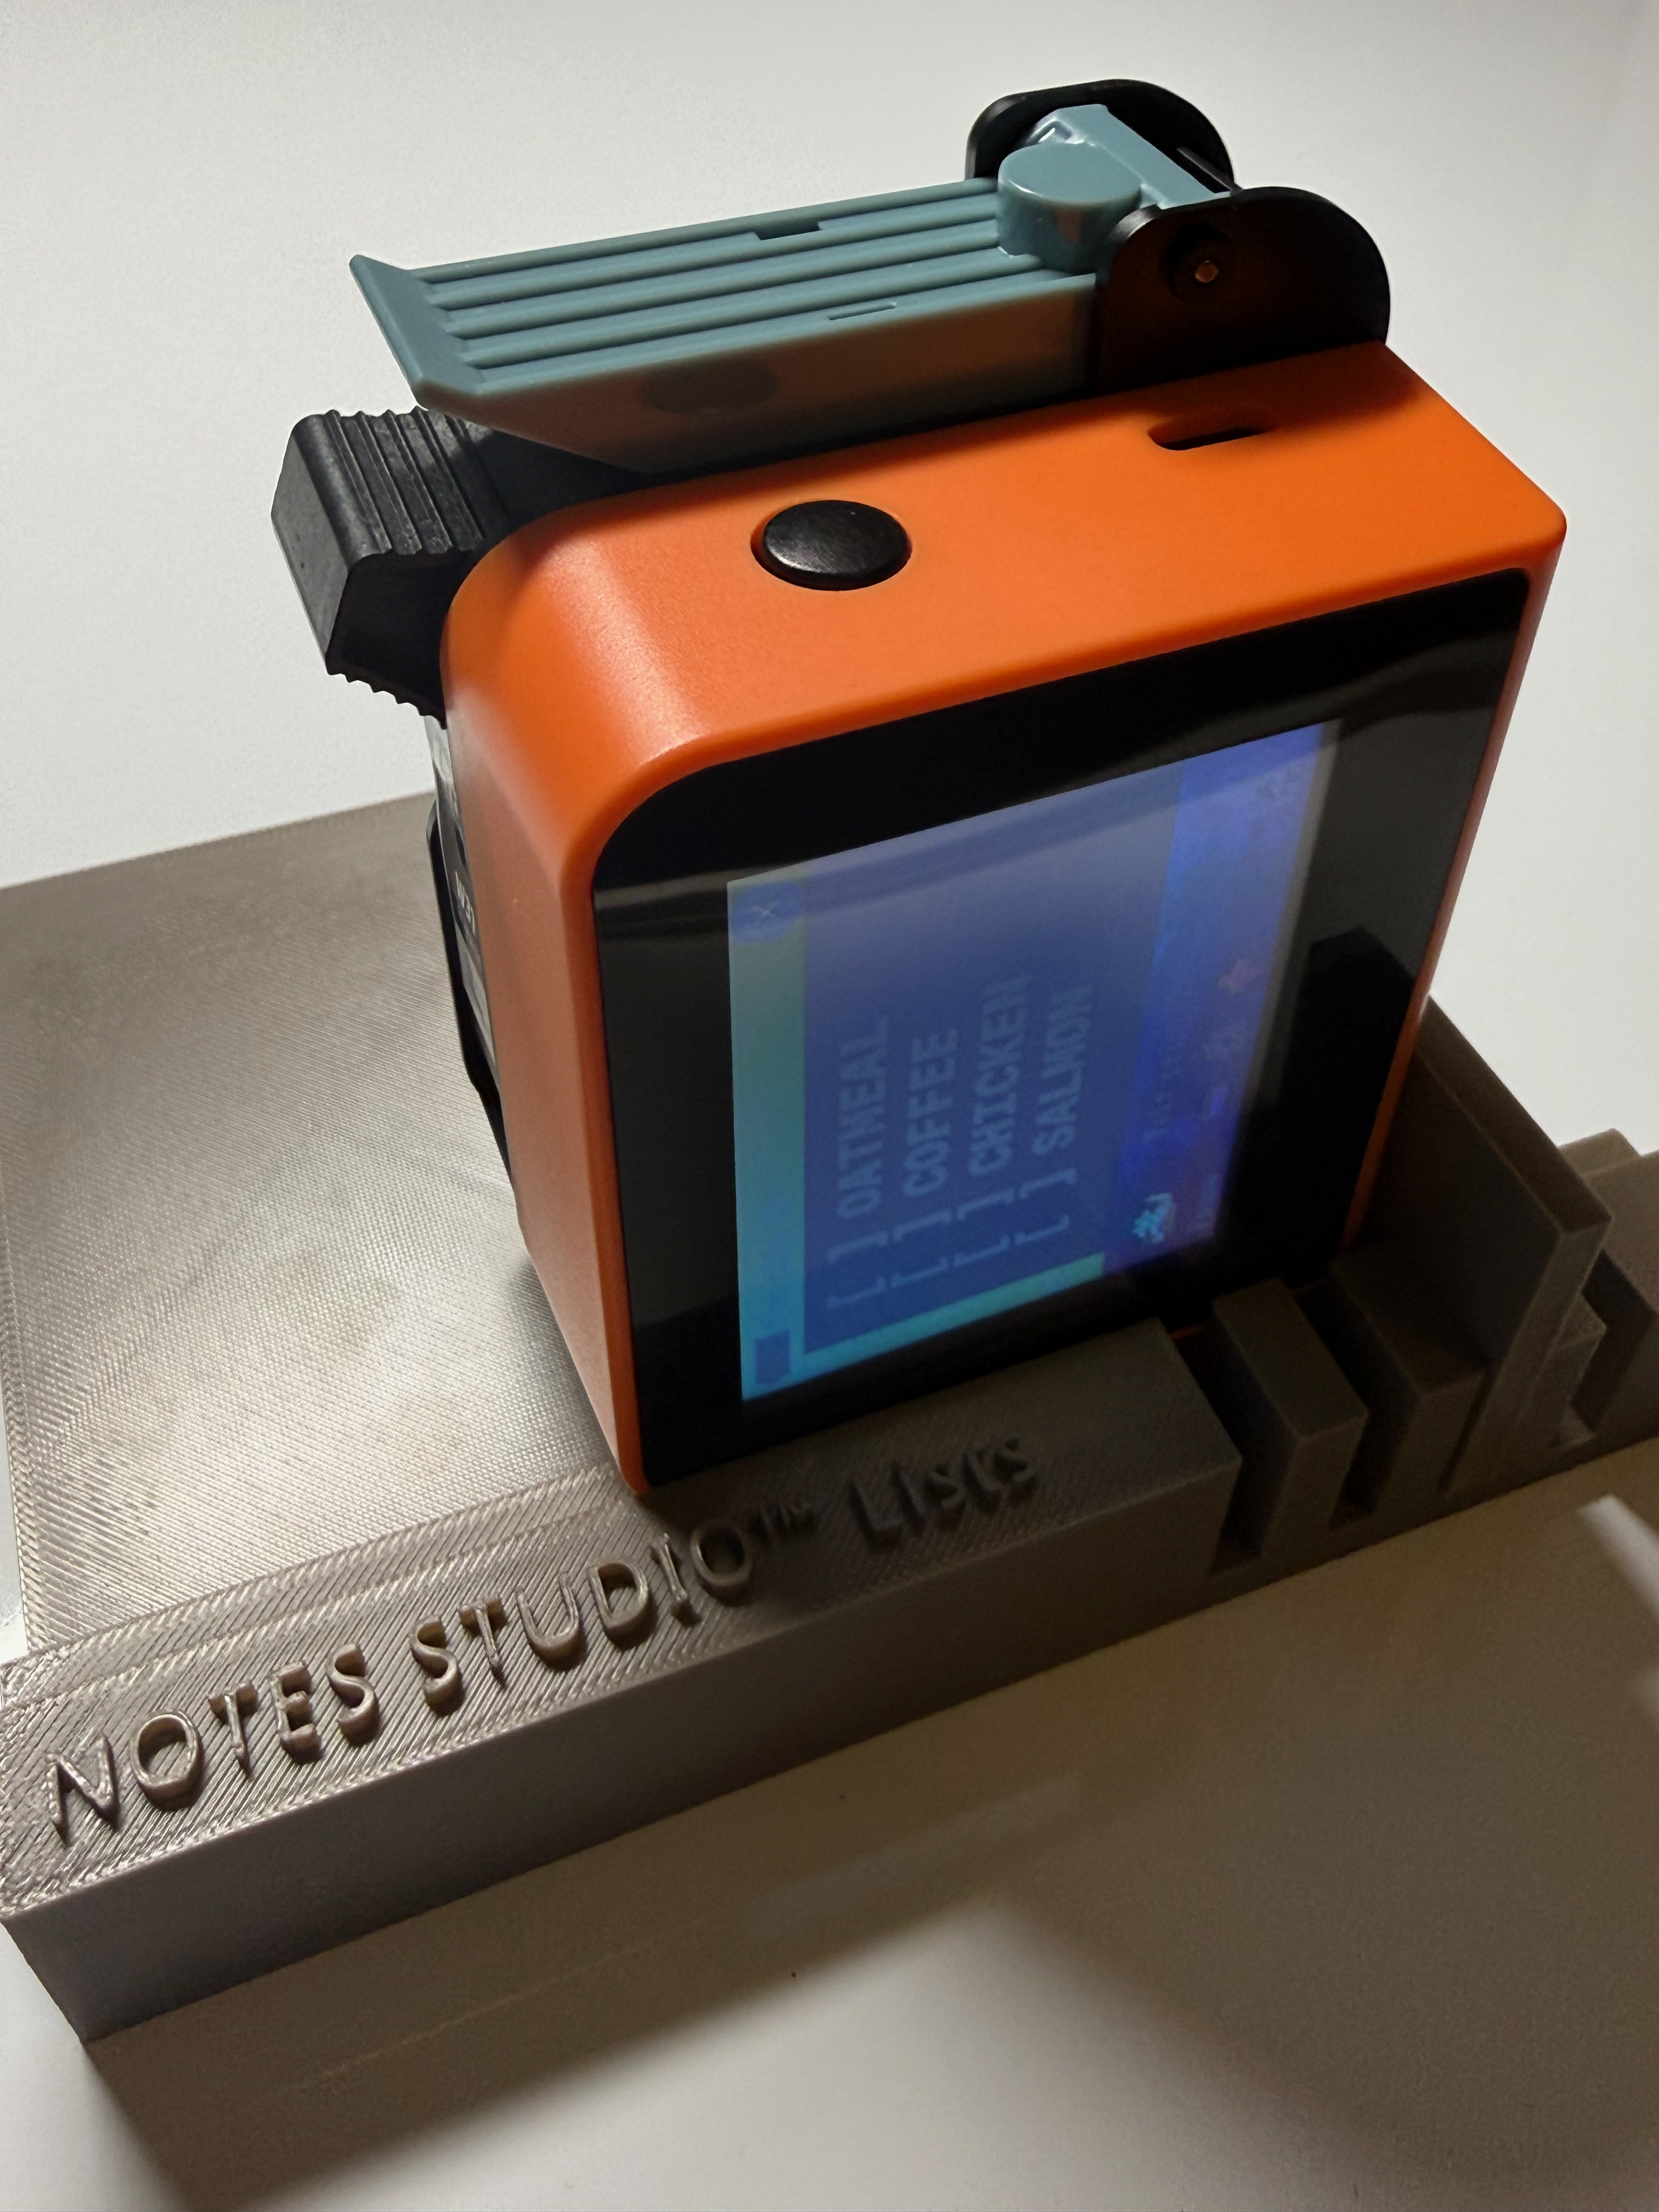
Reset printer as before.
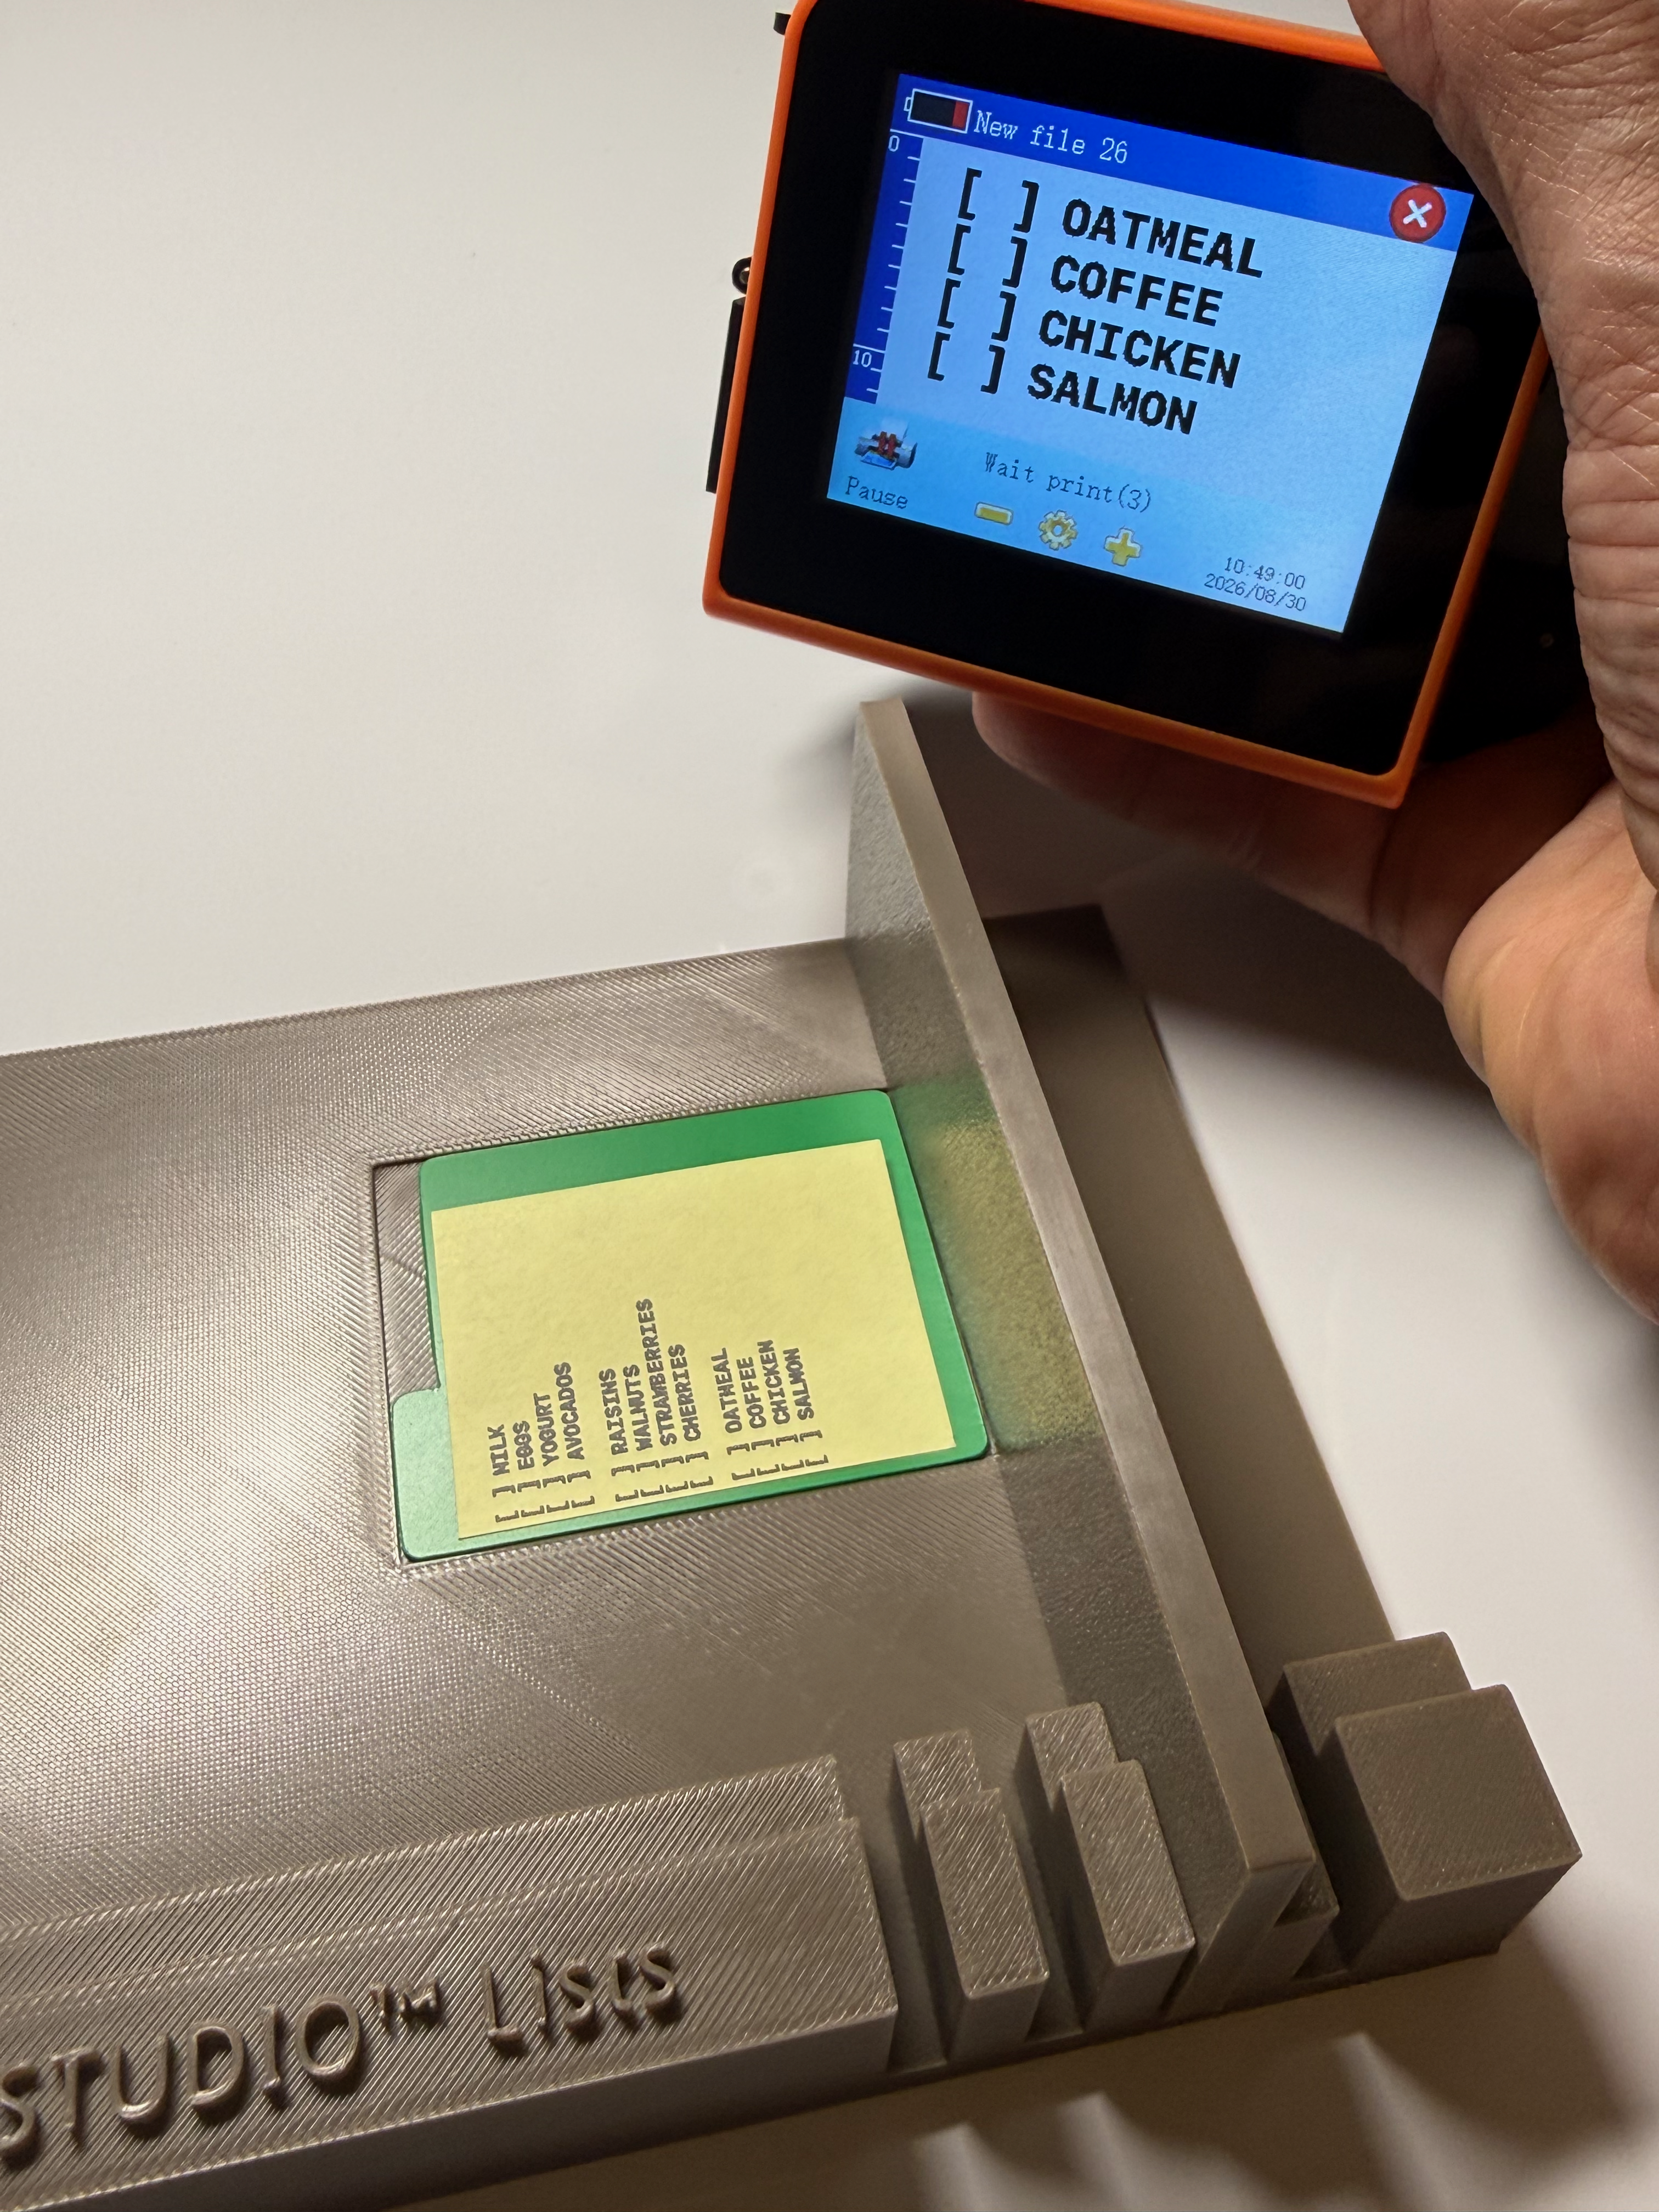
Your third List segment is done!
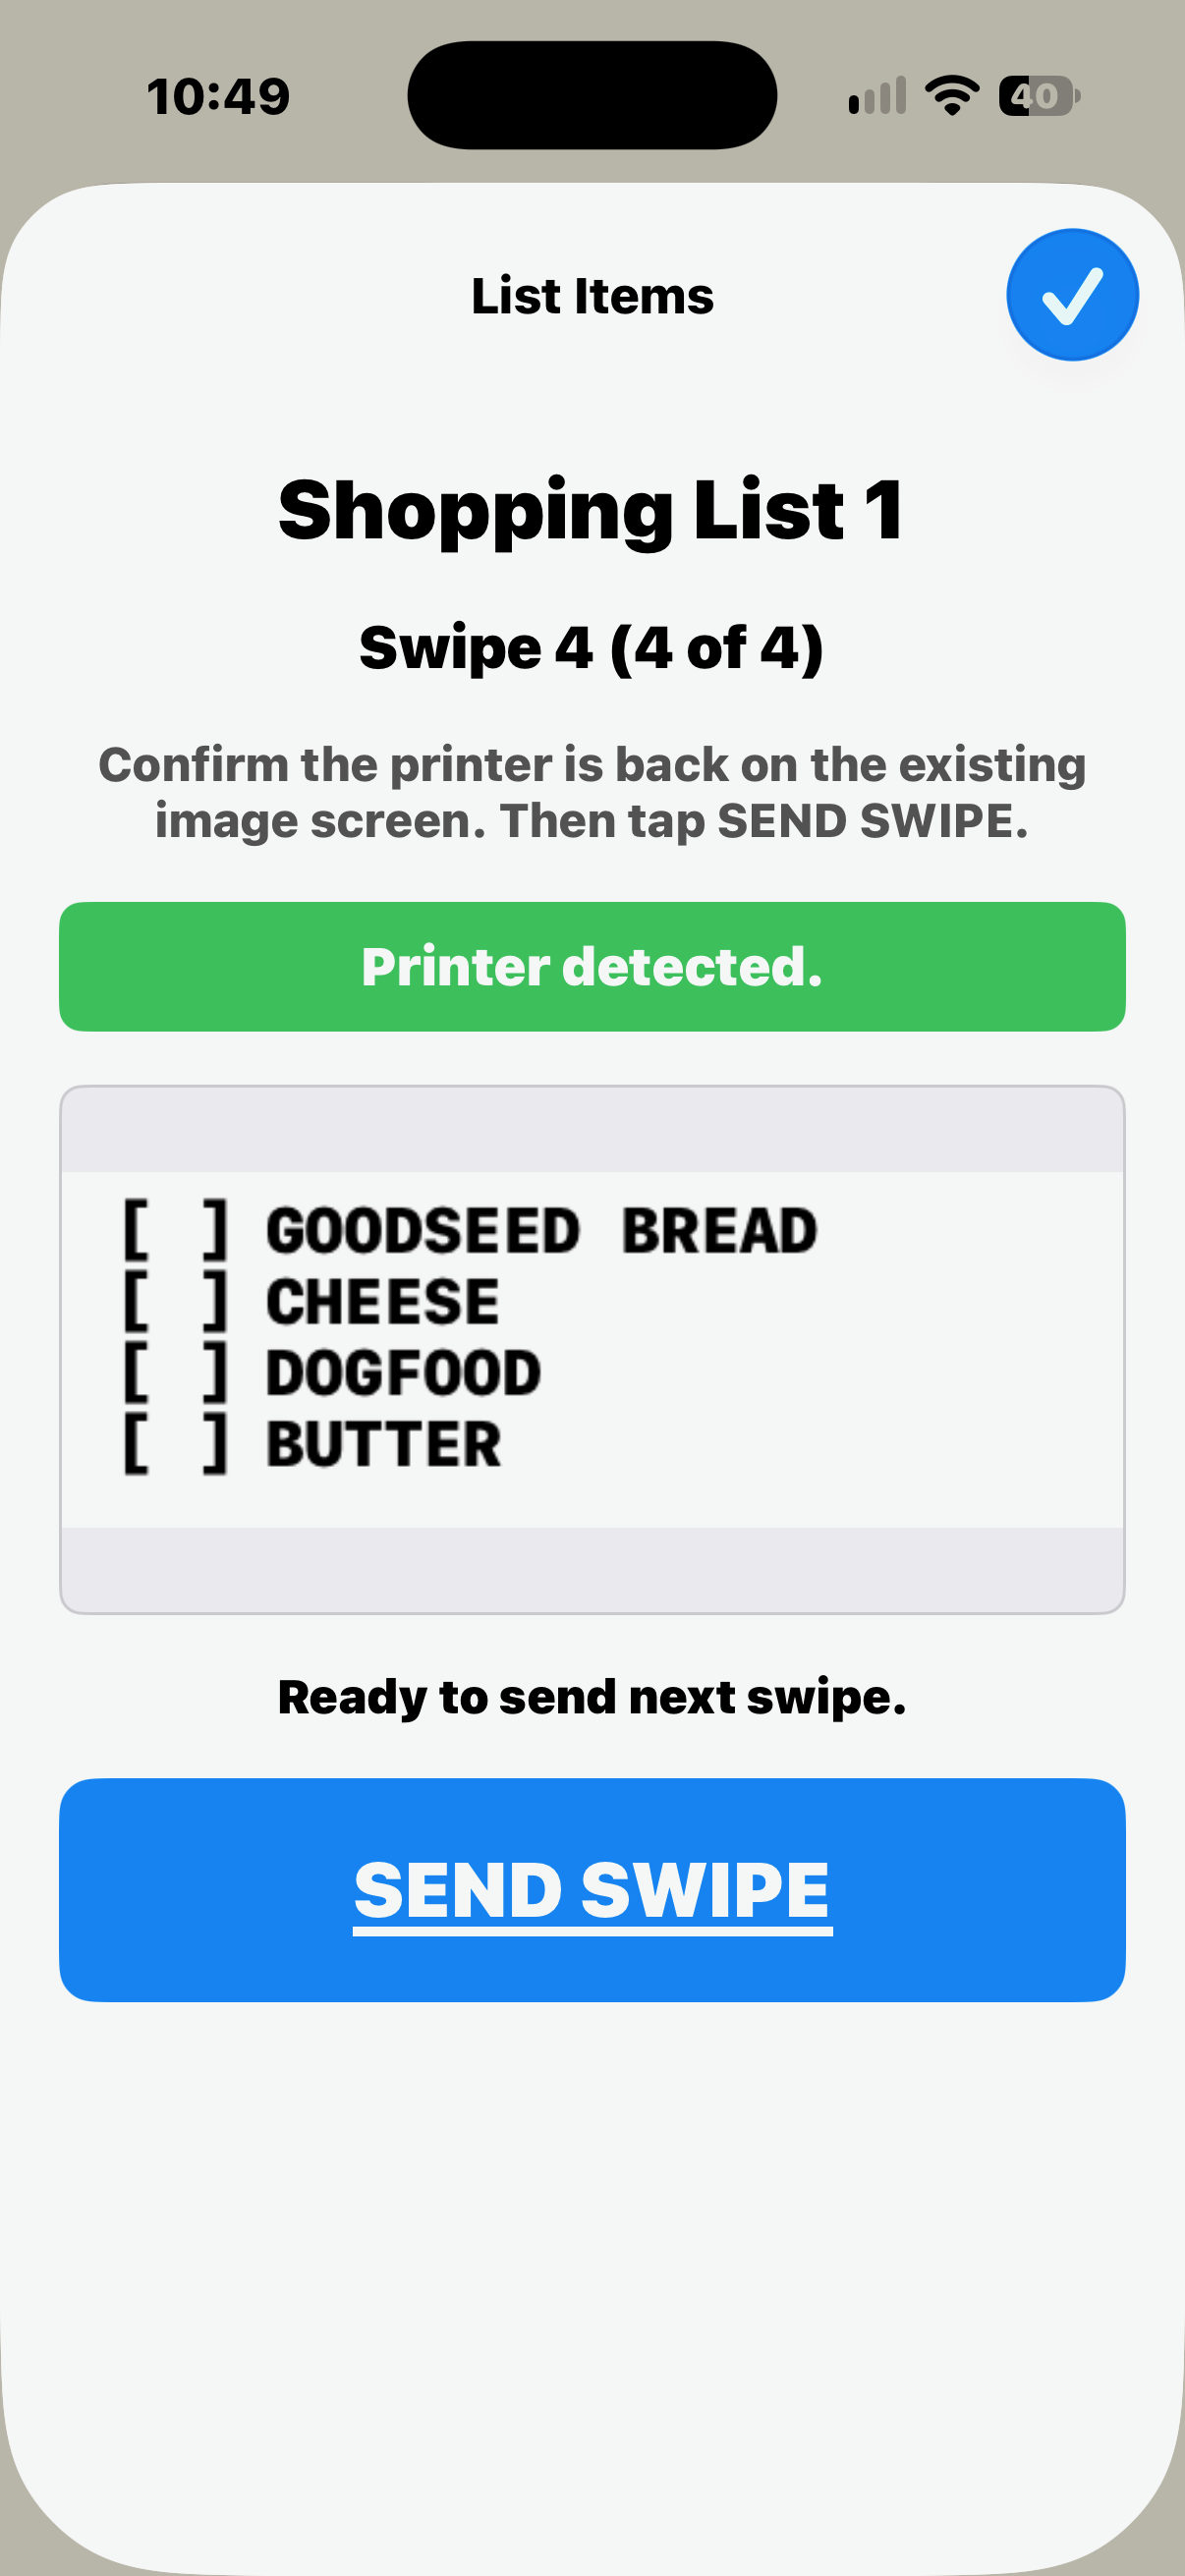
SEND SWIPE for fourth List segment
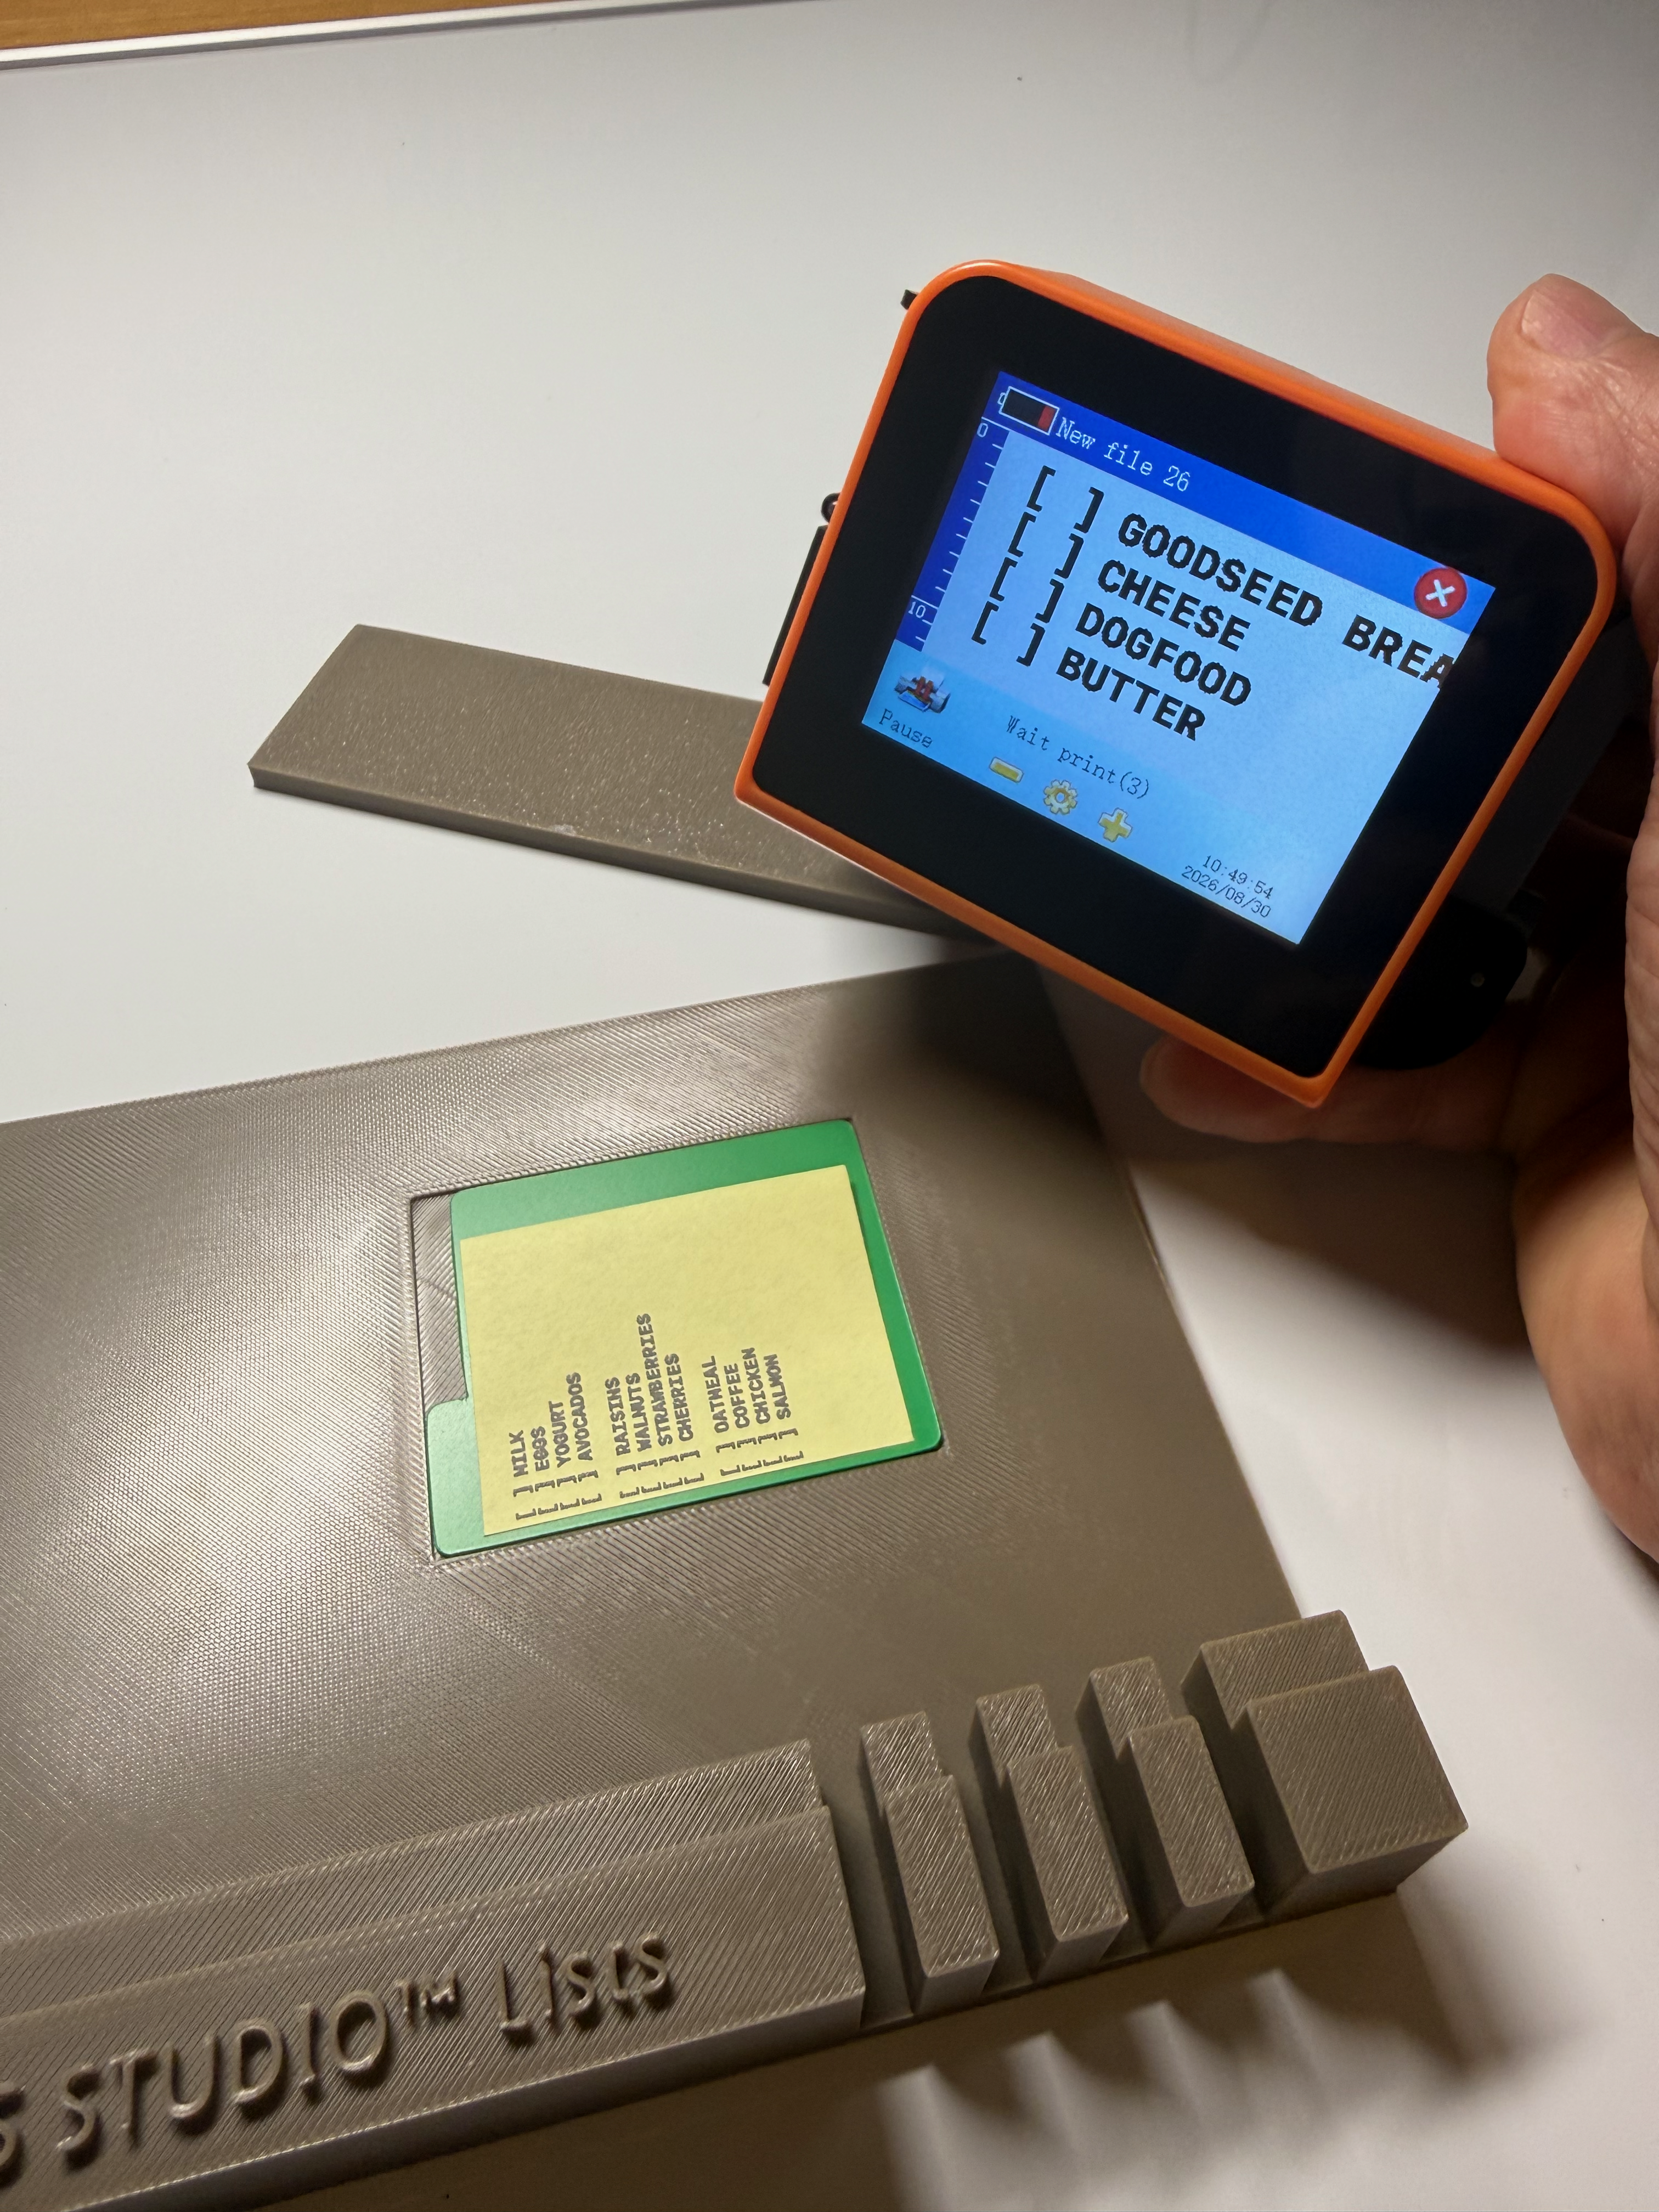
Fourth List segment received.
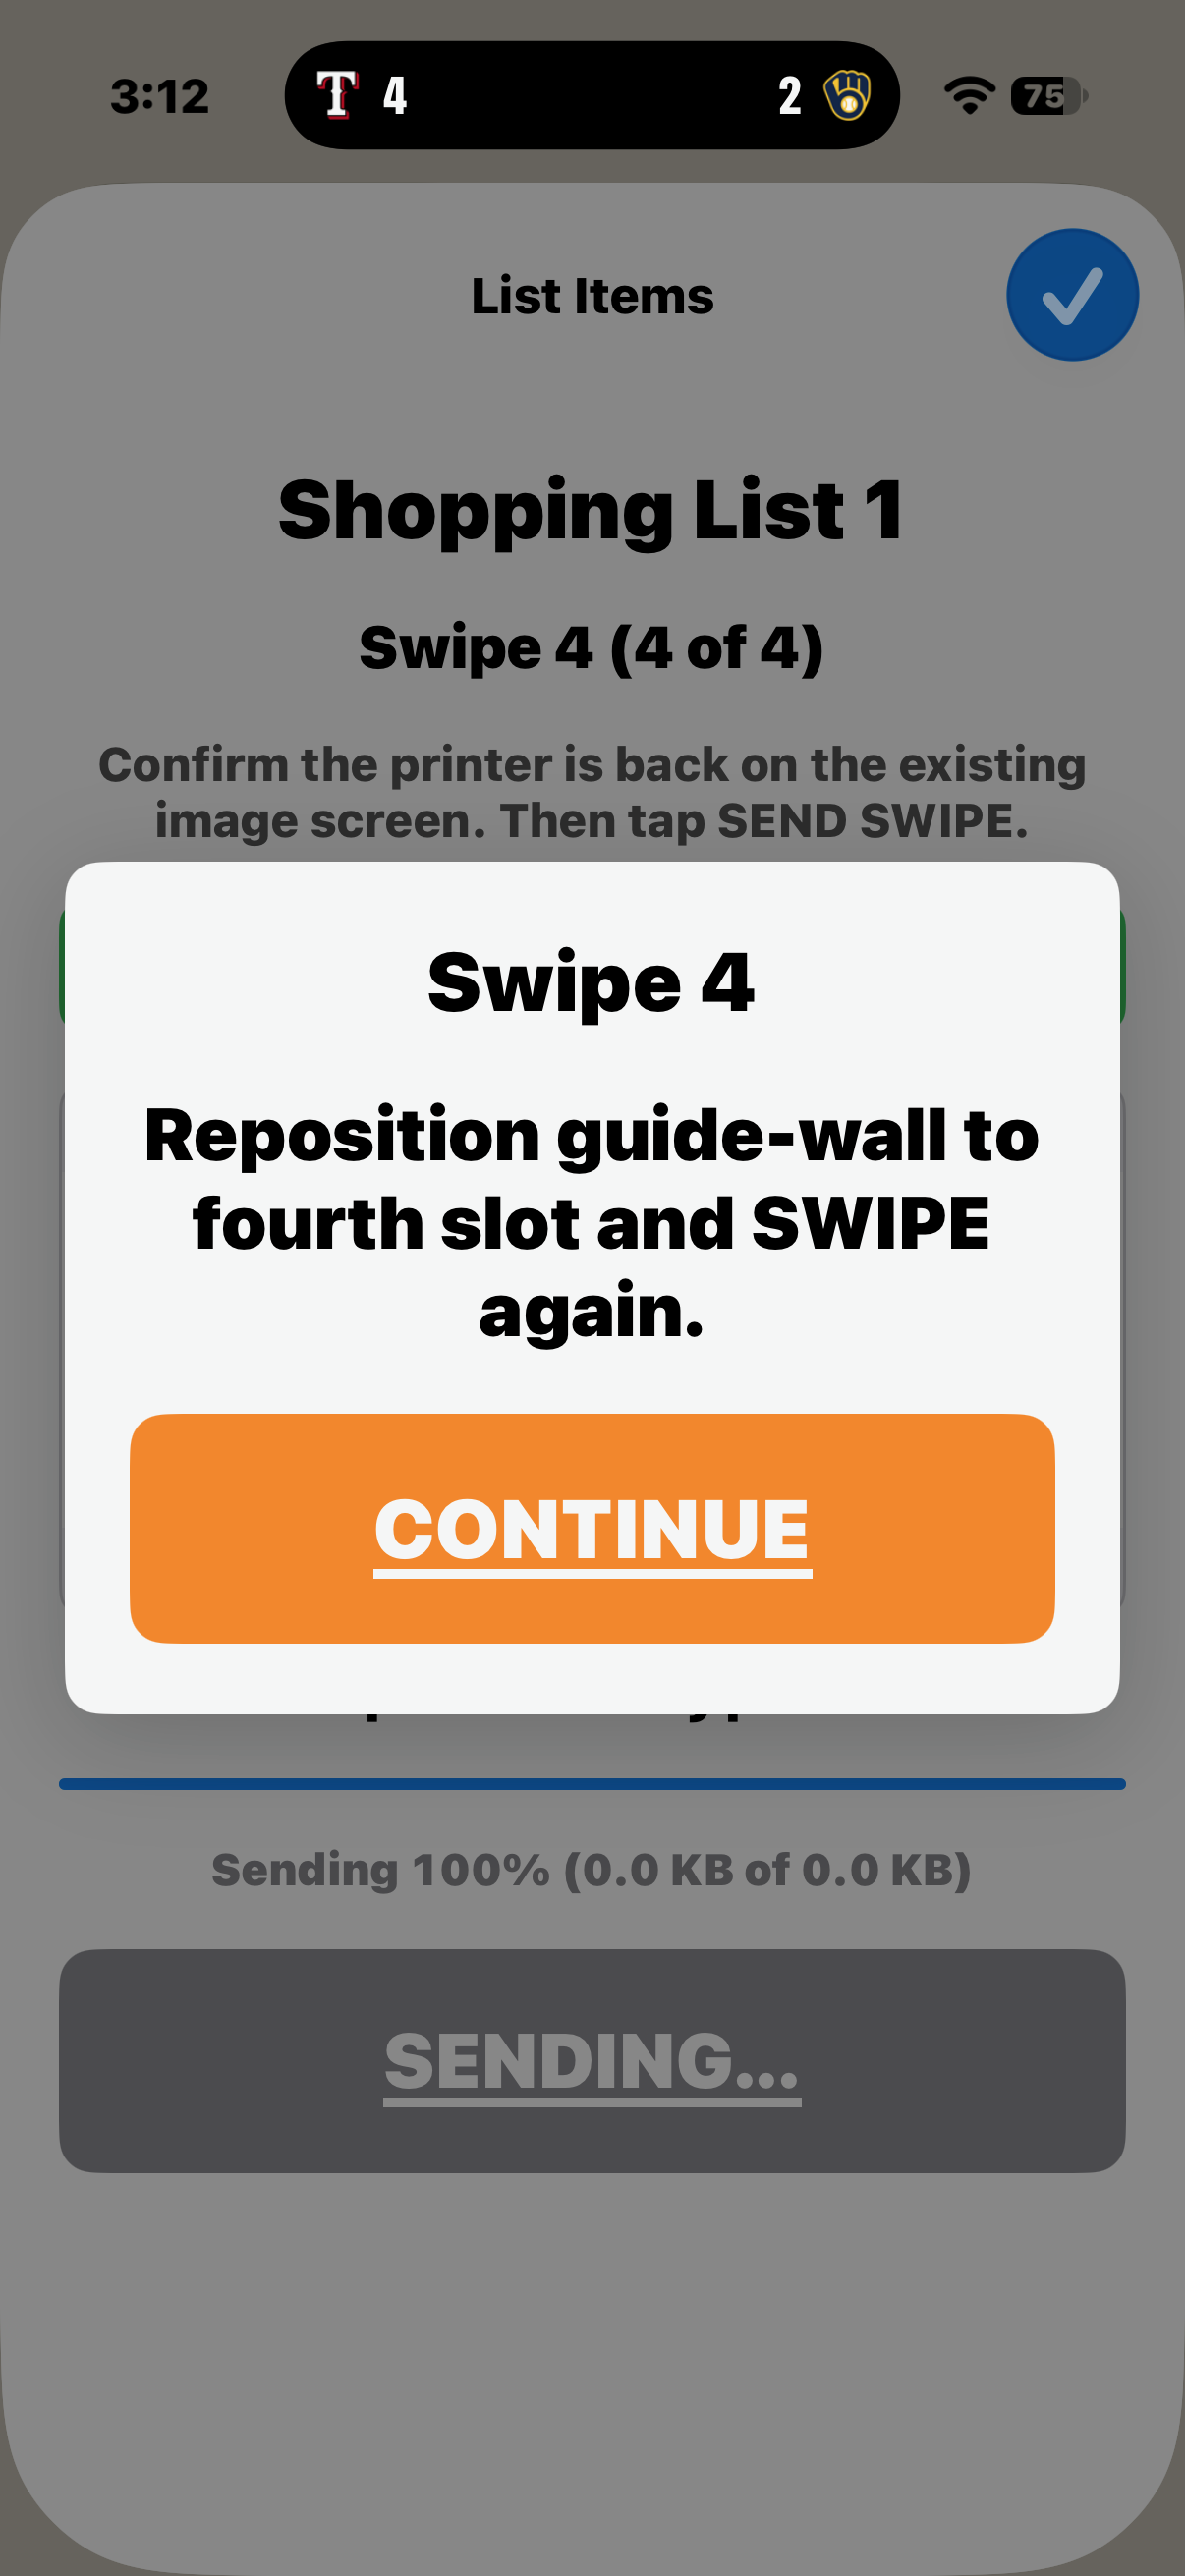
Move guide-wall to Slot 4
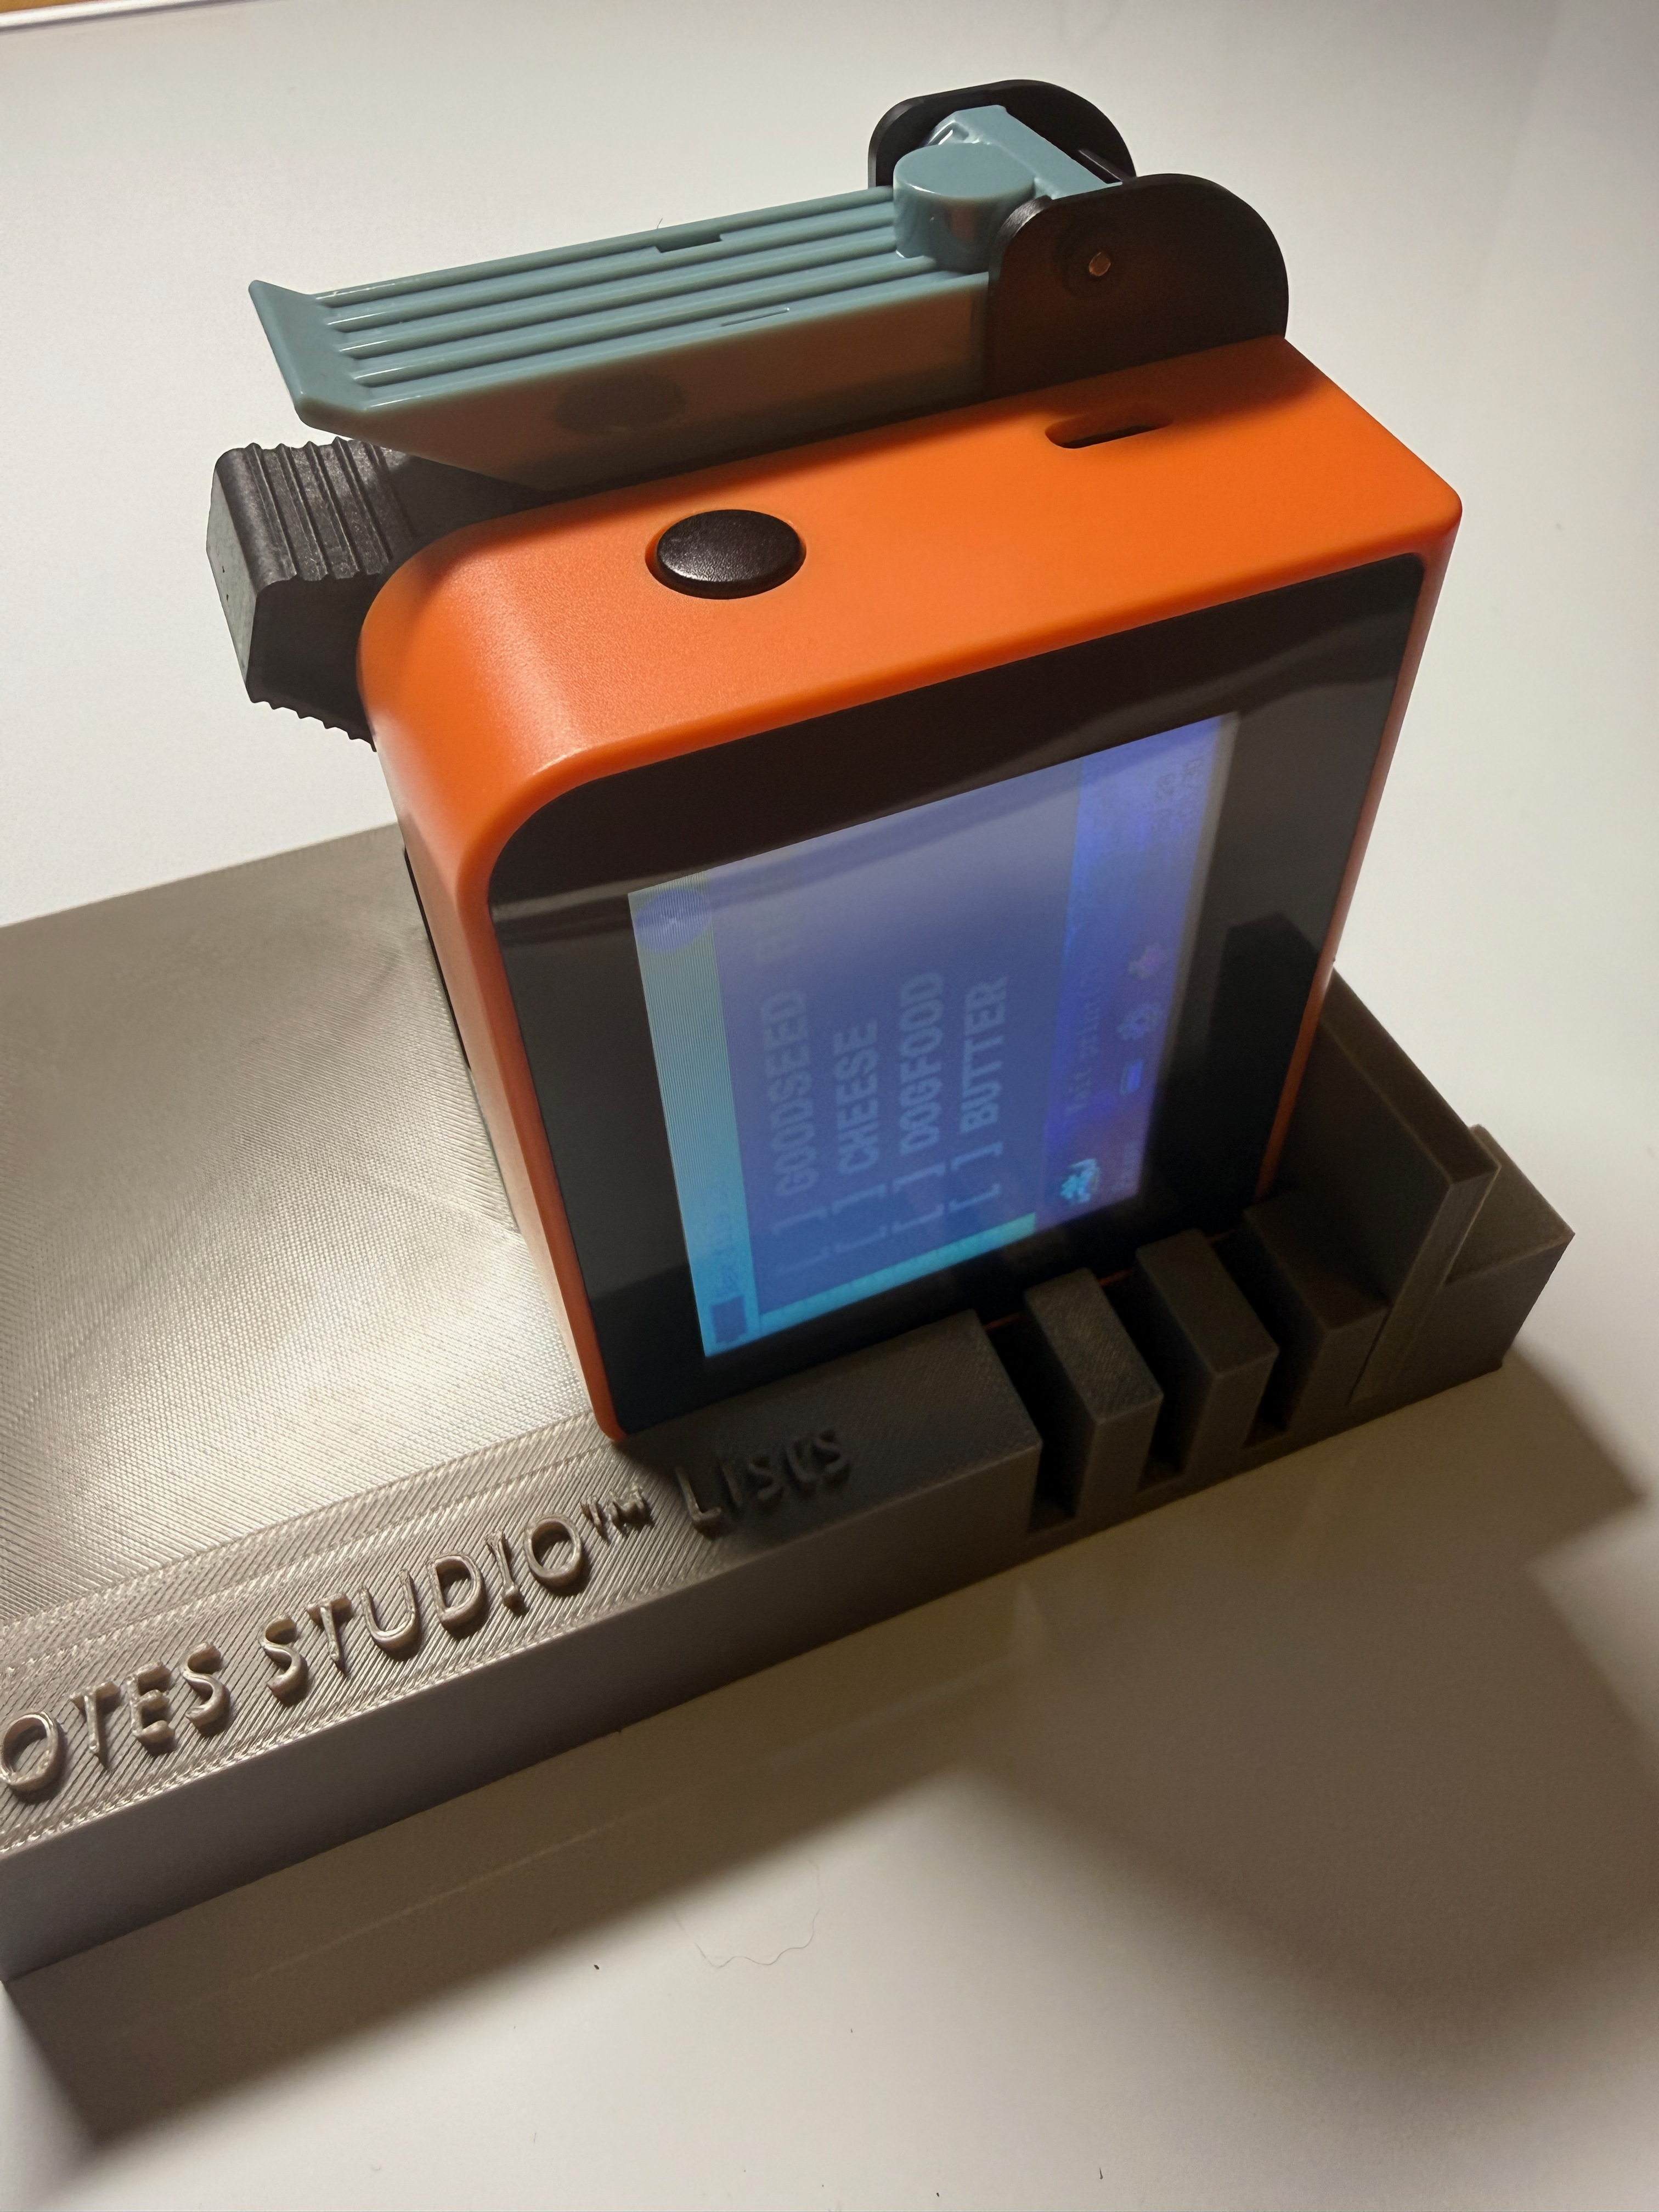
Reset printer, then PUSH.
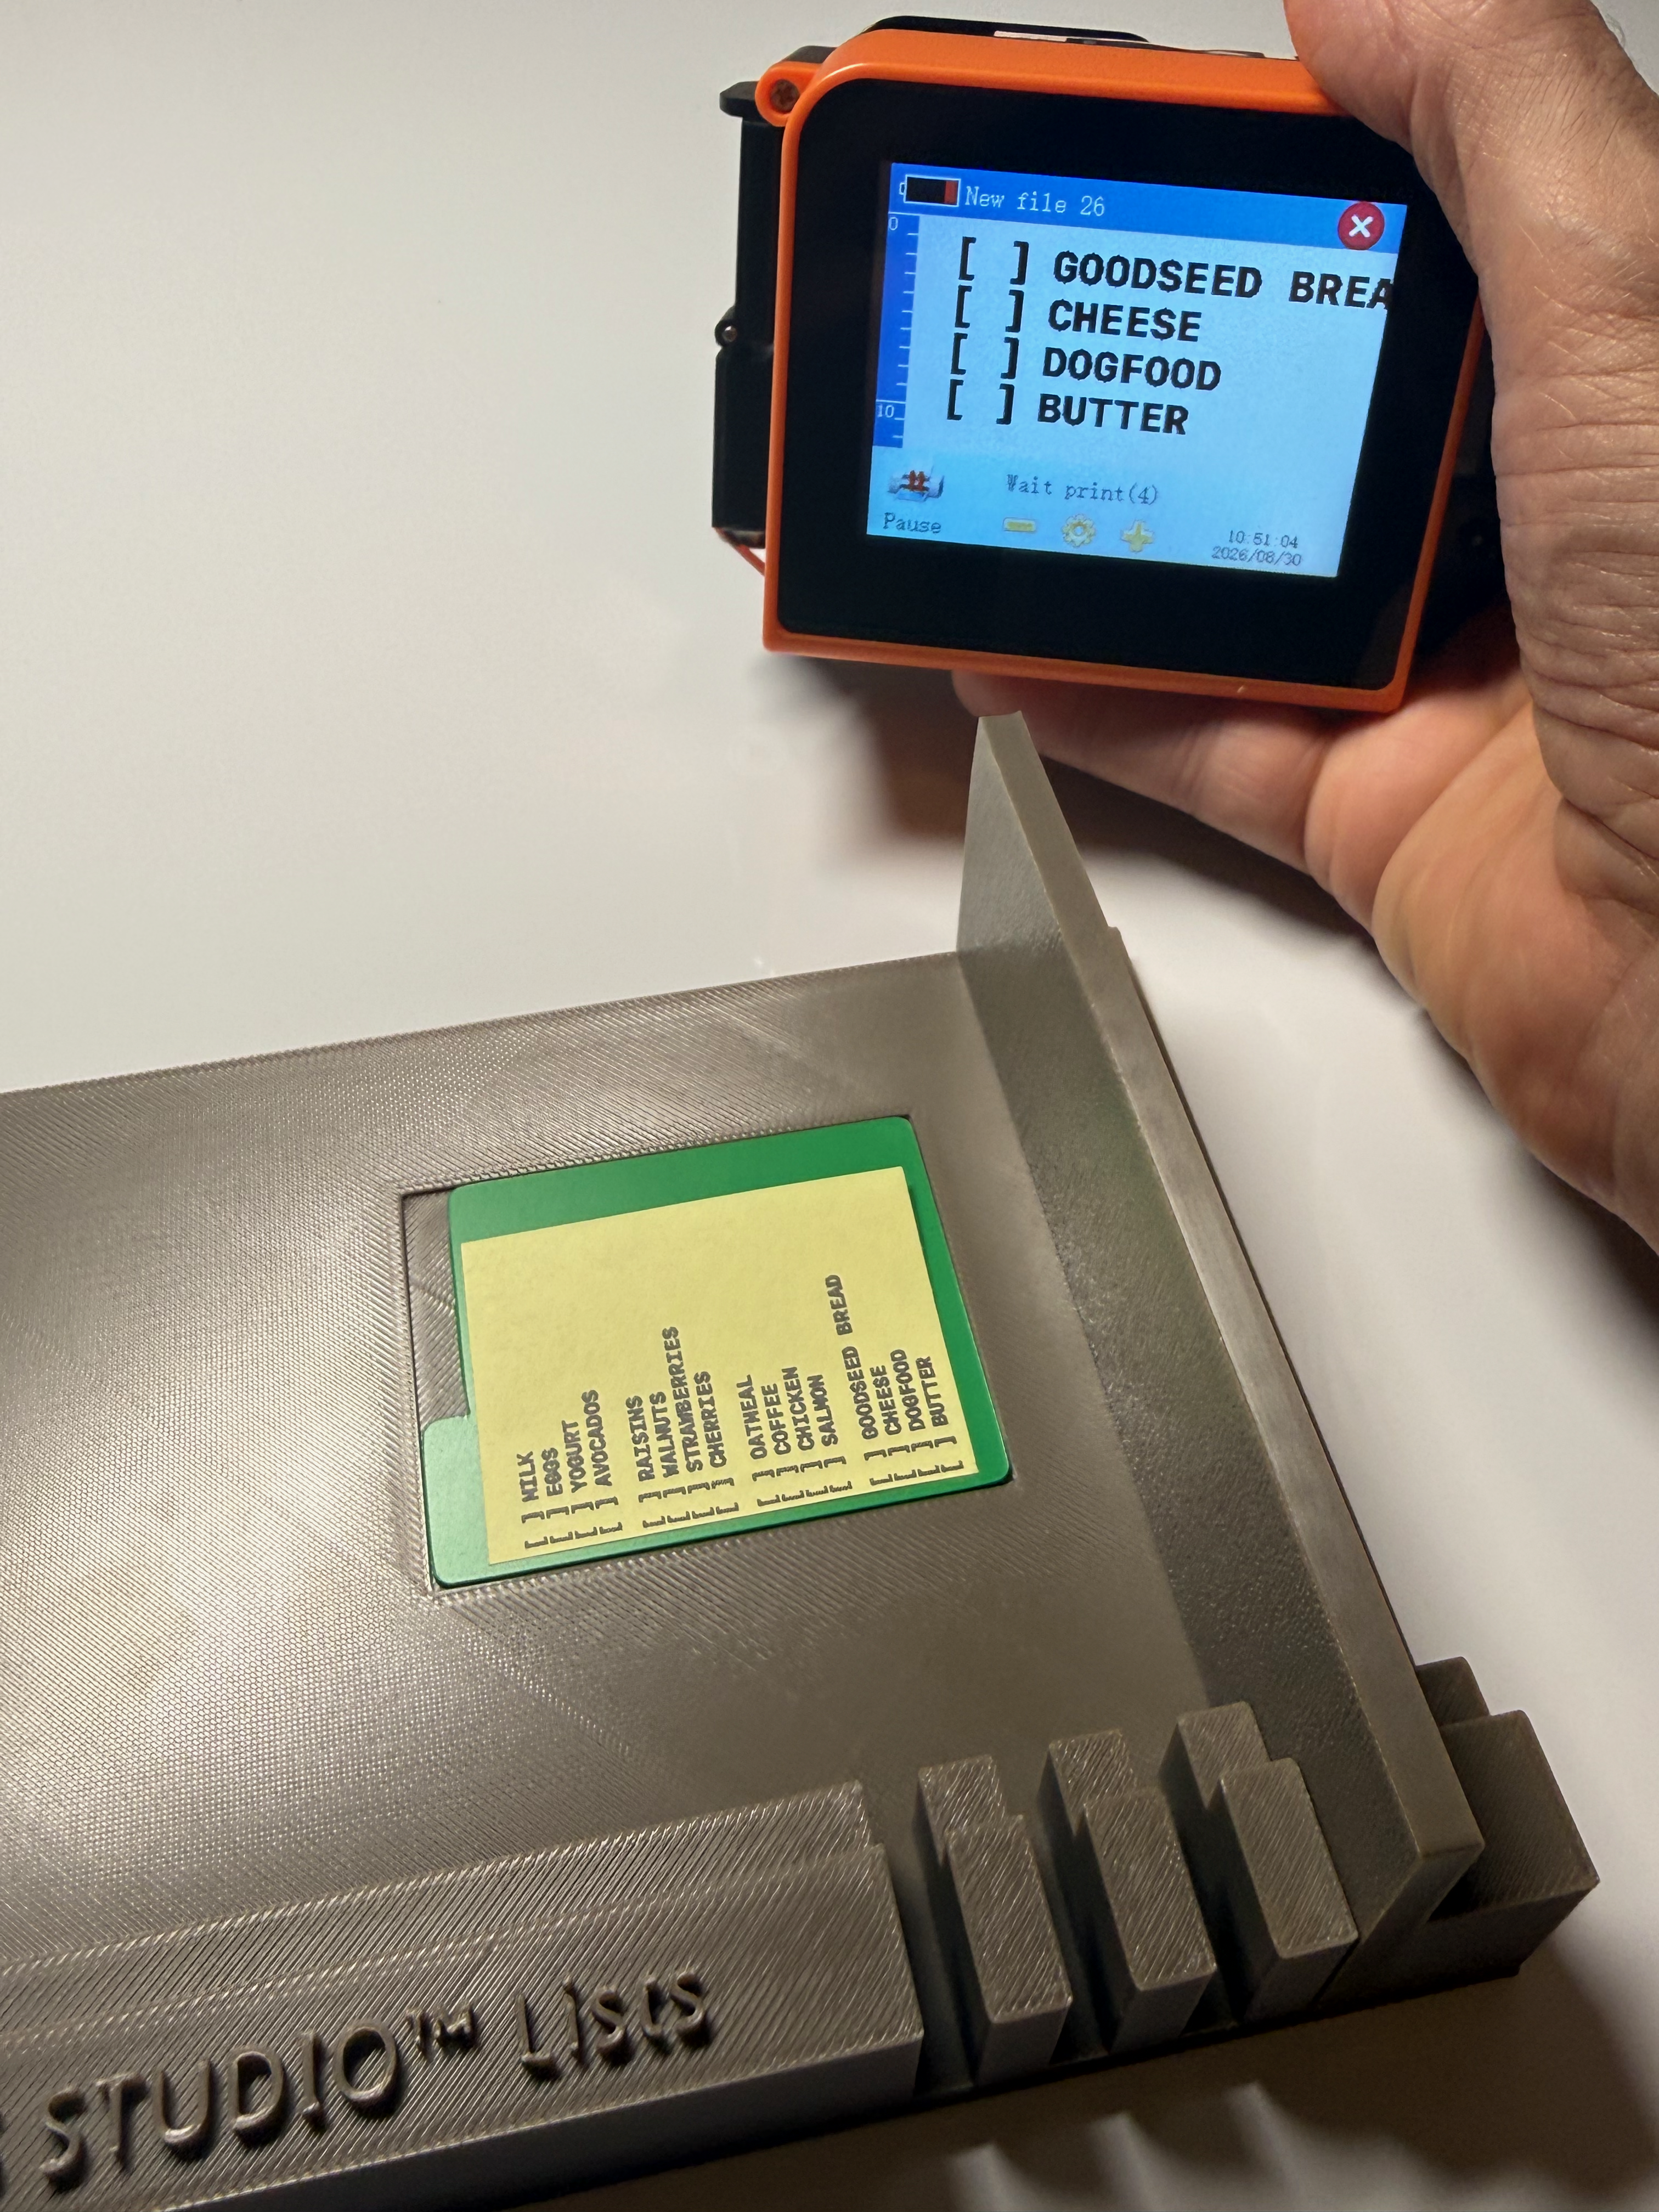
Your fourth List segment is done!
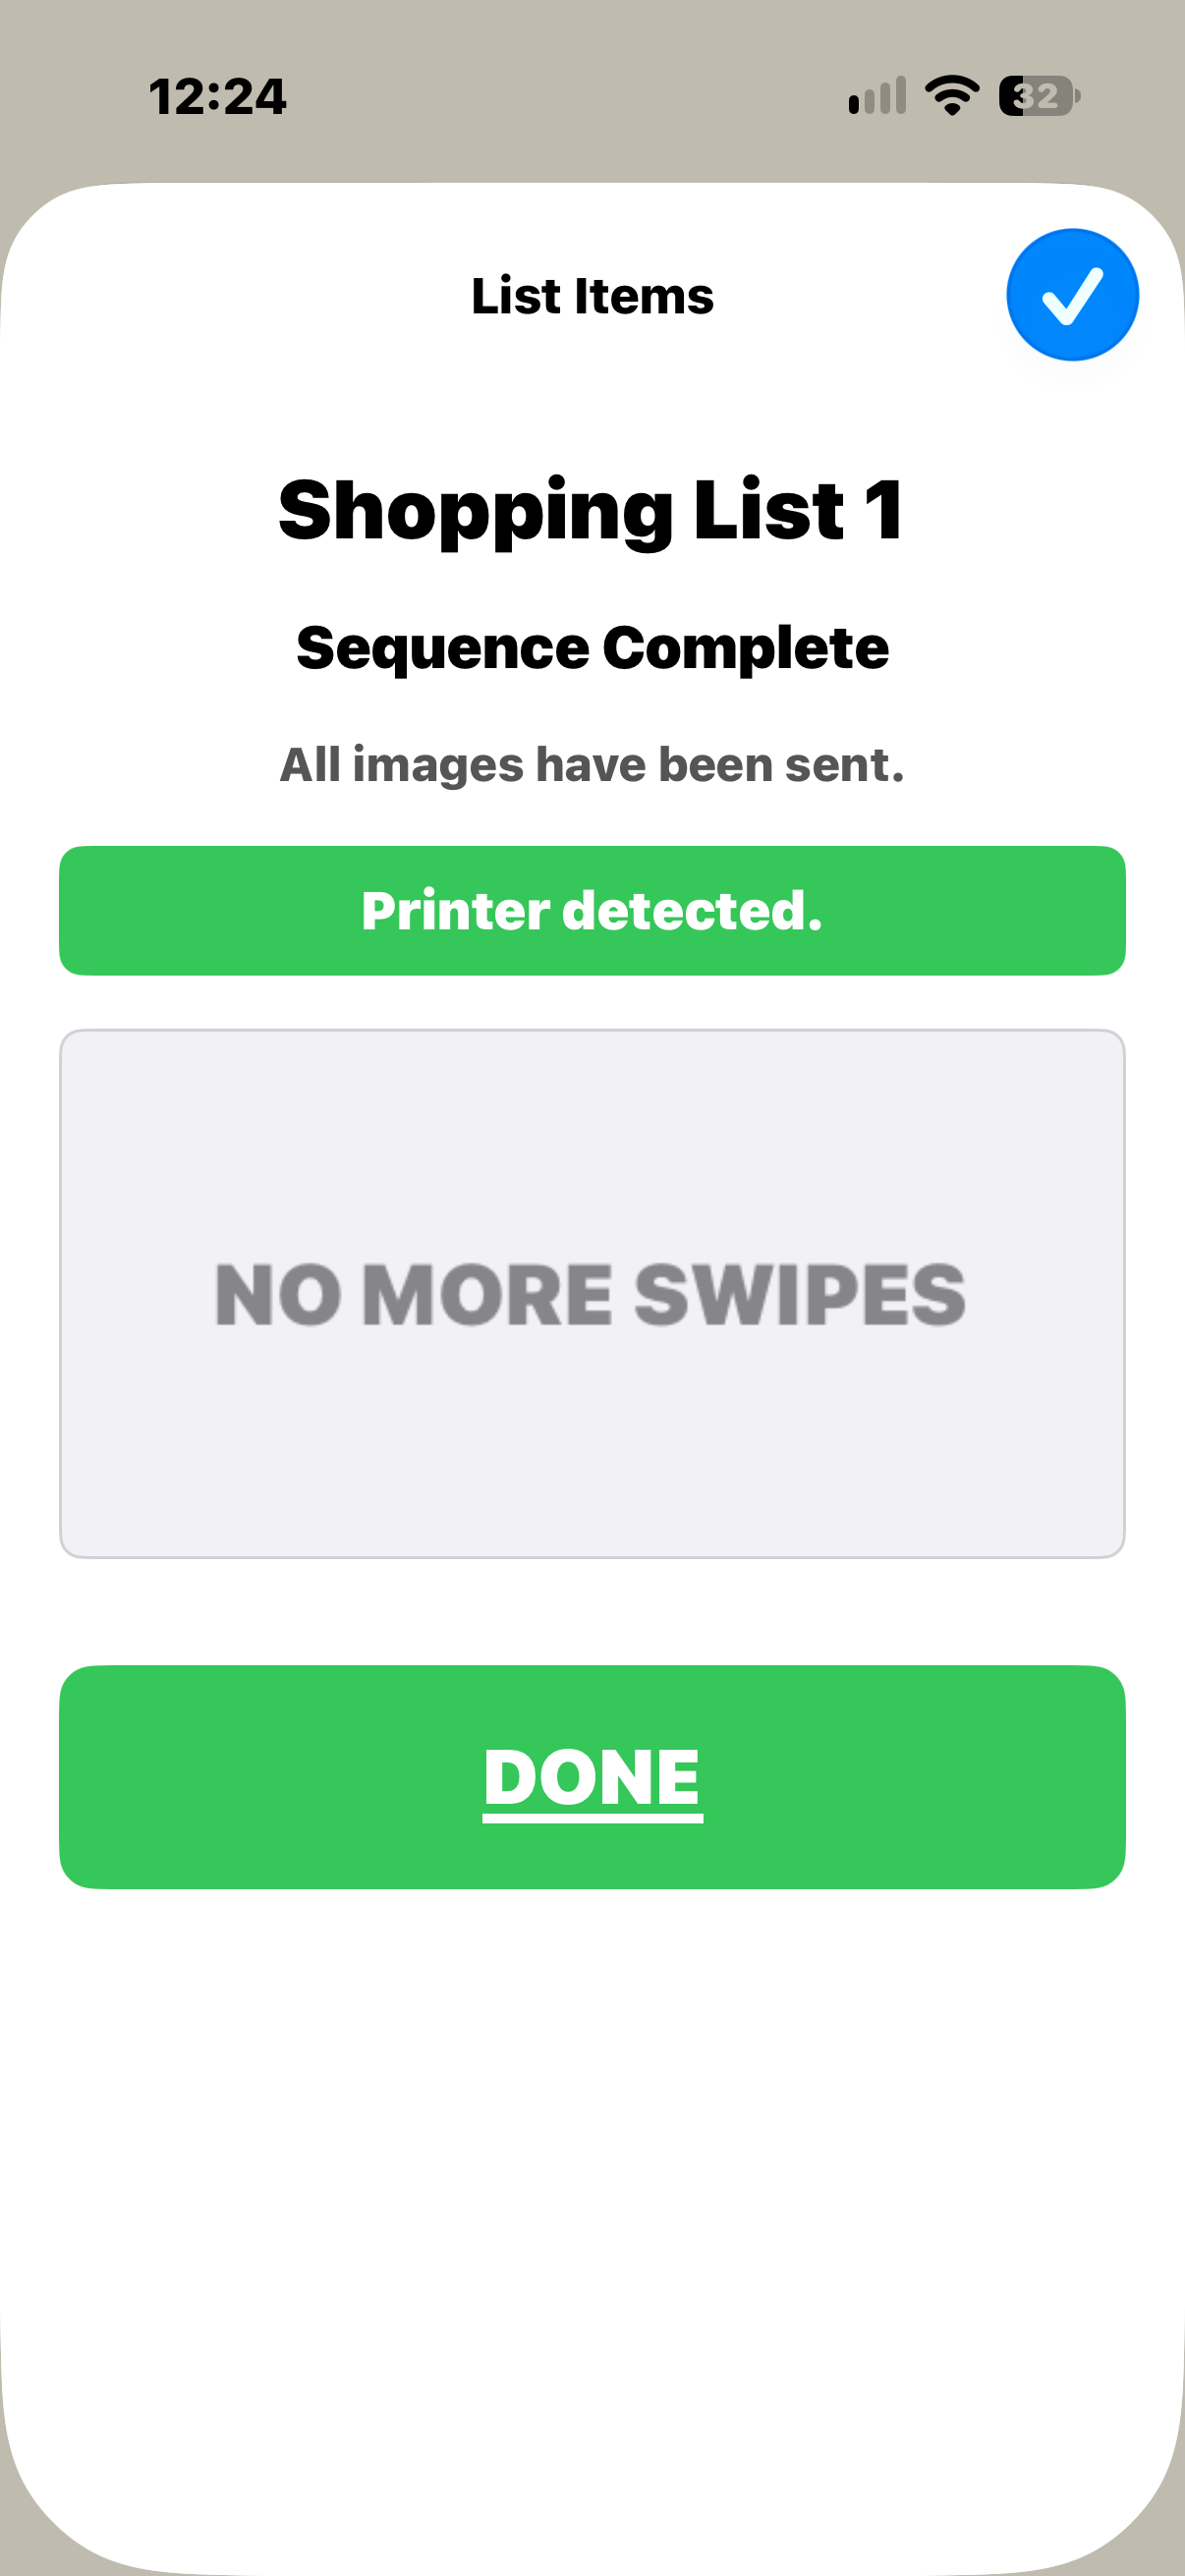
That's it! Congratulations!
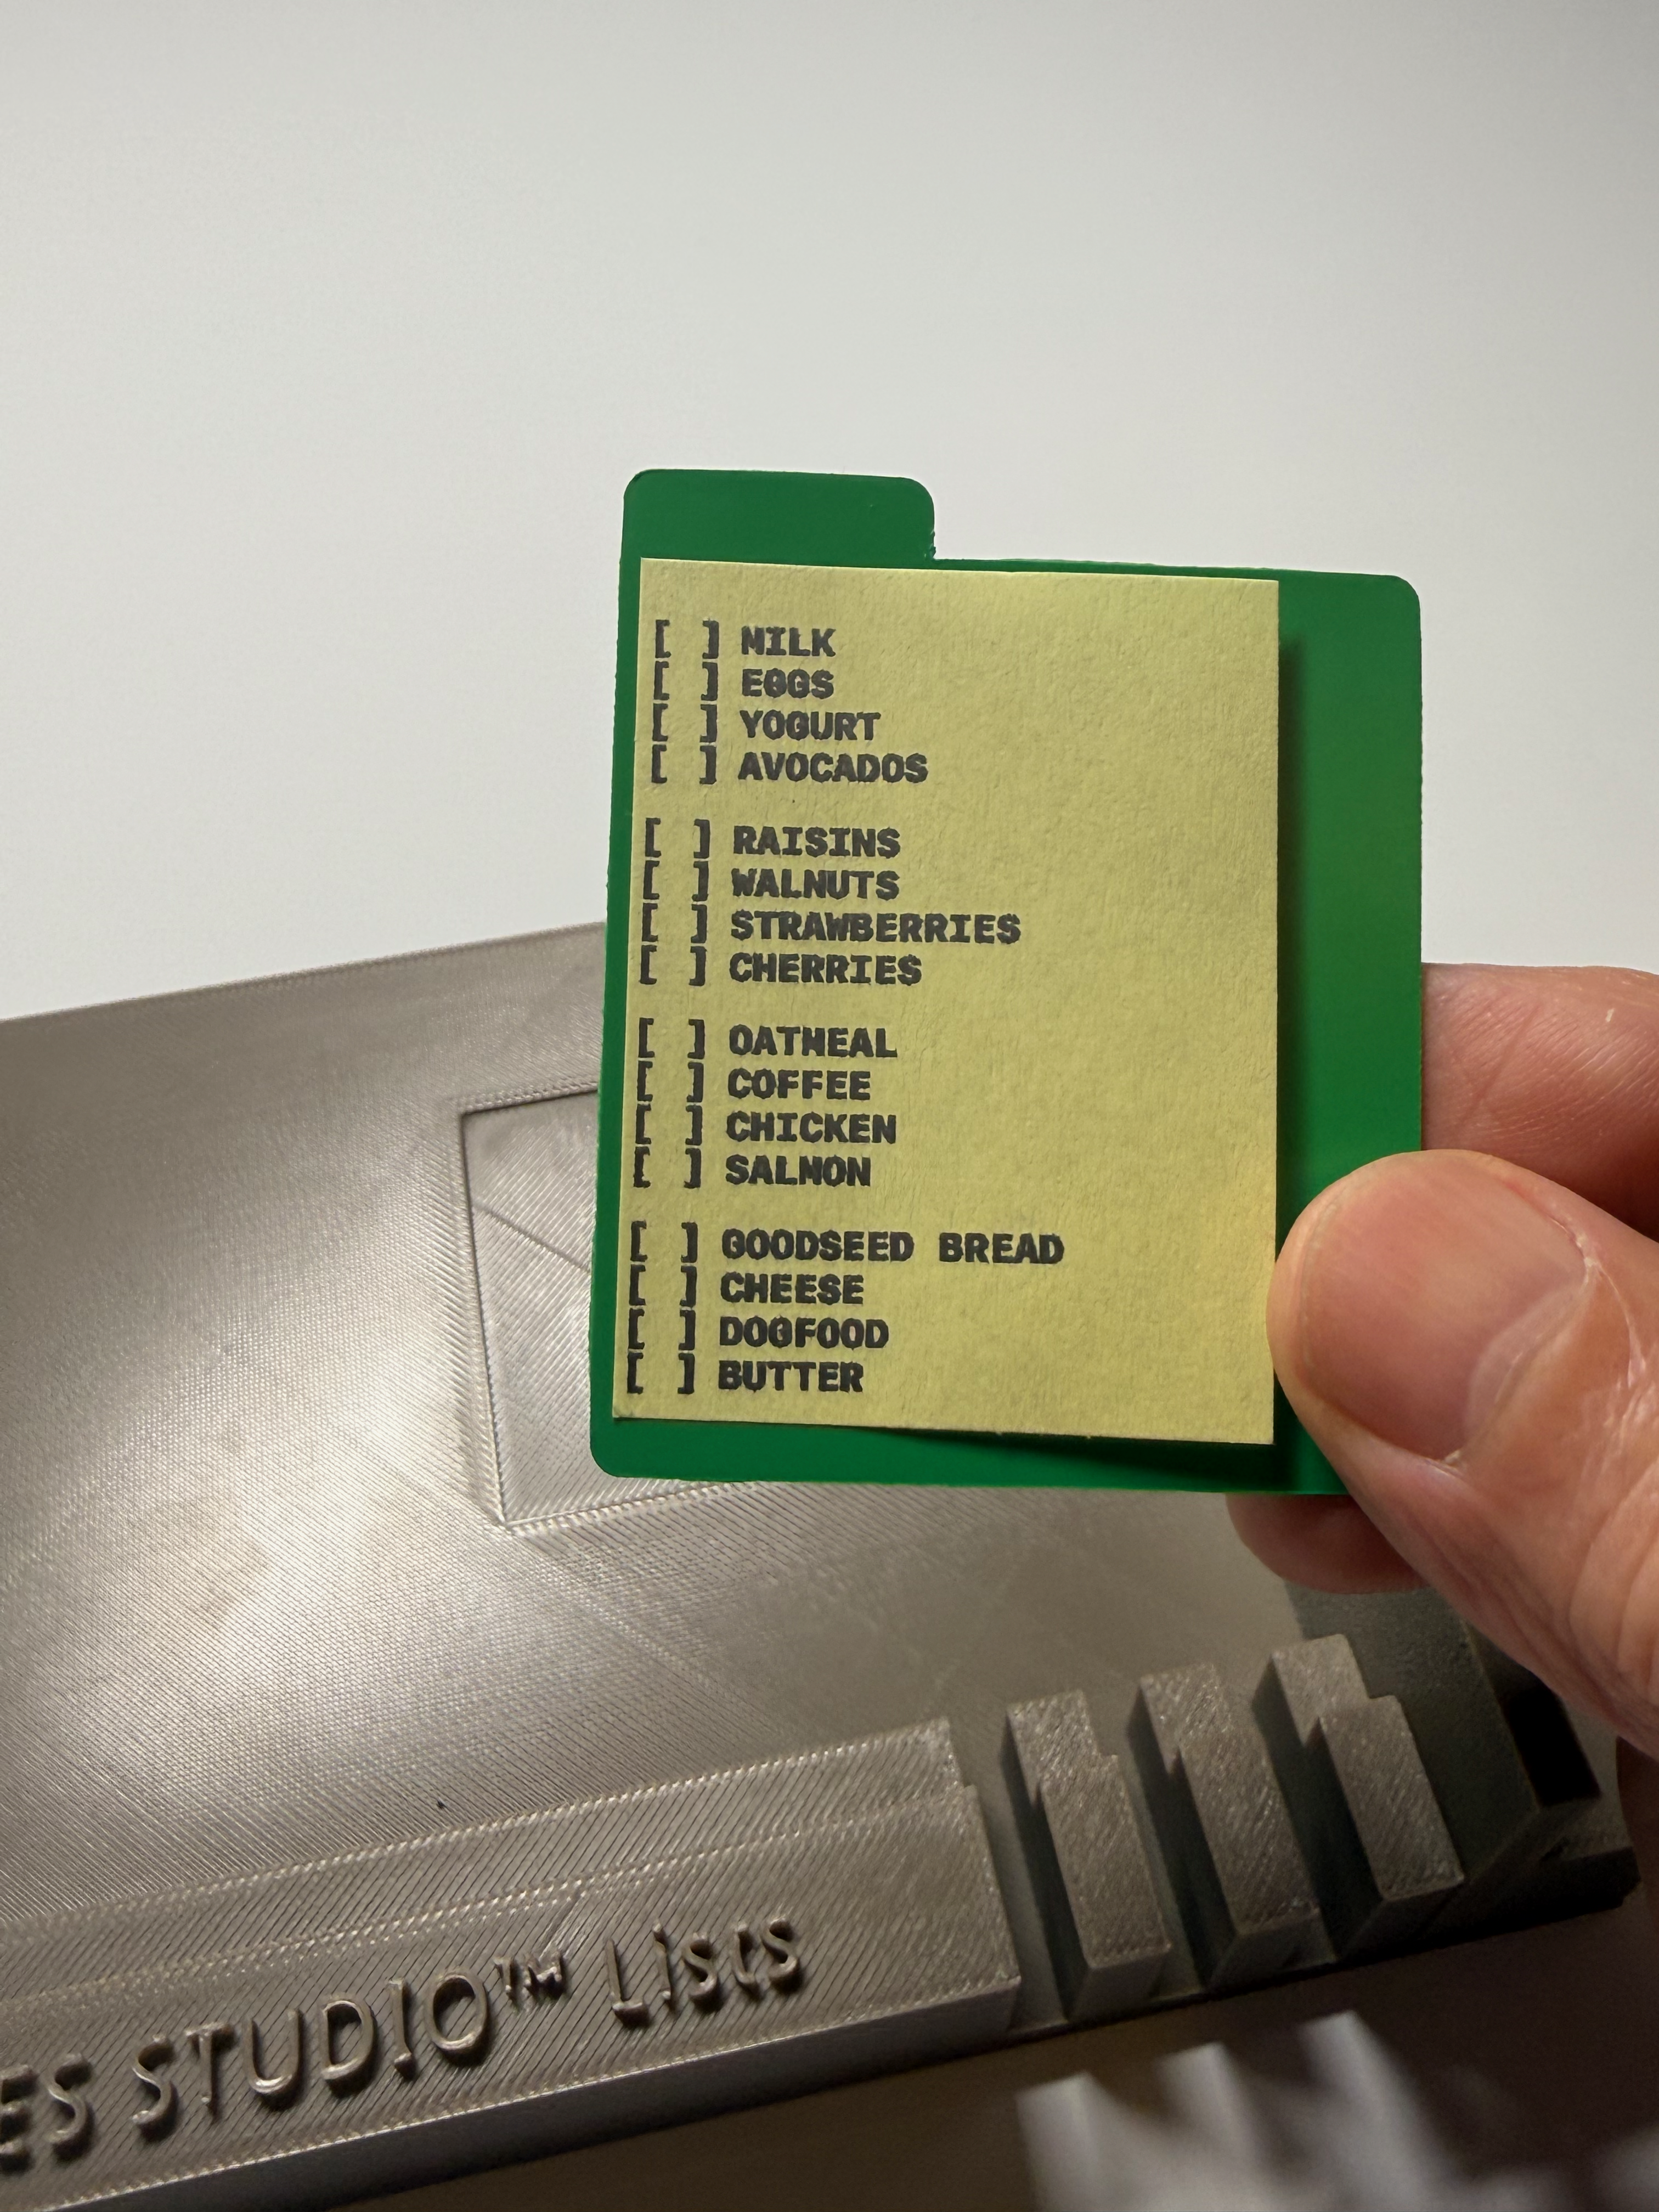
Your curated List is now READY.
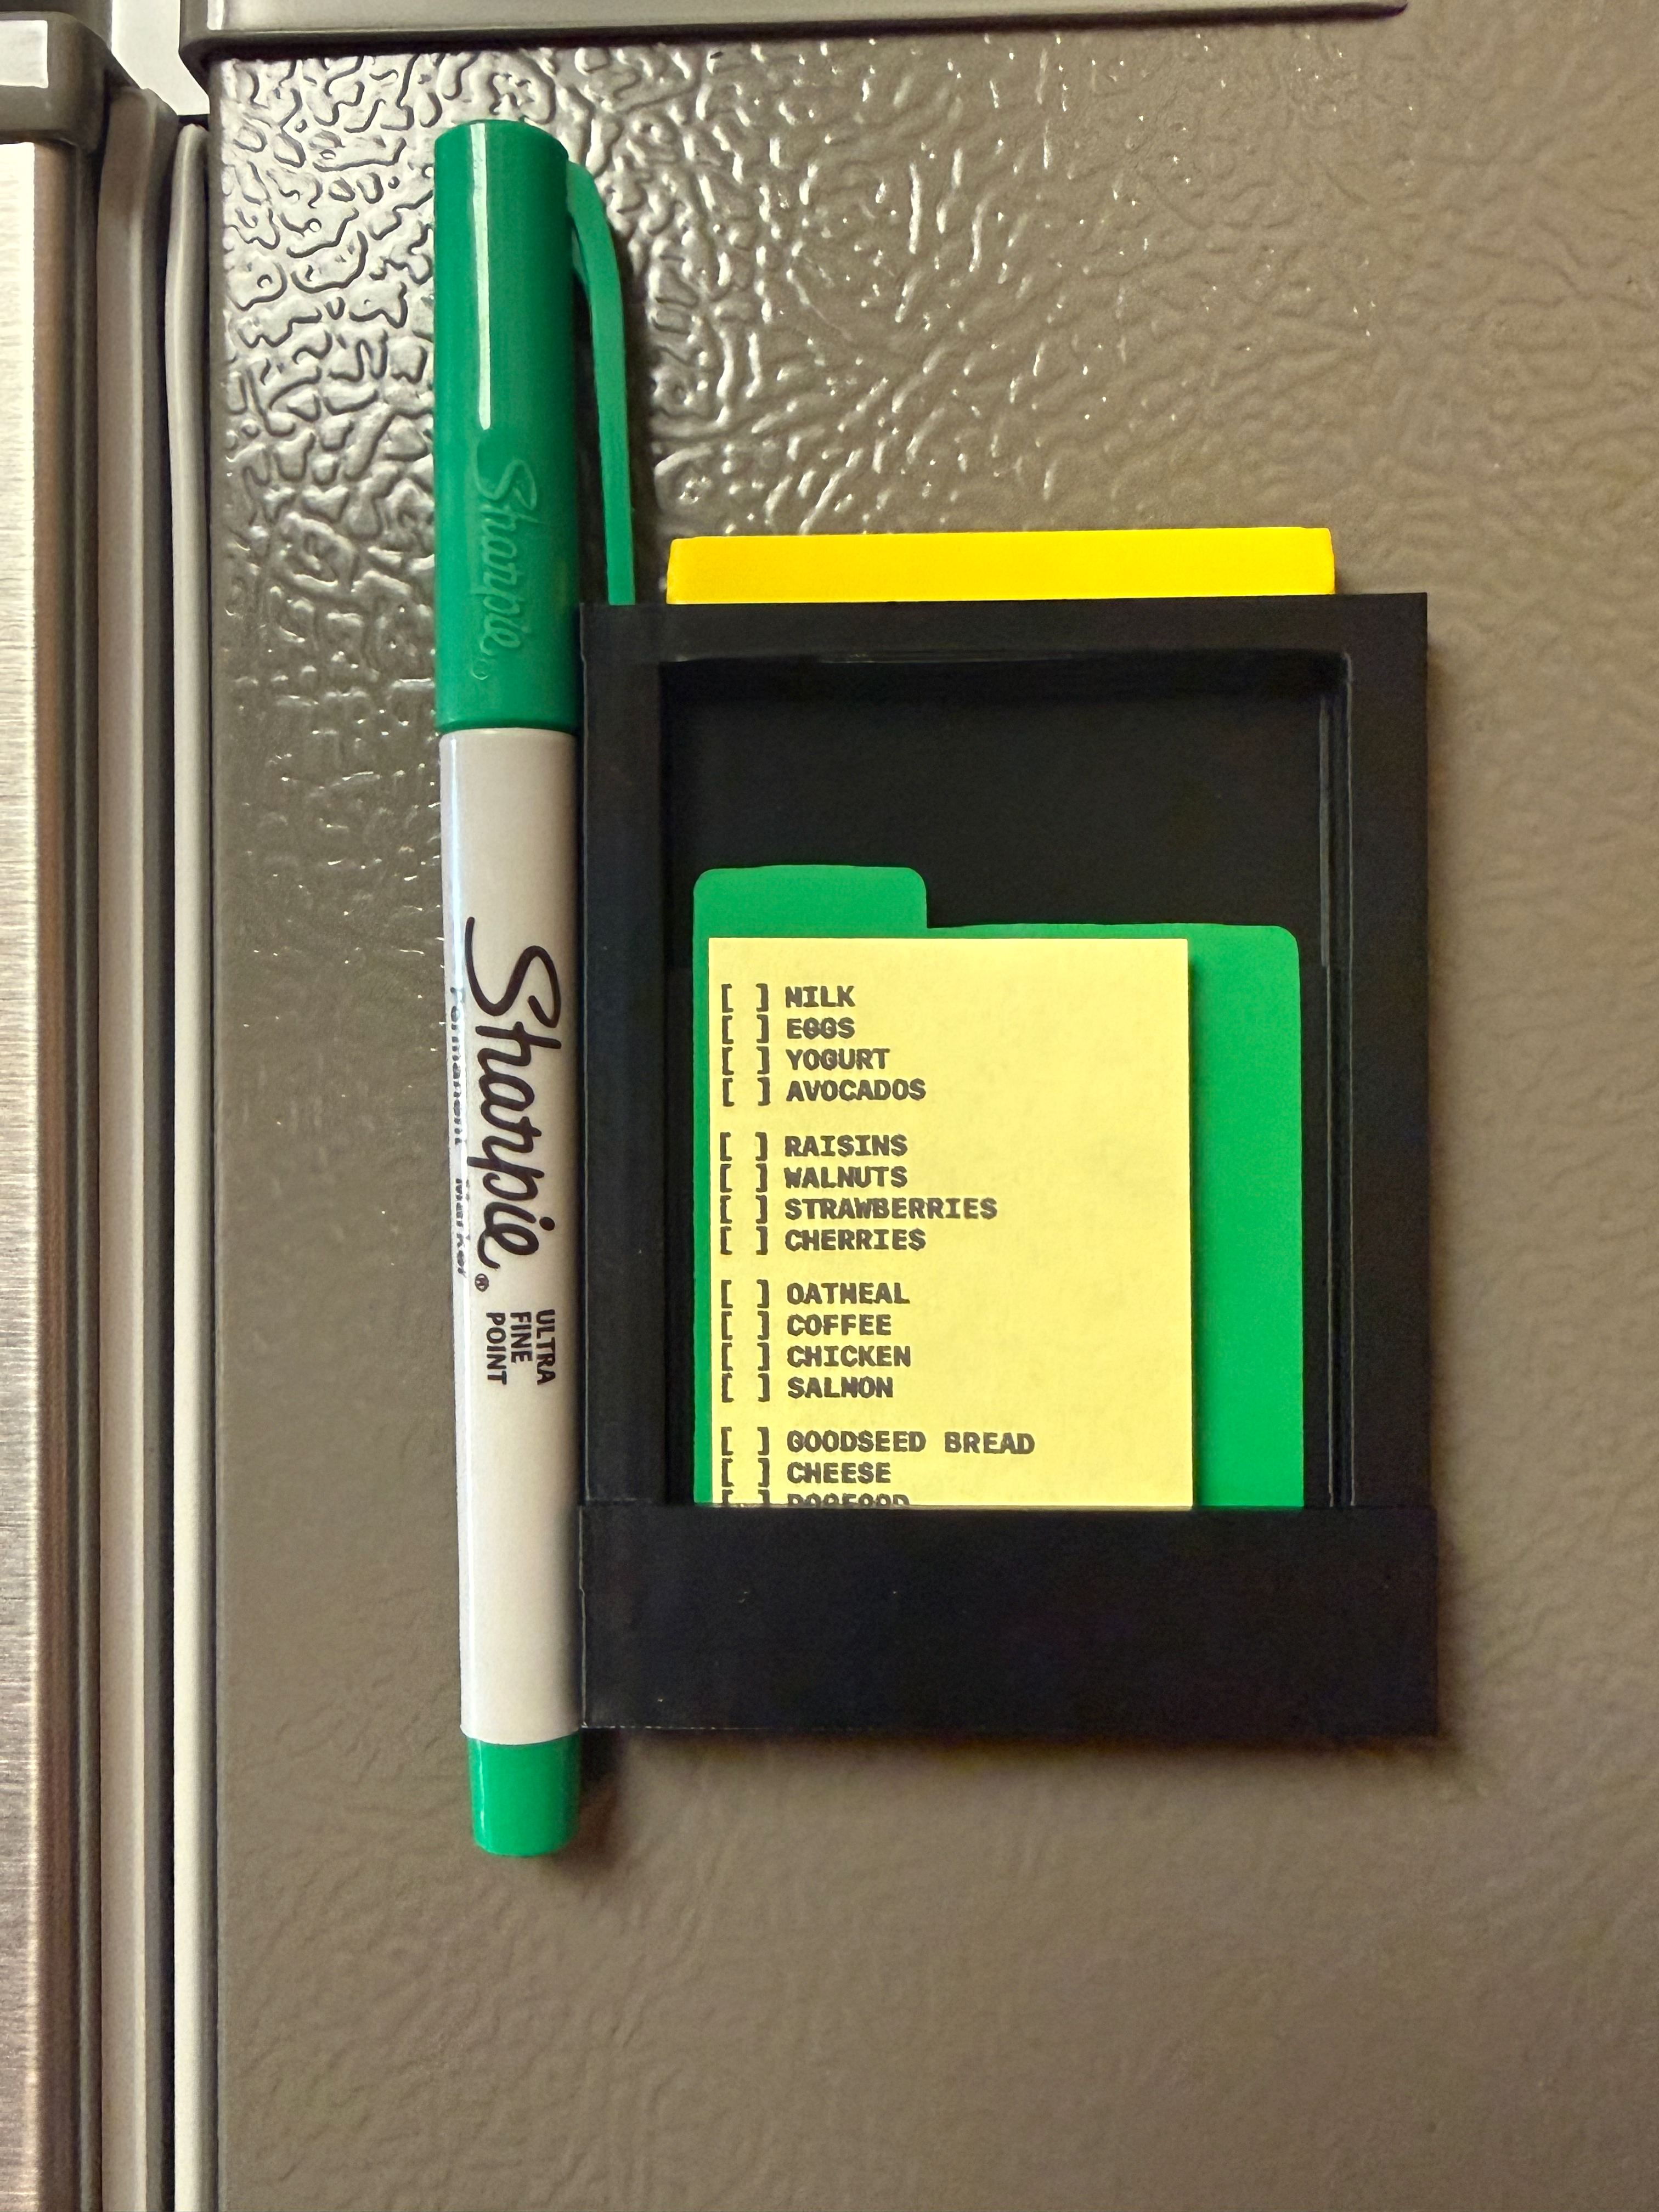
BOOM!
BOOM!
  • Mount NOTE on Official Fileboard
  • Place Fileboard in brown Jig
  • Insert Guide-Wall into Slot 1
  • In LISTS app, tap 'Publish'
  • On printer, tap 'Edit'... then File: New
  • Tap 'Add'
  • Tap 'Remote Picture'
  • Ready to receive
  • Tap 'SEND FIRST SWIPE'
  • Your first List segment is displayed
  • LISTS app instruction
  • Tap 'Print' button on printer screen
  • Print-ready mode
  • Set printer on the jig ledge and up against the Guide-Wall
  • Press the button on top... until you hear a 'beep'
  • Use a steady hand and LIGHT TOUCH to PUSH the printer forward. You will hear another 'beep' when the print is complete.
  • Your first List segment is done!
  • After tapping 'Continue', you will see your second List segment. Tap 'SEND SWIPE'.
  • Your second List segment is now on your printer.
  • Move the Guide-Wall to Slot 2
  • Reset your printer on jig ledge and against the guide-wall.
  • After your clean PUSH... List segment 2 is done!
  • Repeat the sequence and 'SEND SWIPE' for your third List segment.
  • Third List segment is ready to print.
  • Move the guide-wall to Slot 3.
  • Reset printer as before.
  • Your third List segment is done!
  • SEND SWIPE for fourth List segment
  • Fourth List segment received.
  • Move guide-wall to Slot 4
  • Reset printer, then PUSH.
  • Your fourth List segment is done!
  • That's it! Congratulations!
  • Your curated List is now READY.
  • BOOM!
Elements for macOS application icon. Made in Elements